 Vanaf € 12.99 EUR
 Vanaf € 25.99 EUR
 Vanaf € 12.99 EUR
 Vanaf € 8.99 EUR
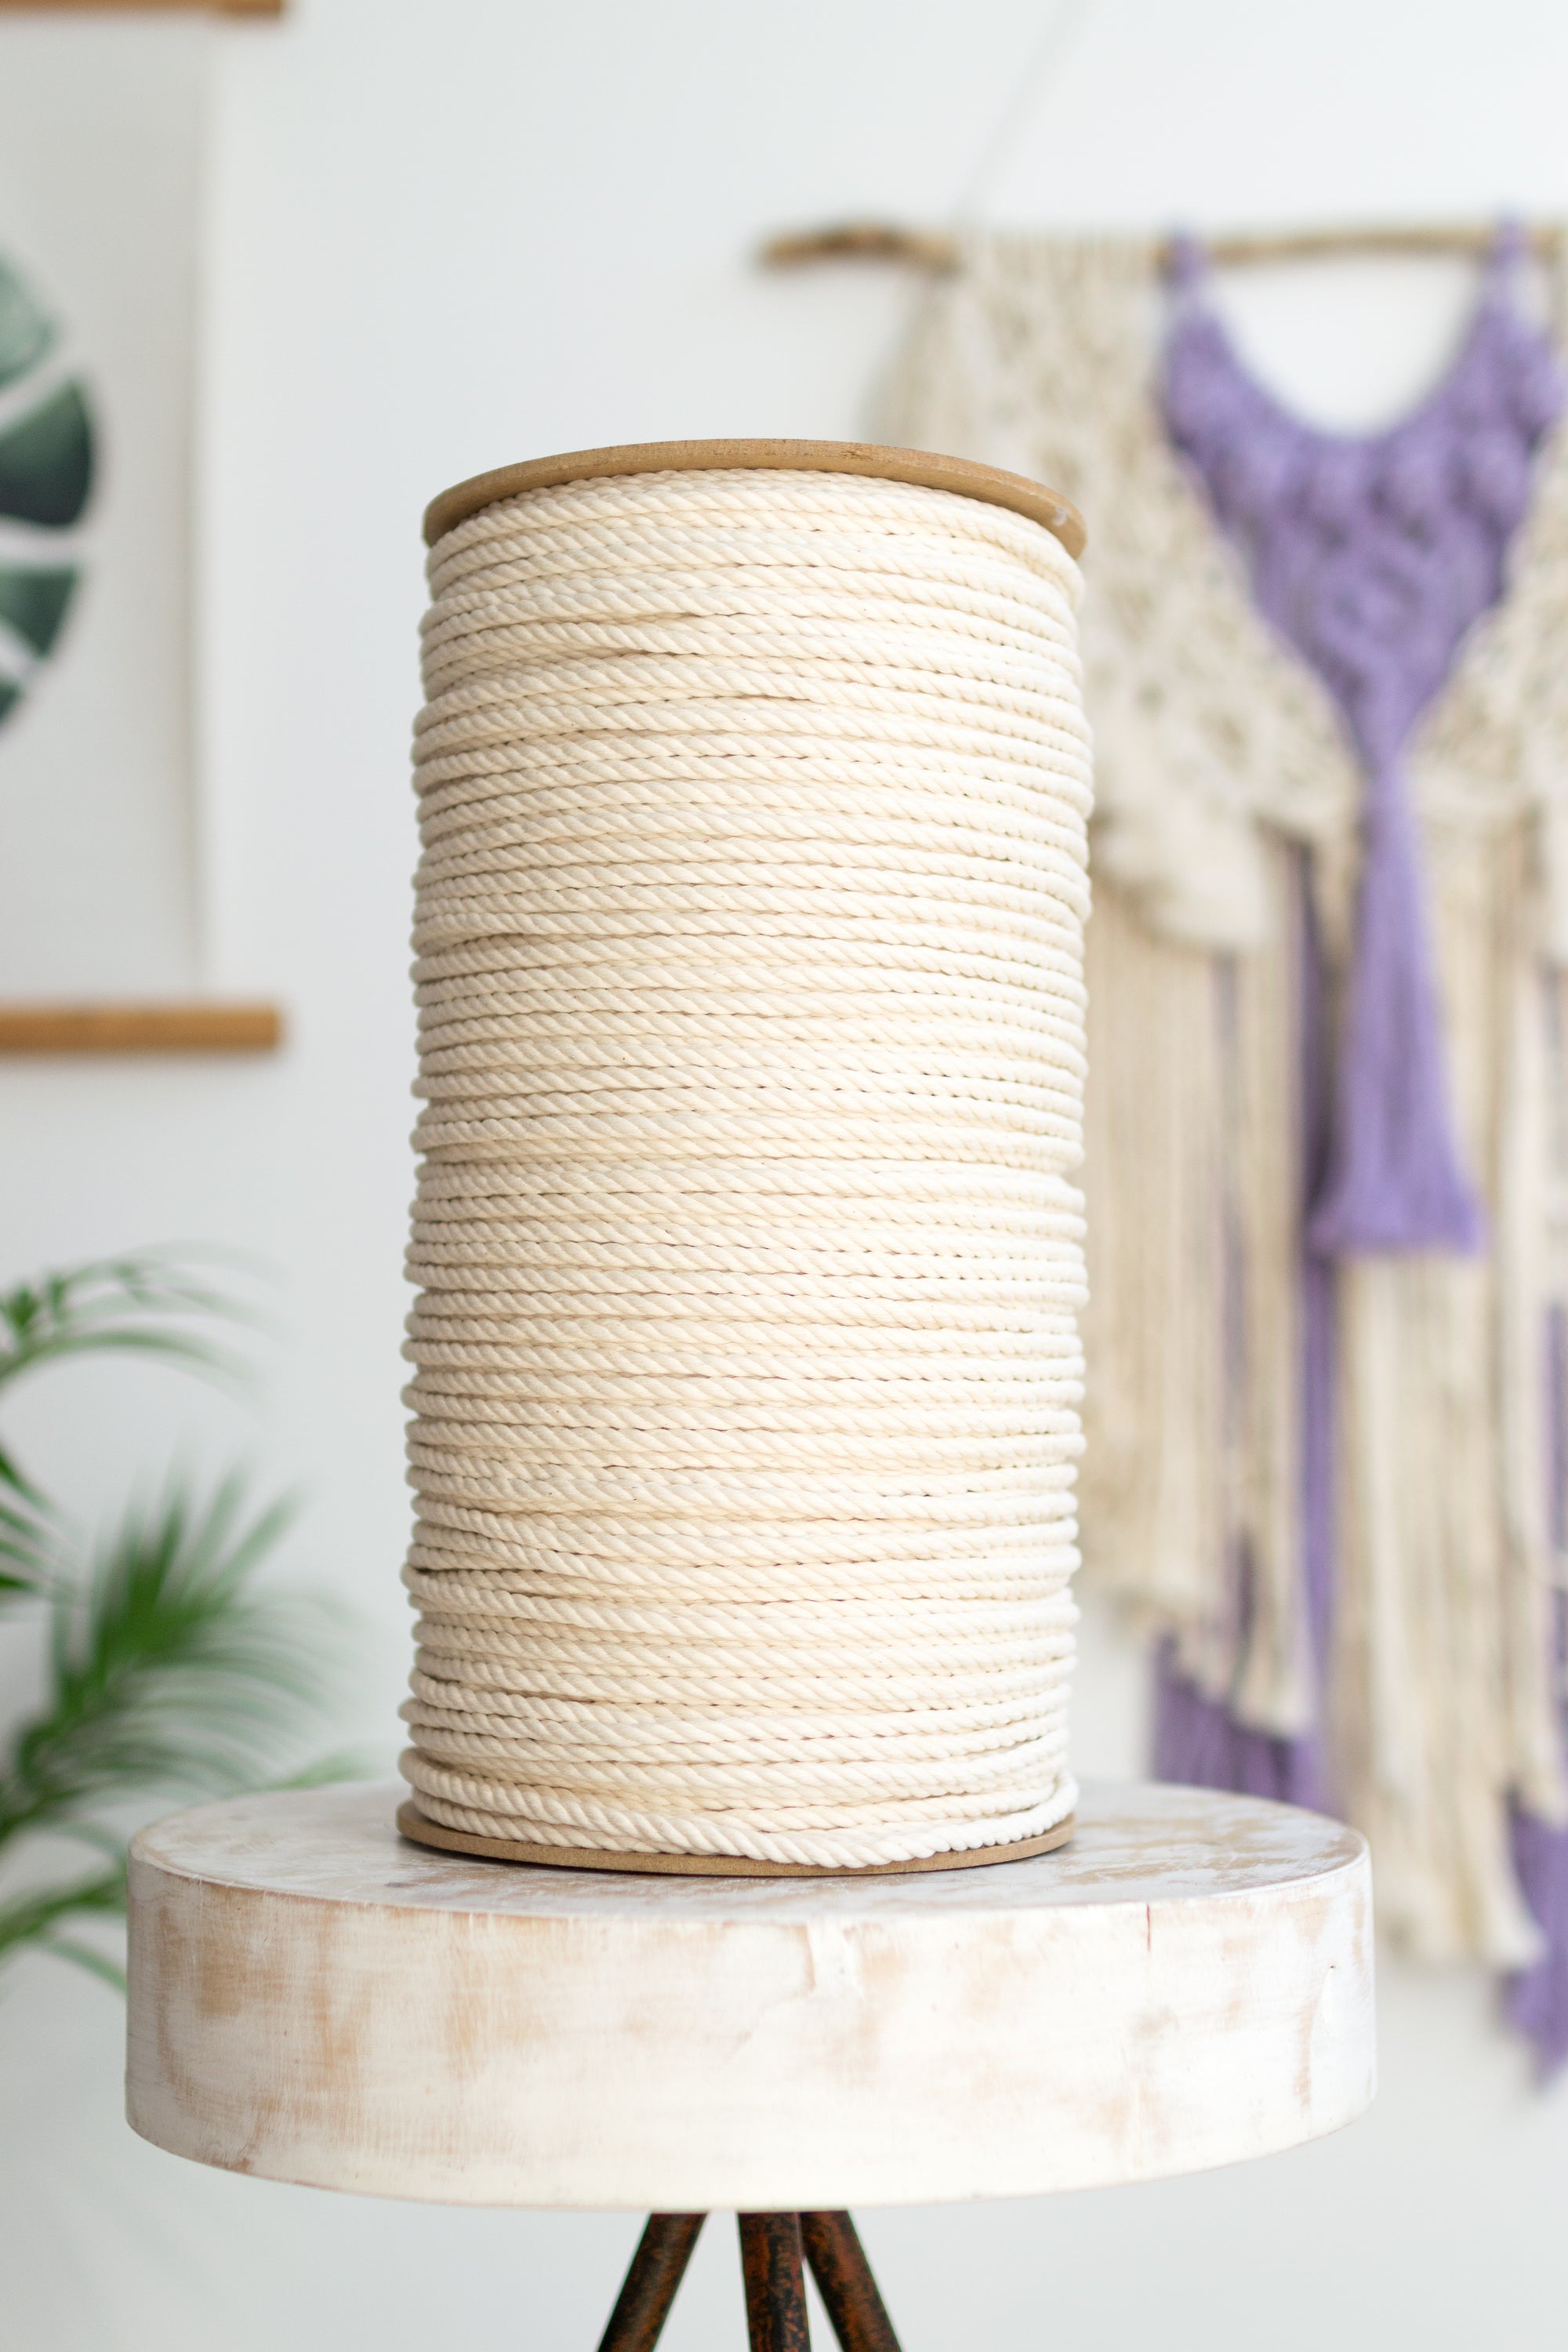 Uitverkocht
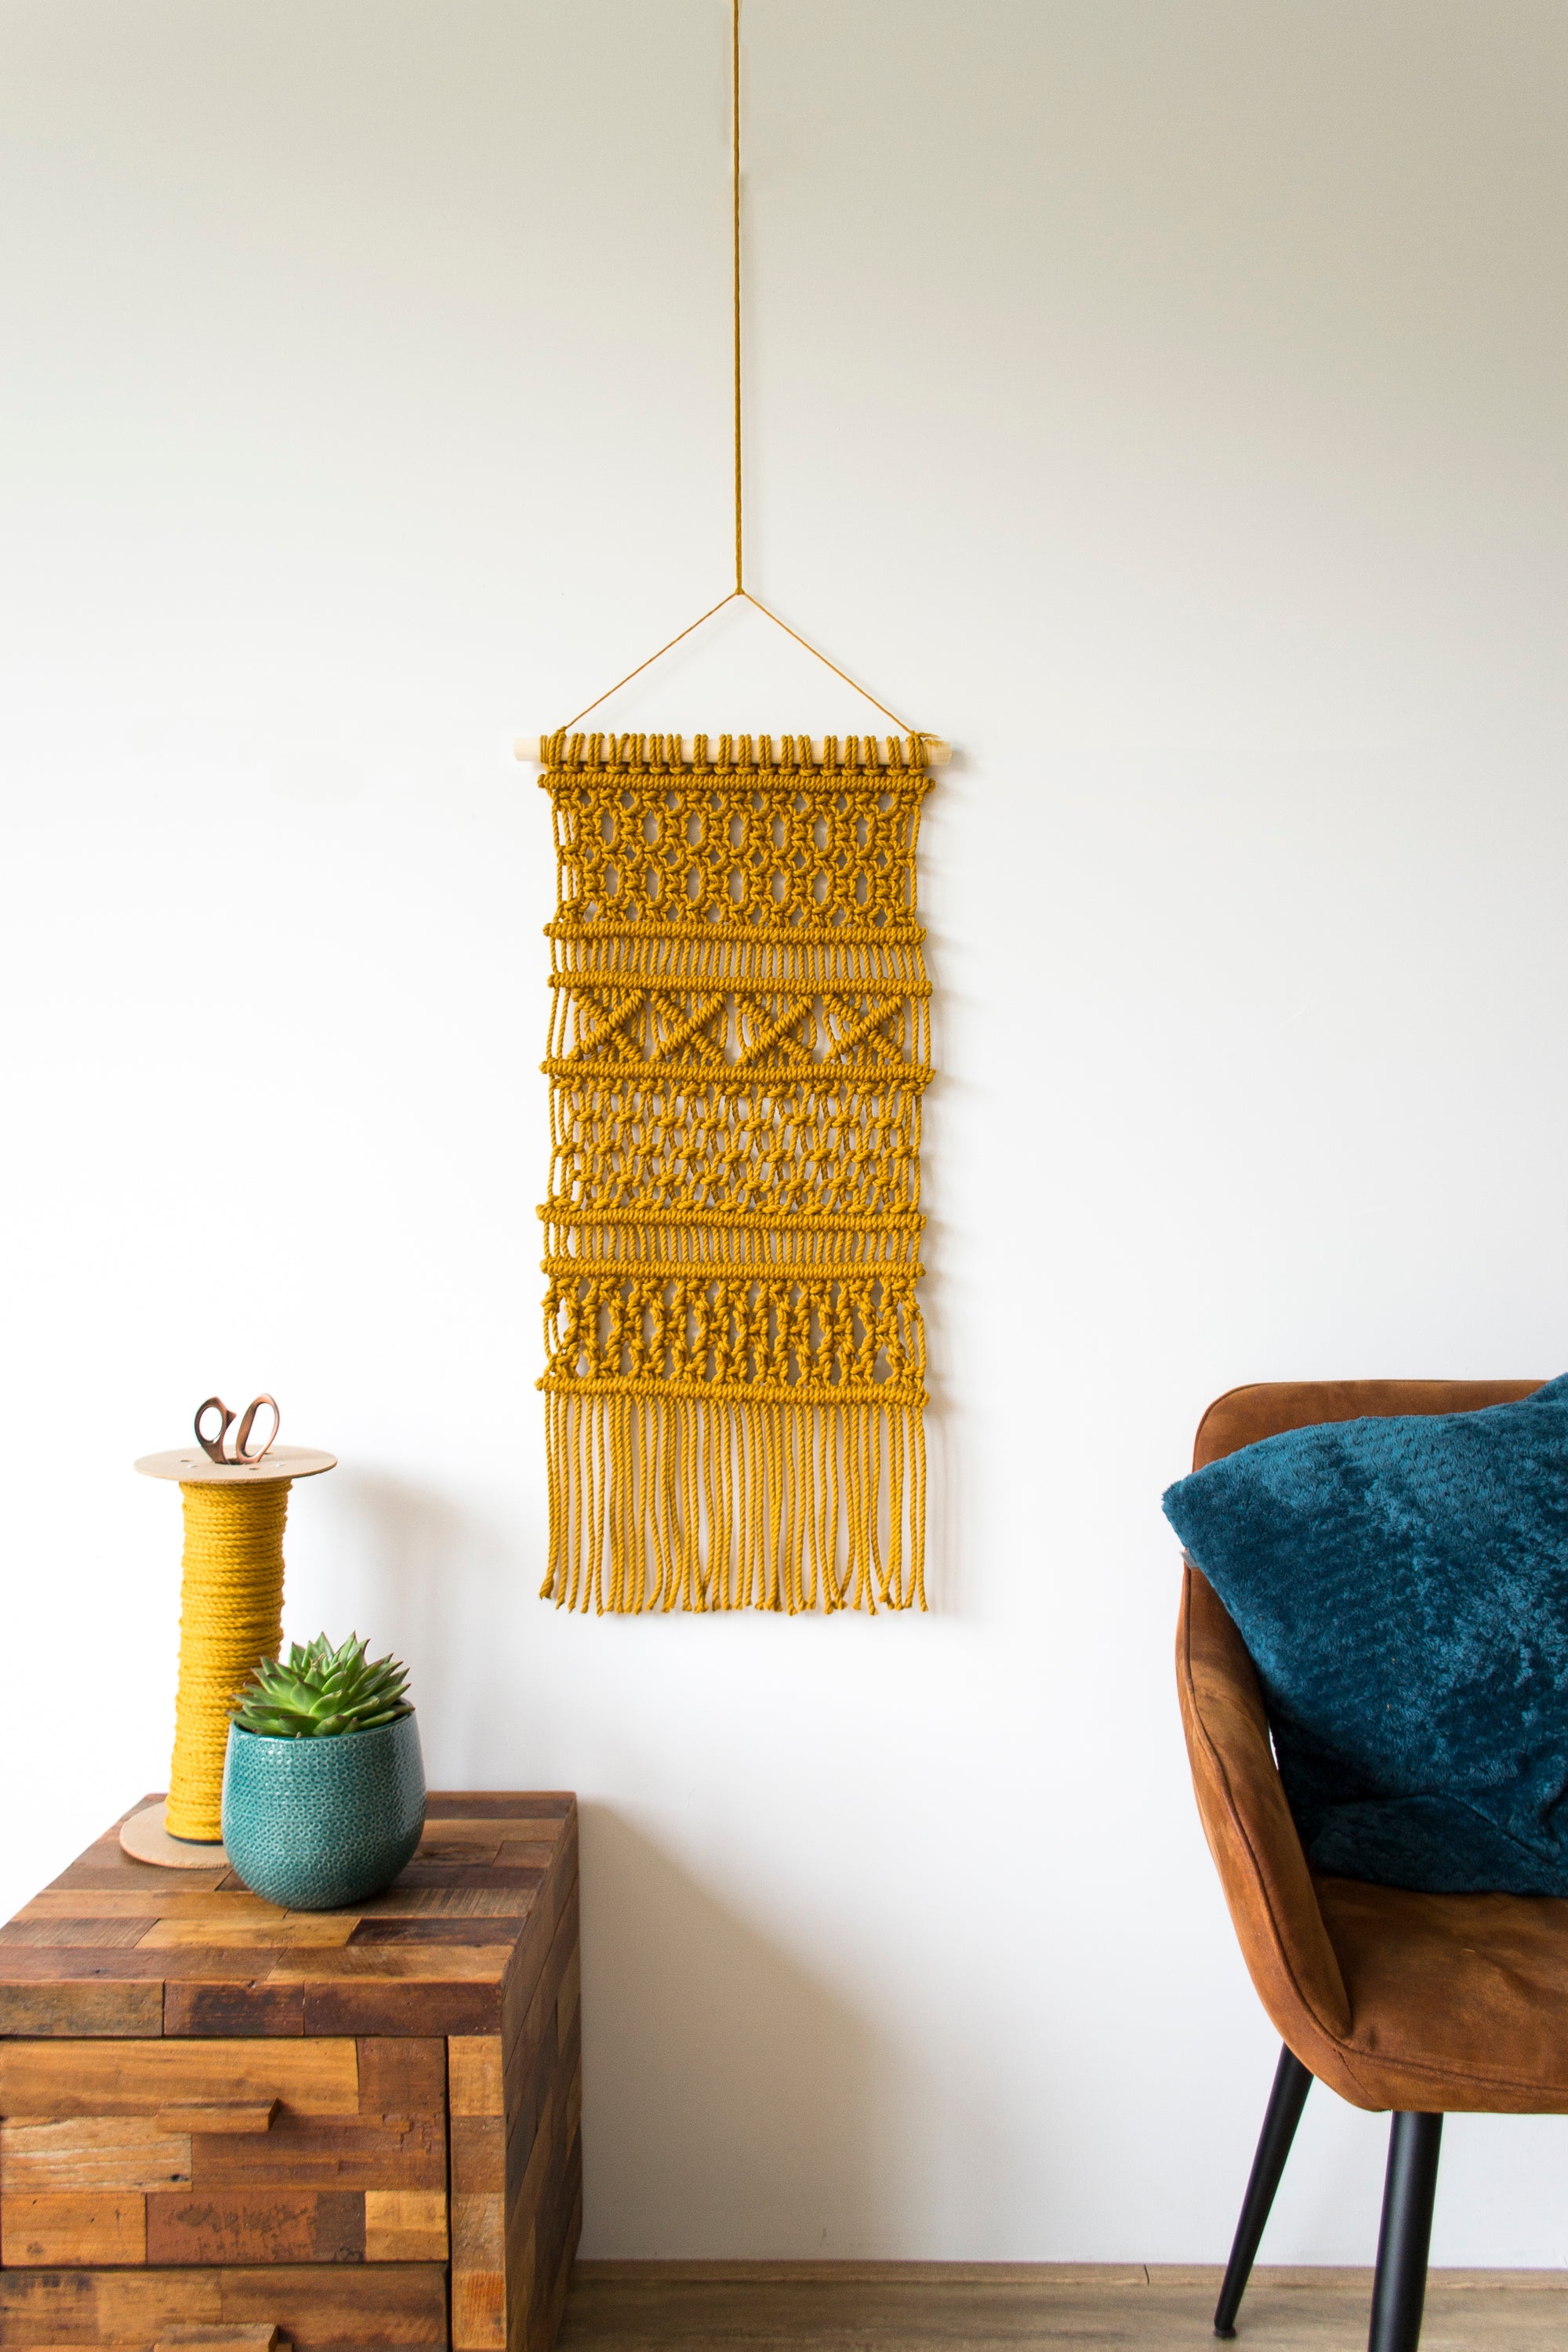 Uitverkocht
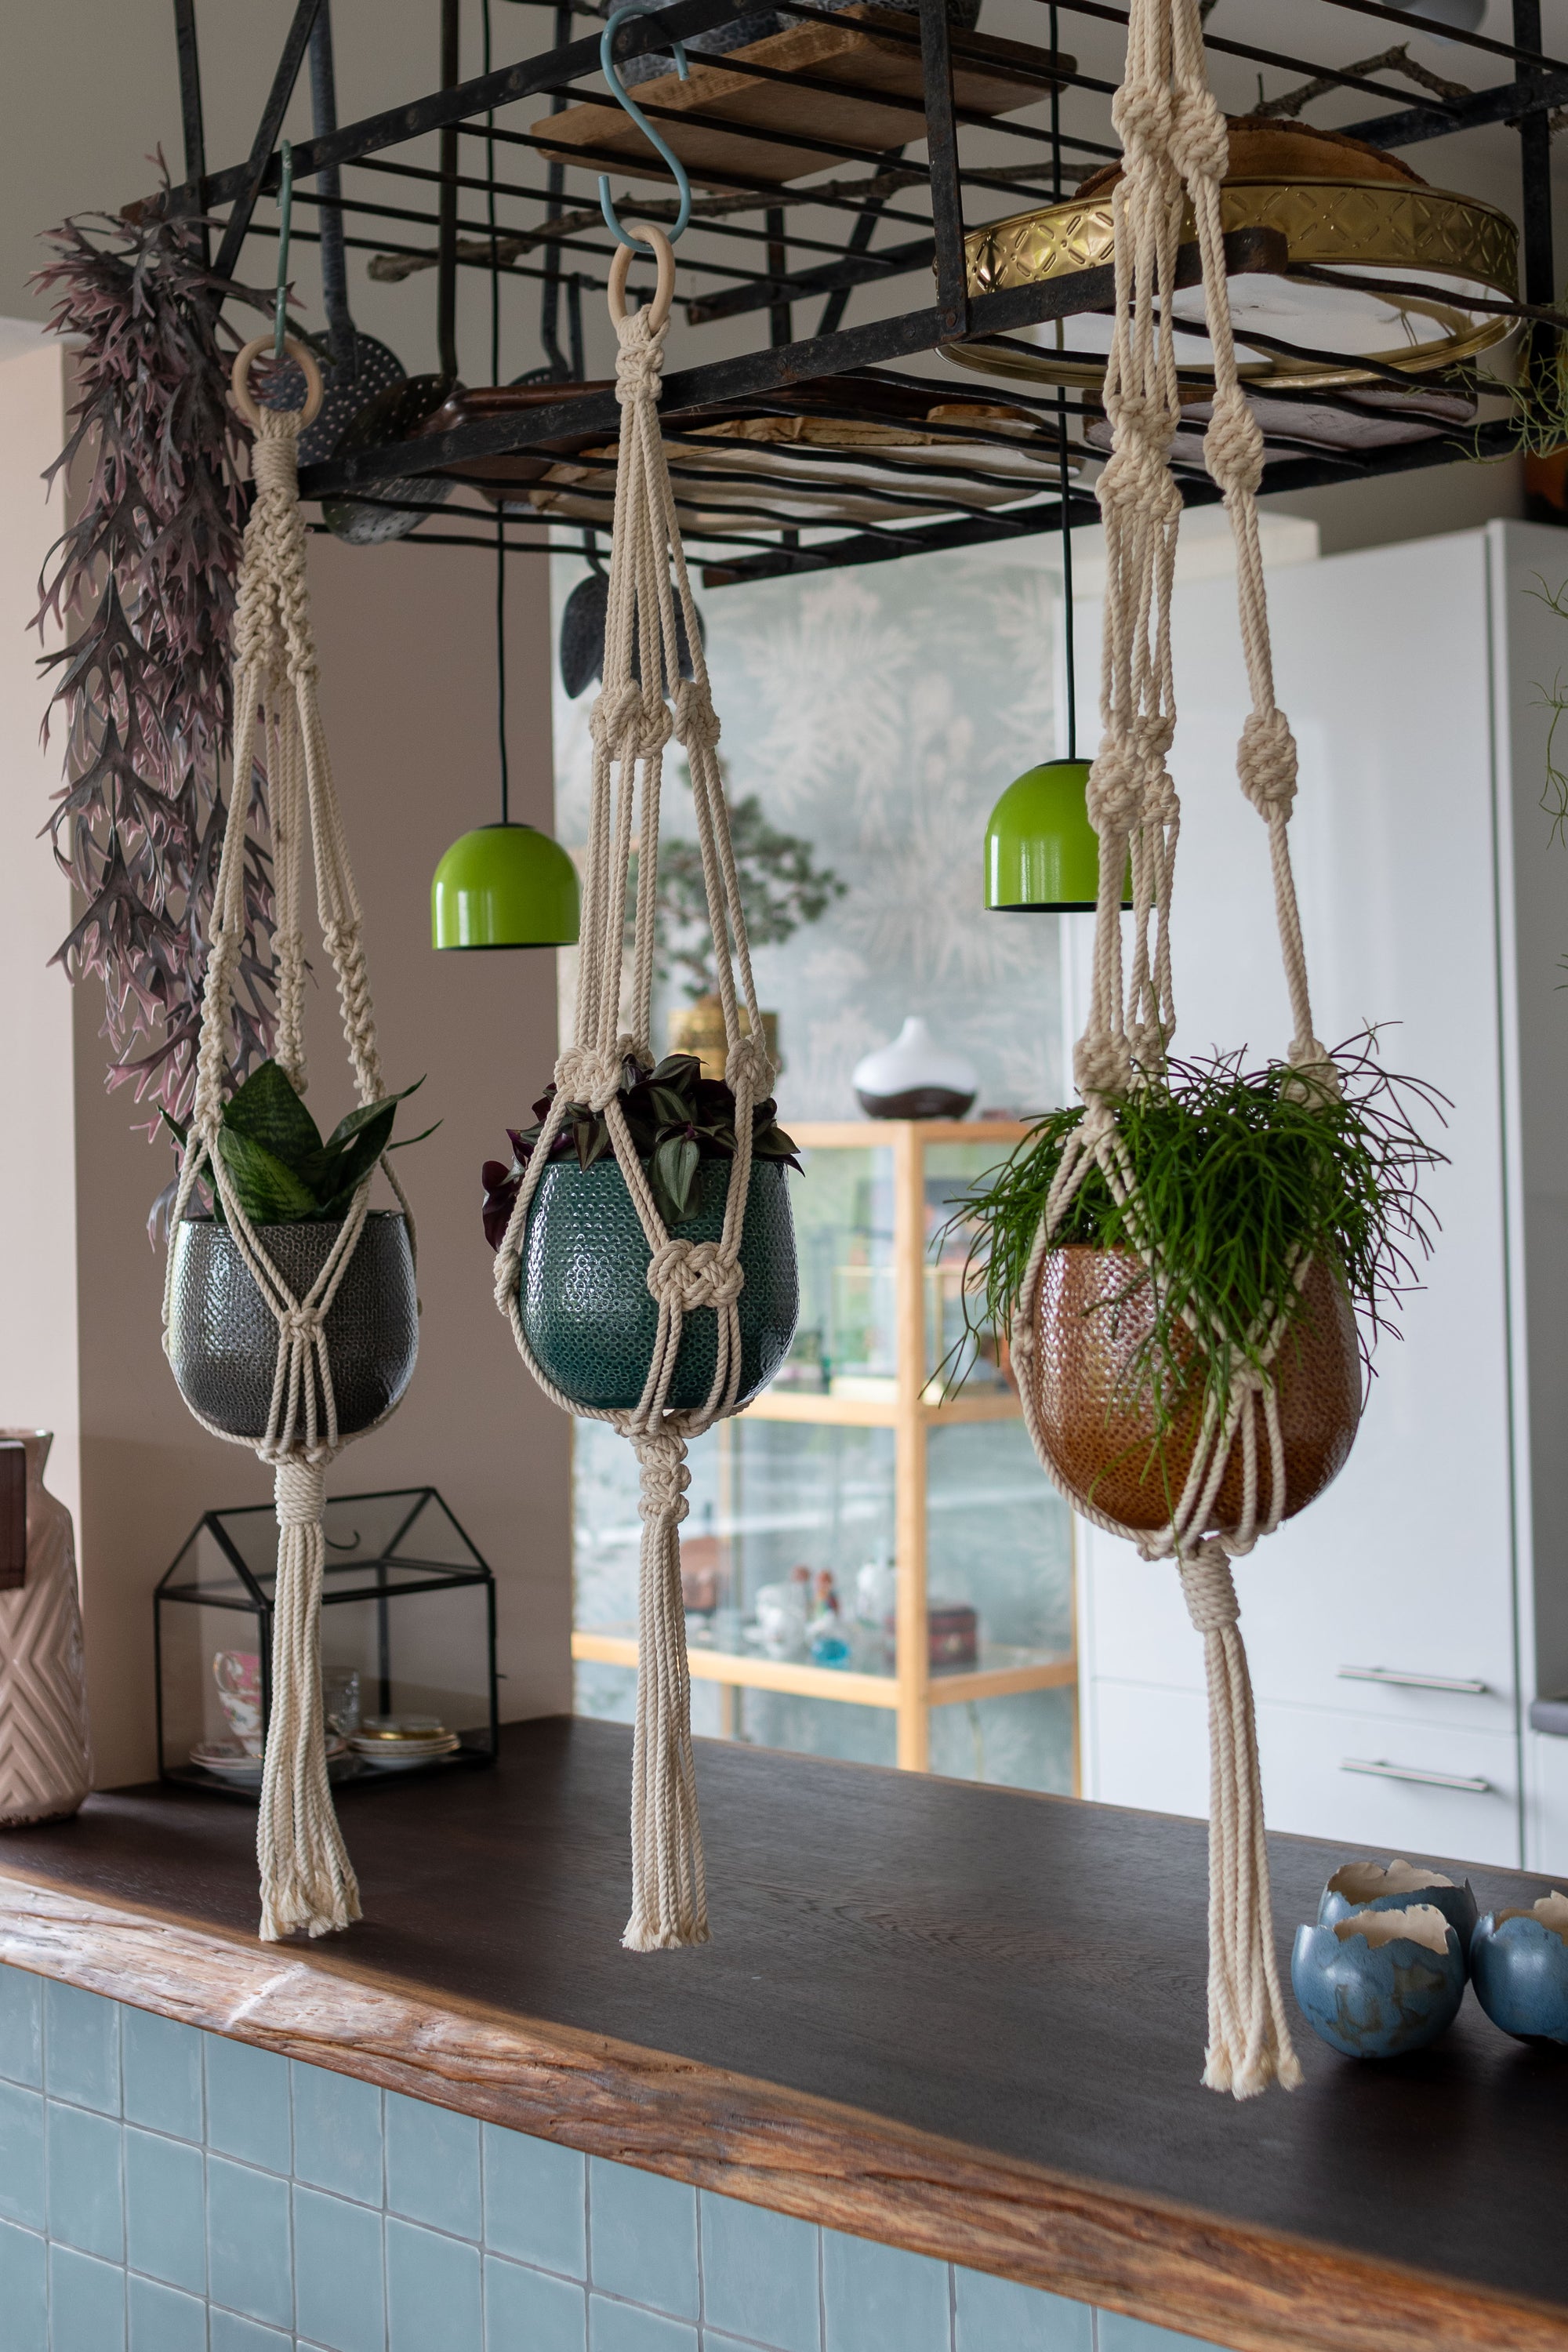 Uitverkocht
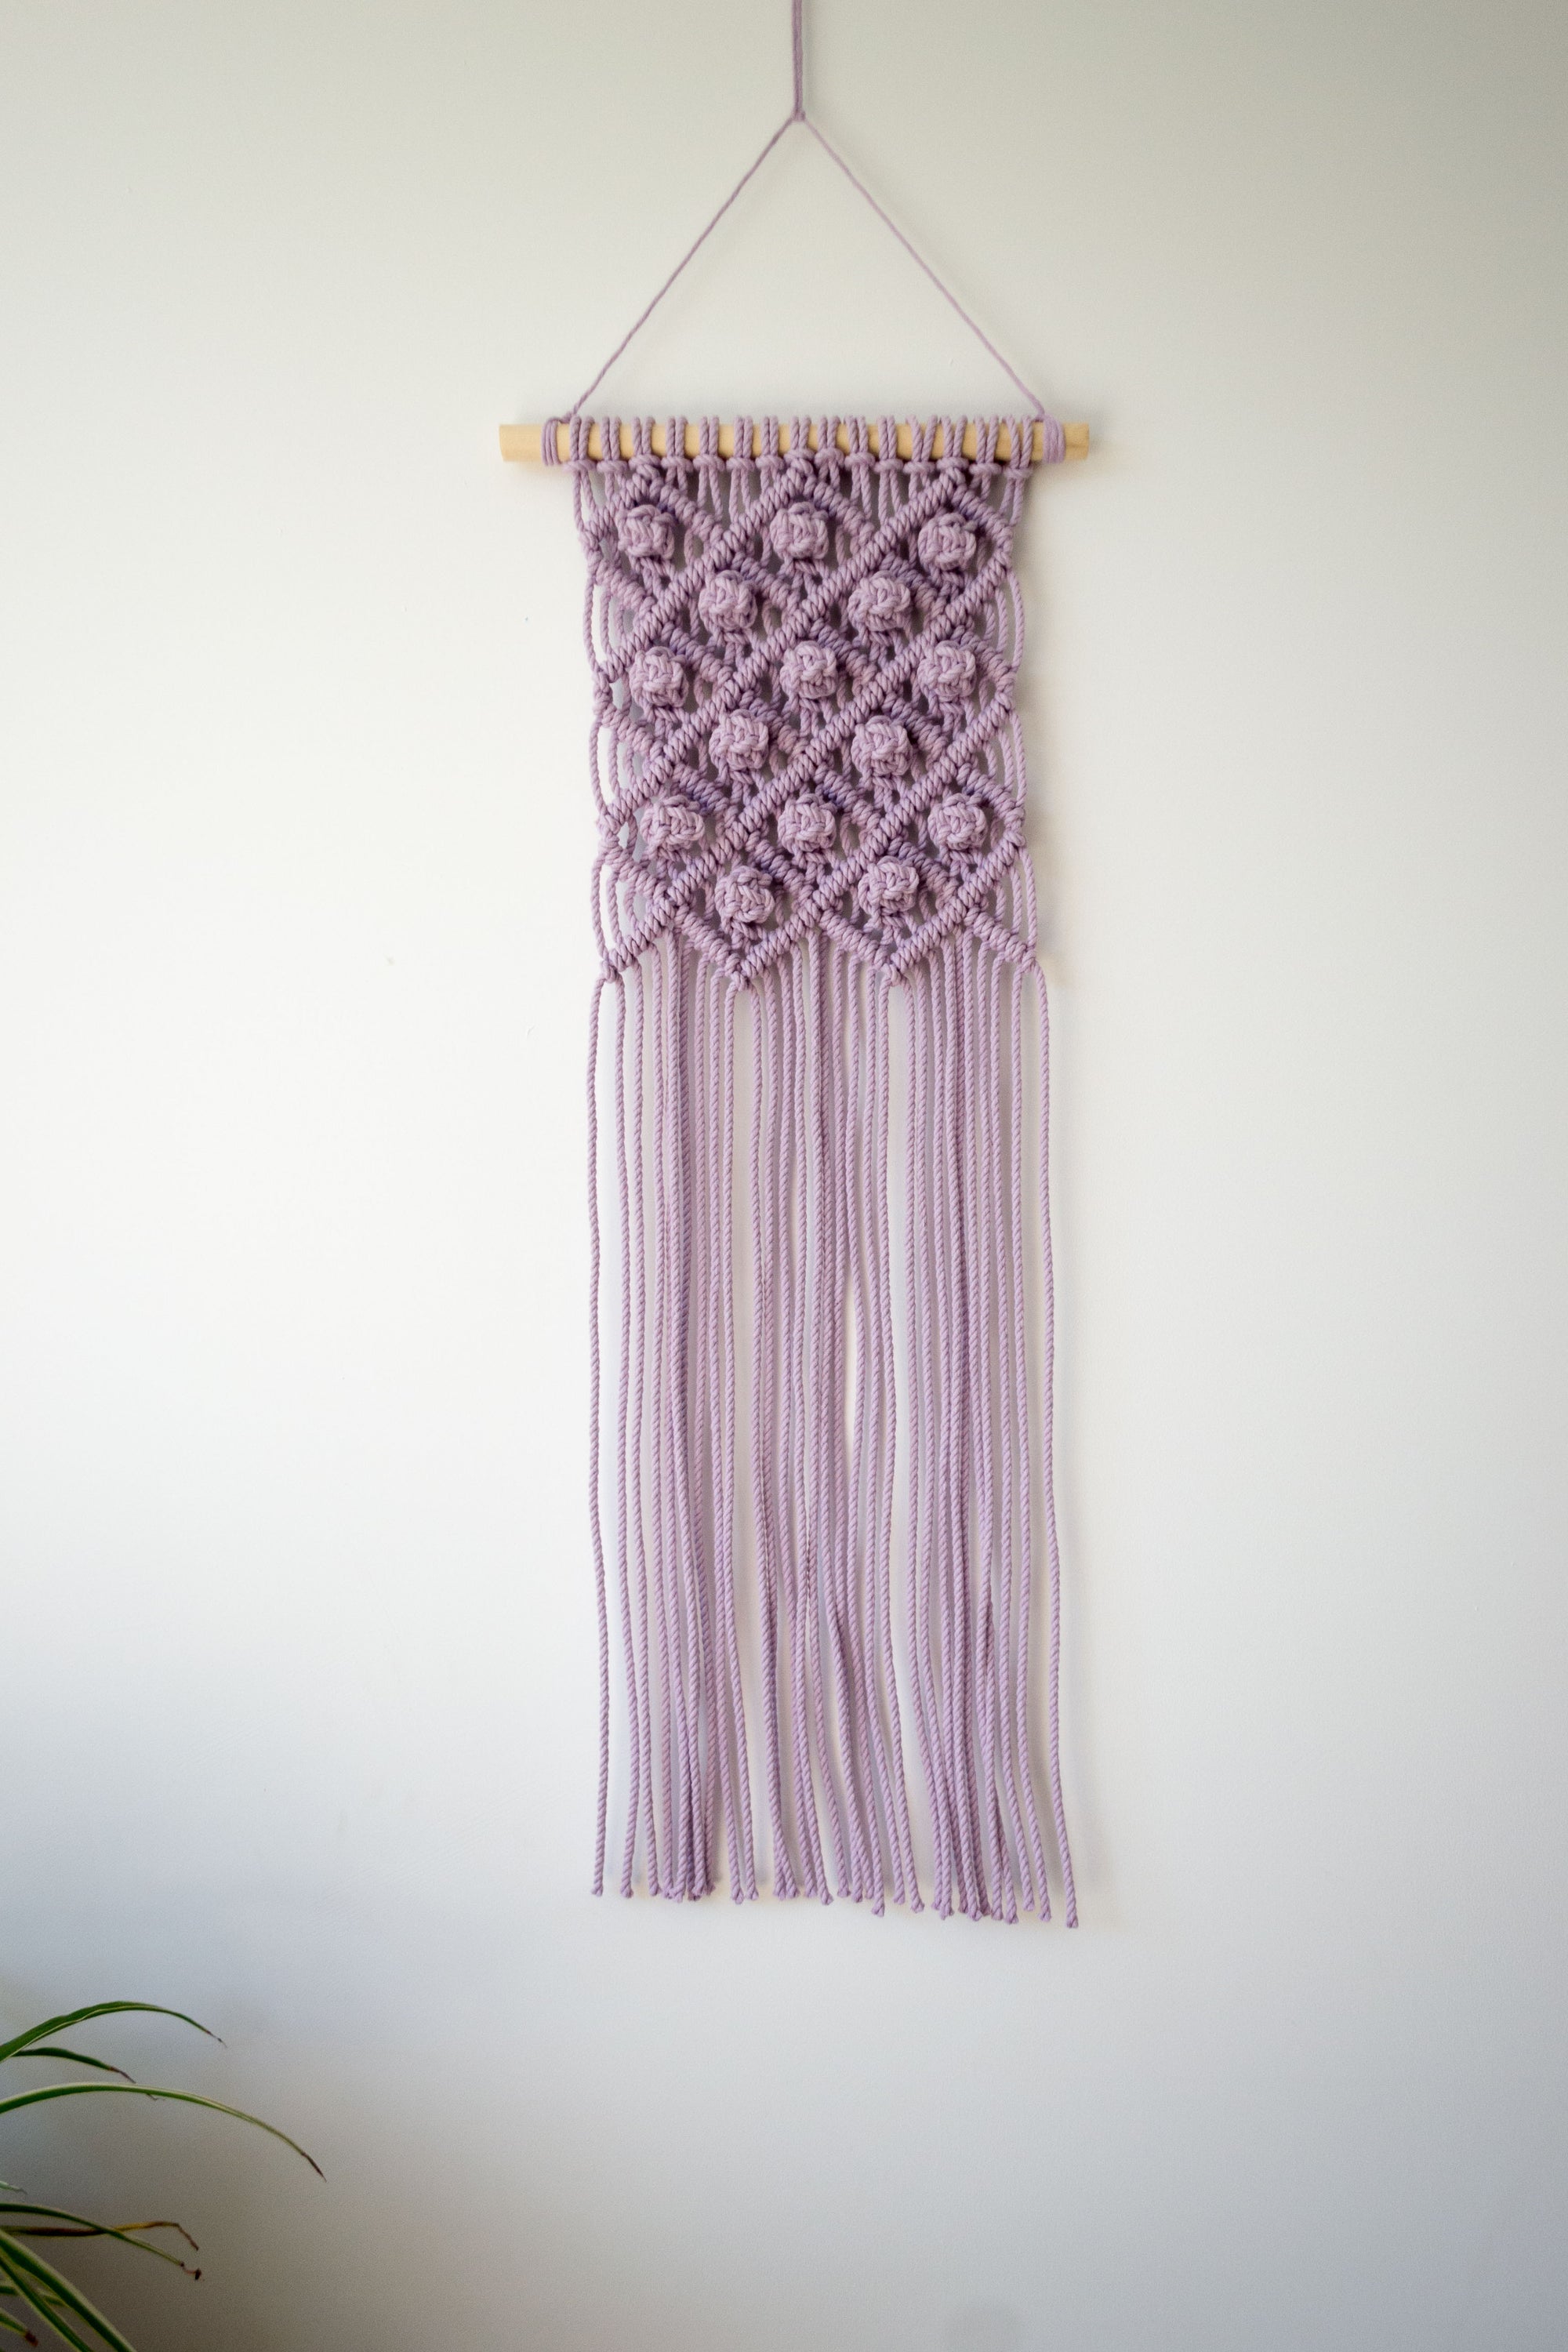 Uitverkocht
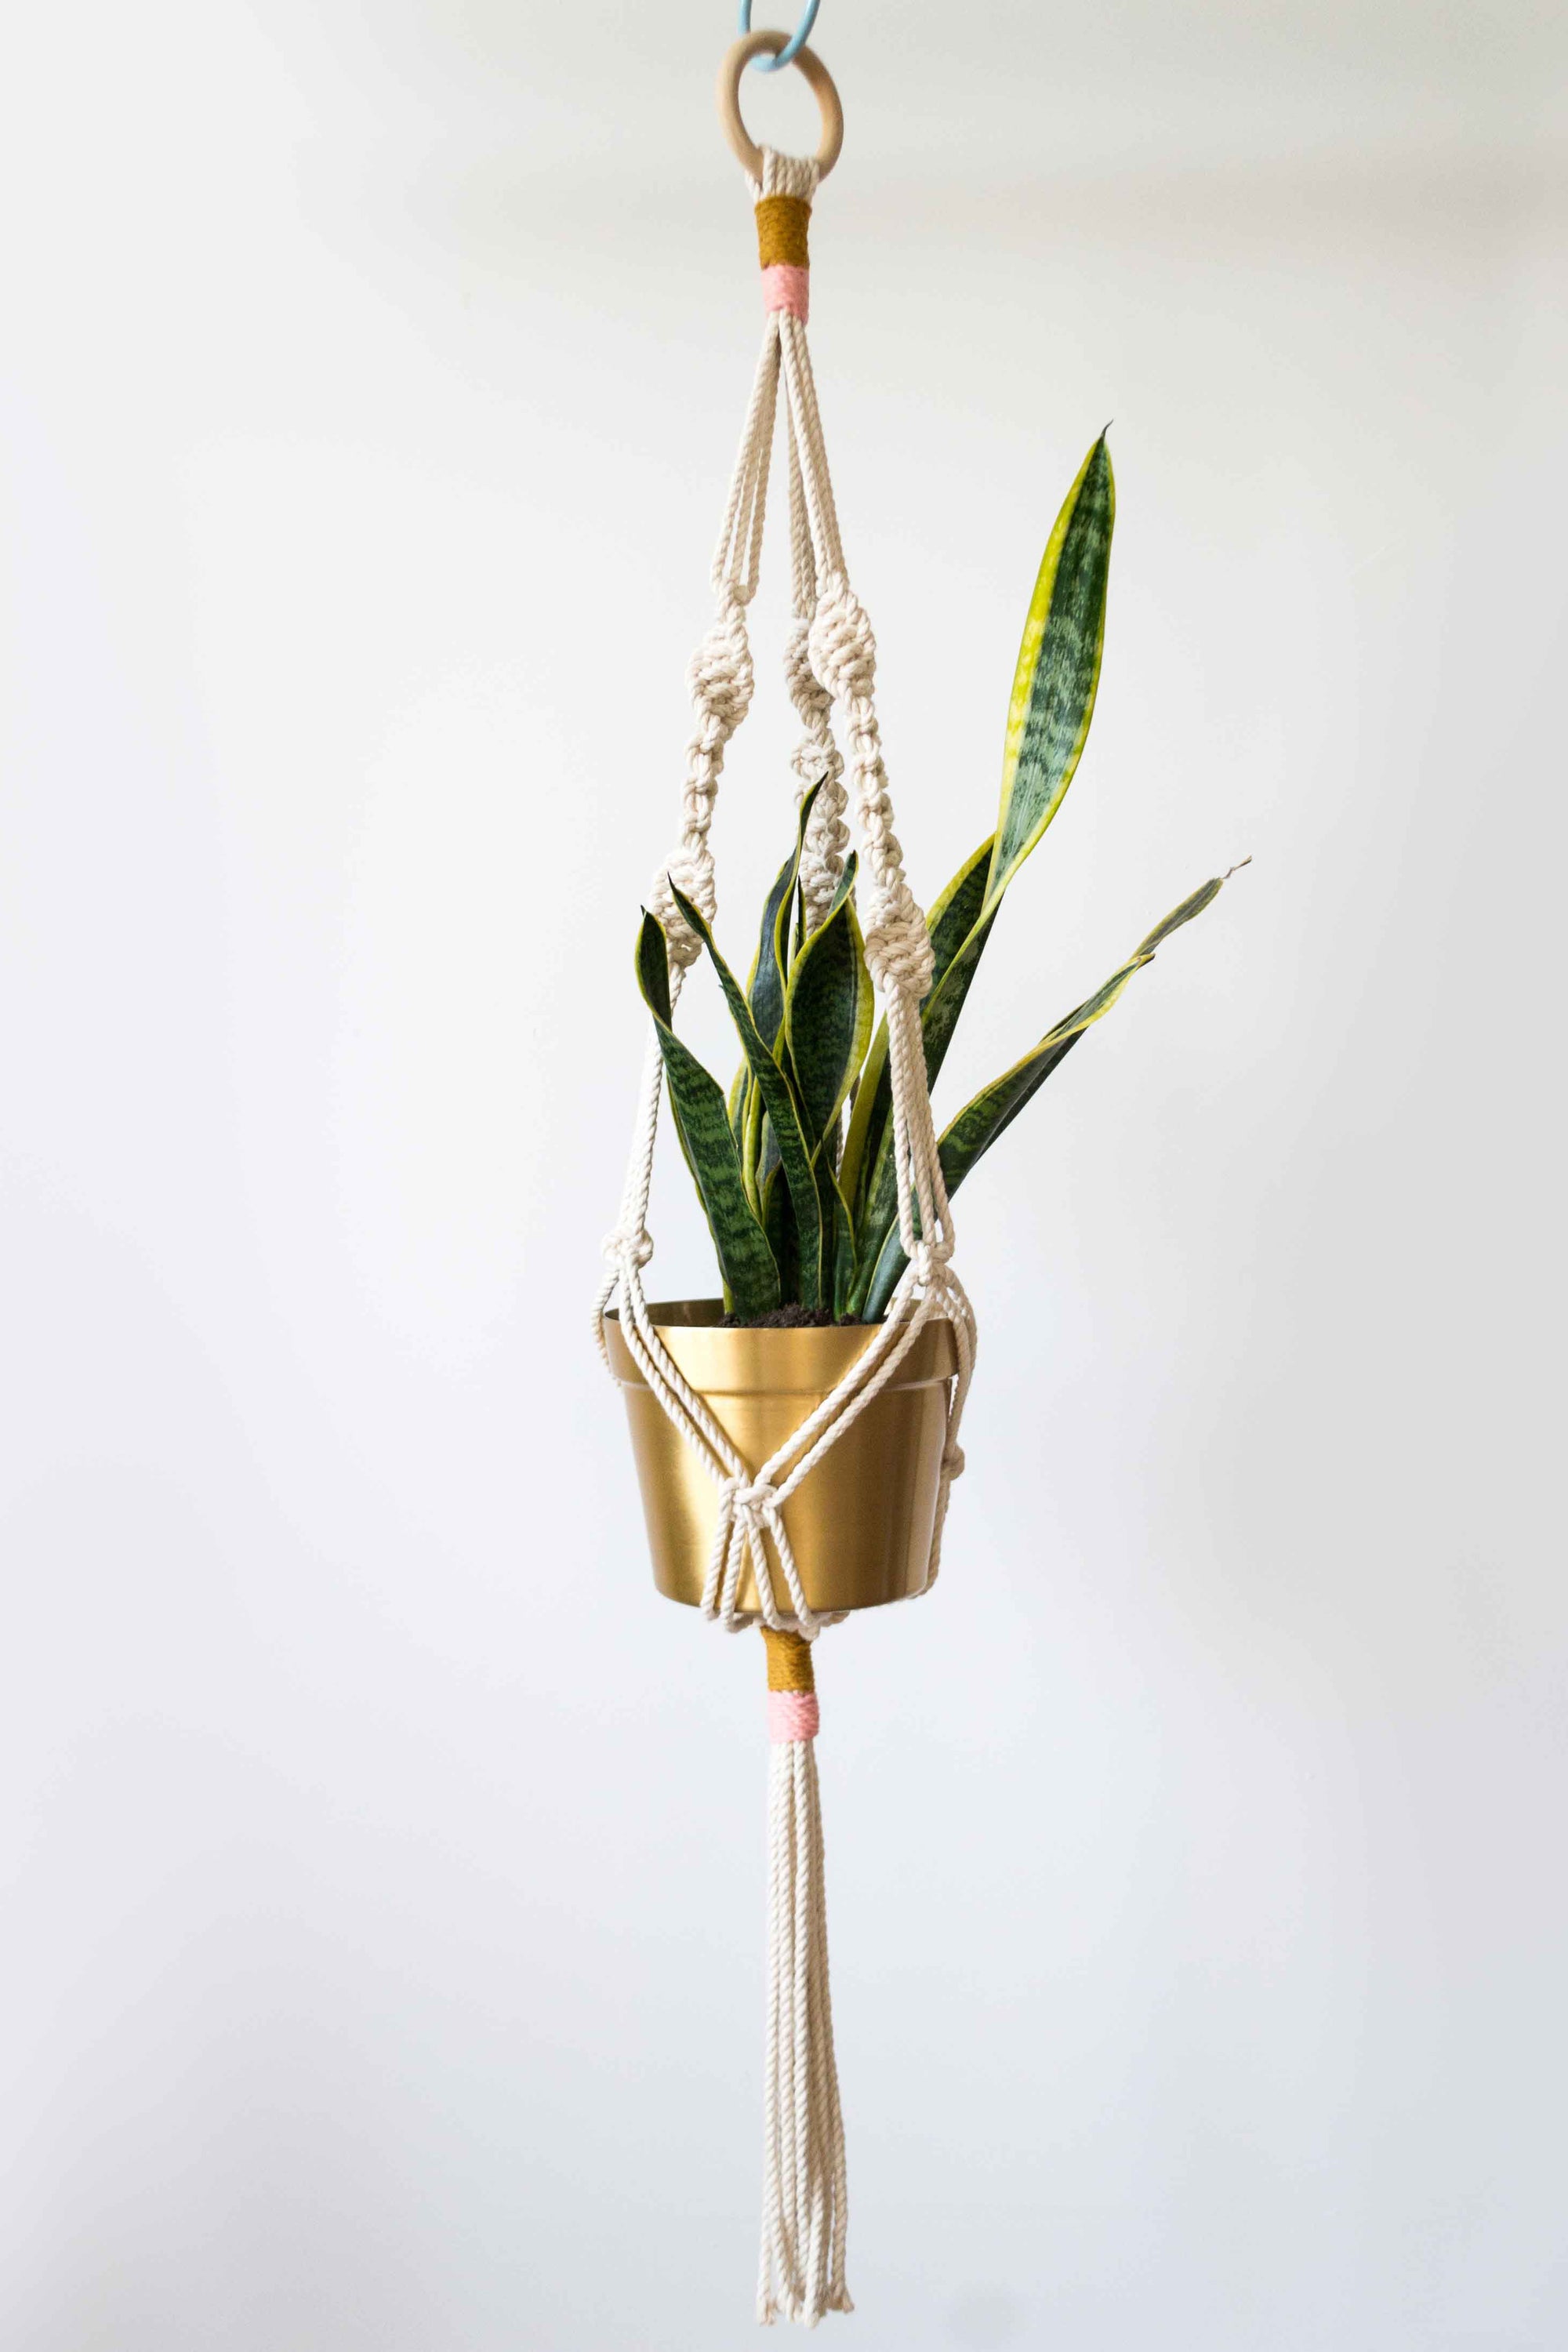 Uitverkocht
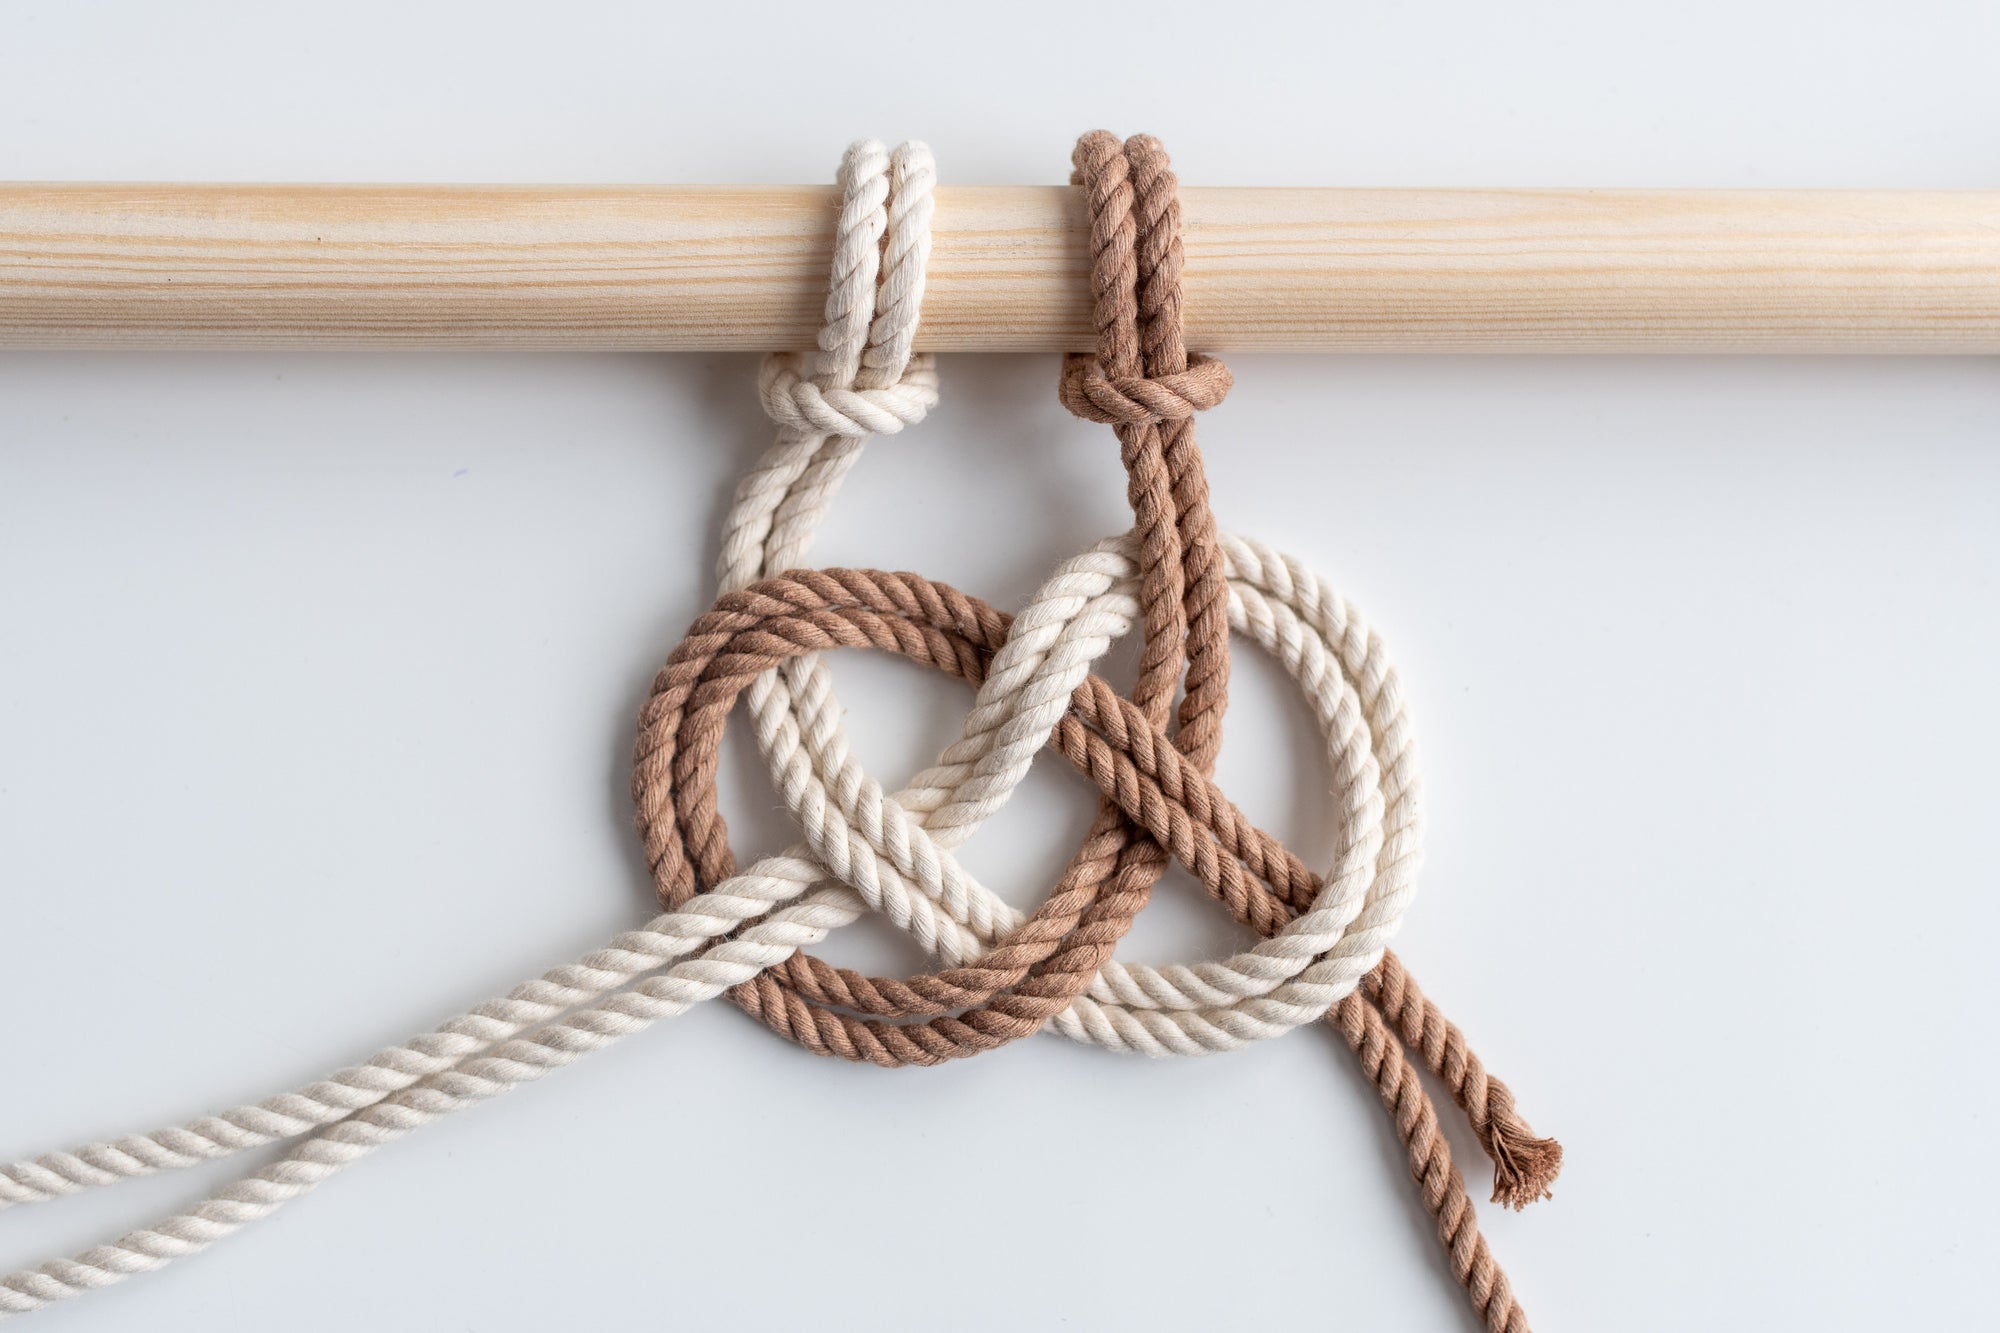
 € 220.00 EUR
 € 21.99 EUR
 € 155.00 EUR
 Vanaf € 12.99 EUR Vanaf € 25.99 EUR Vanaf € 12.99 EUR Vanaf € 8.99 EUR
  Uitverkocht
 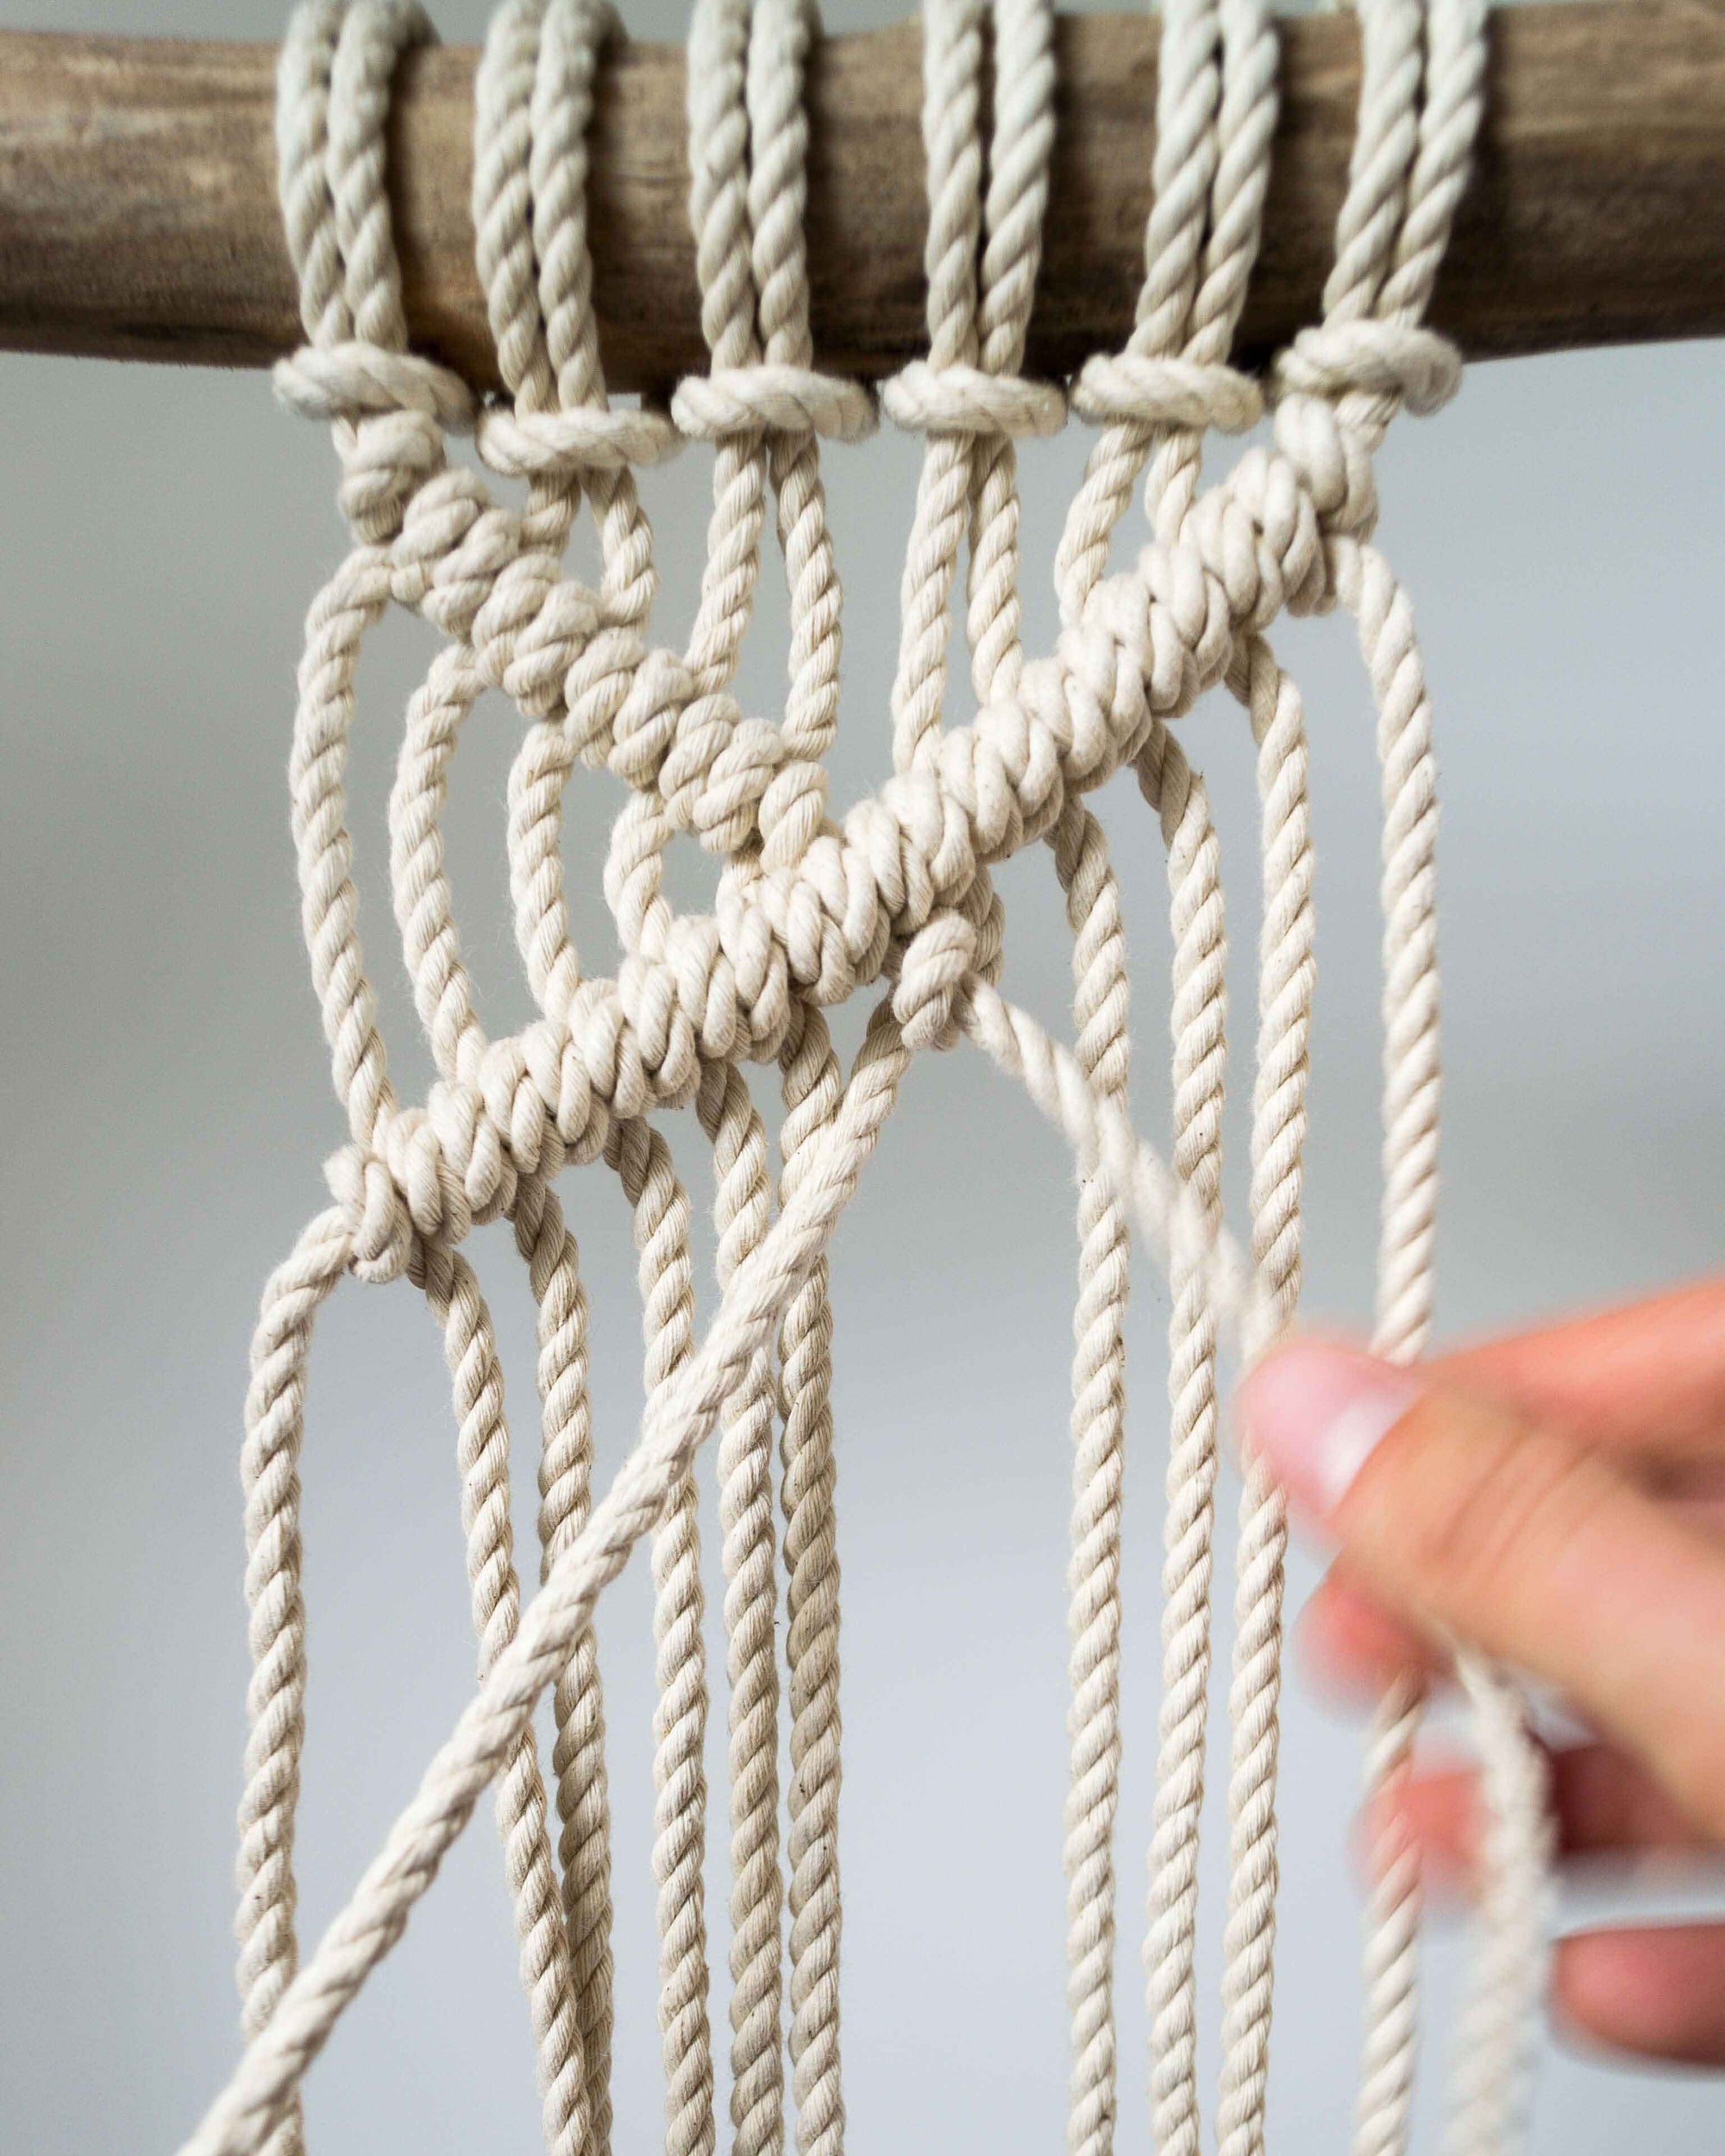 Vanaf € 12.99 EUR Vanaf € 12.99 EUR Vanaf € 8.99 EUR Vanaf € 25.99 EUR Uitverkocht
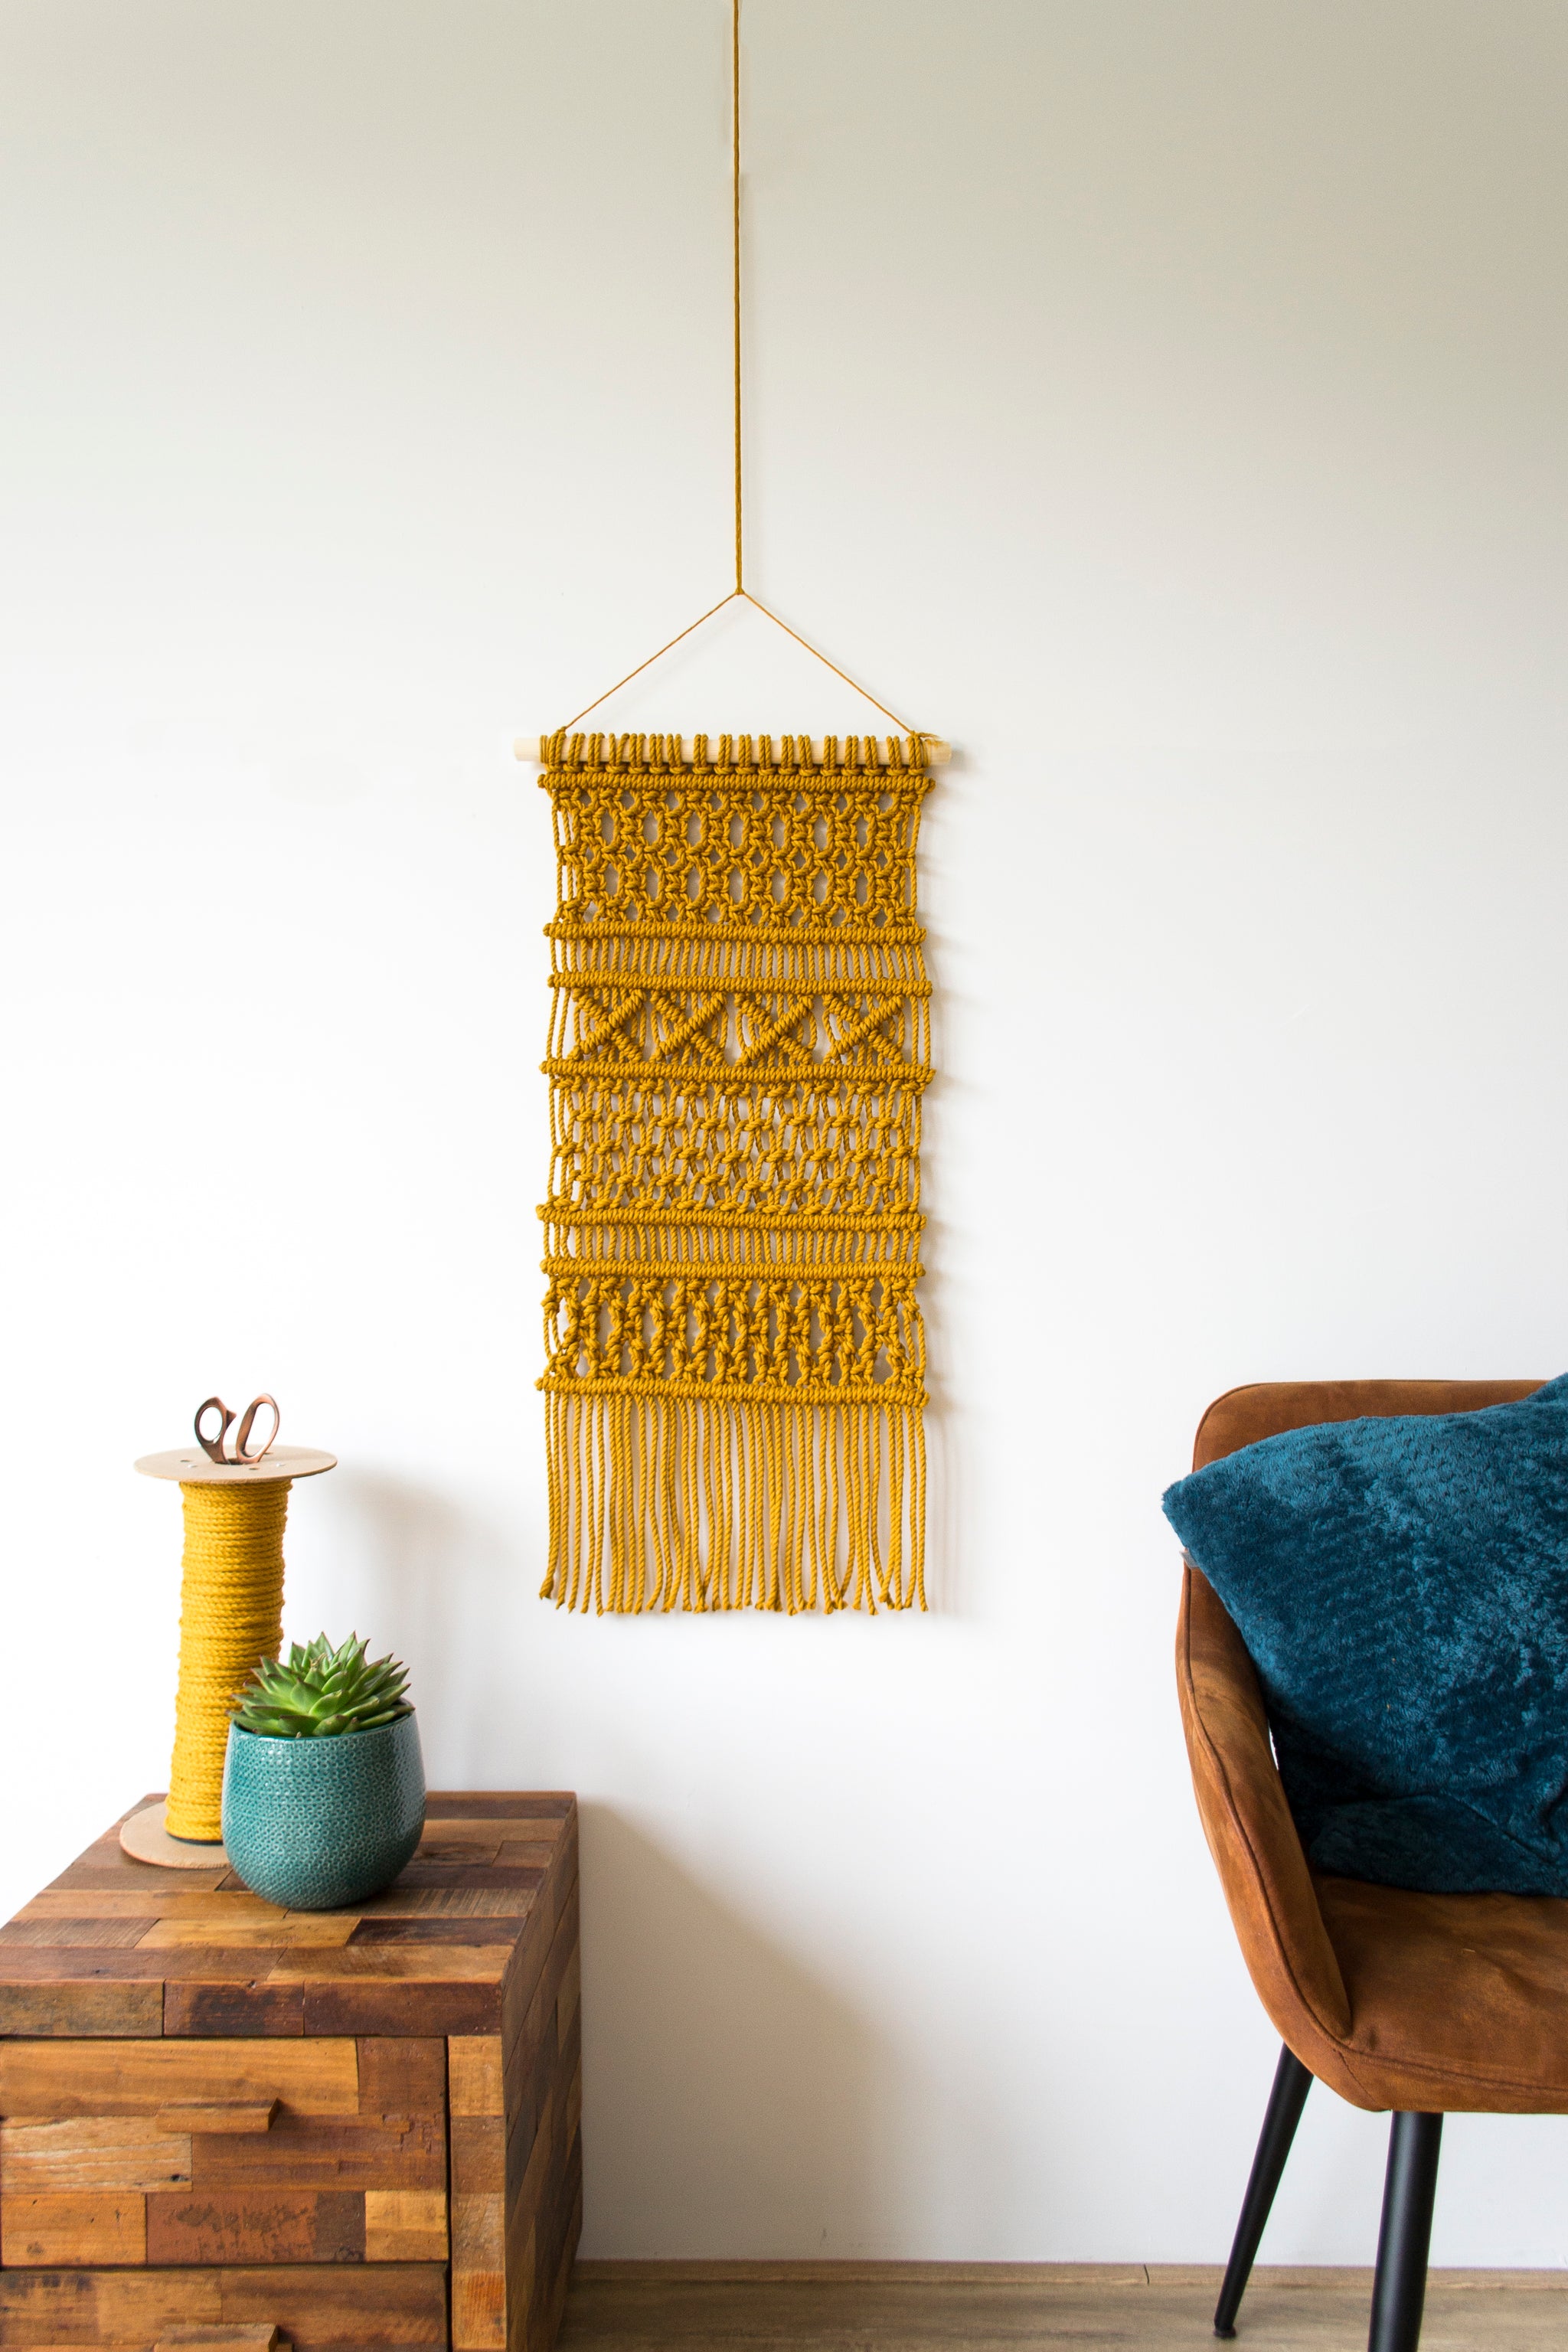


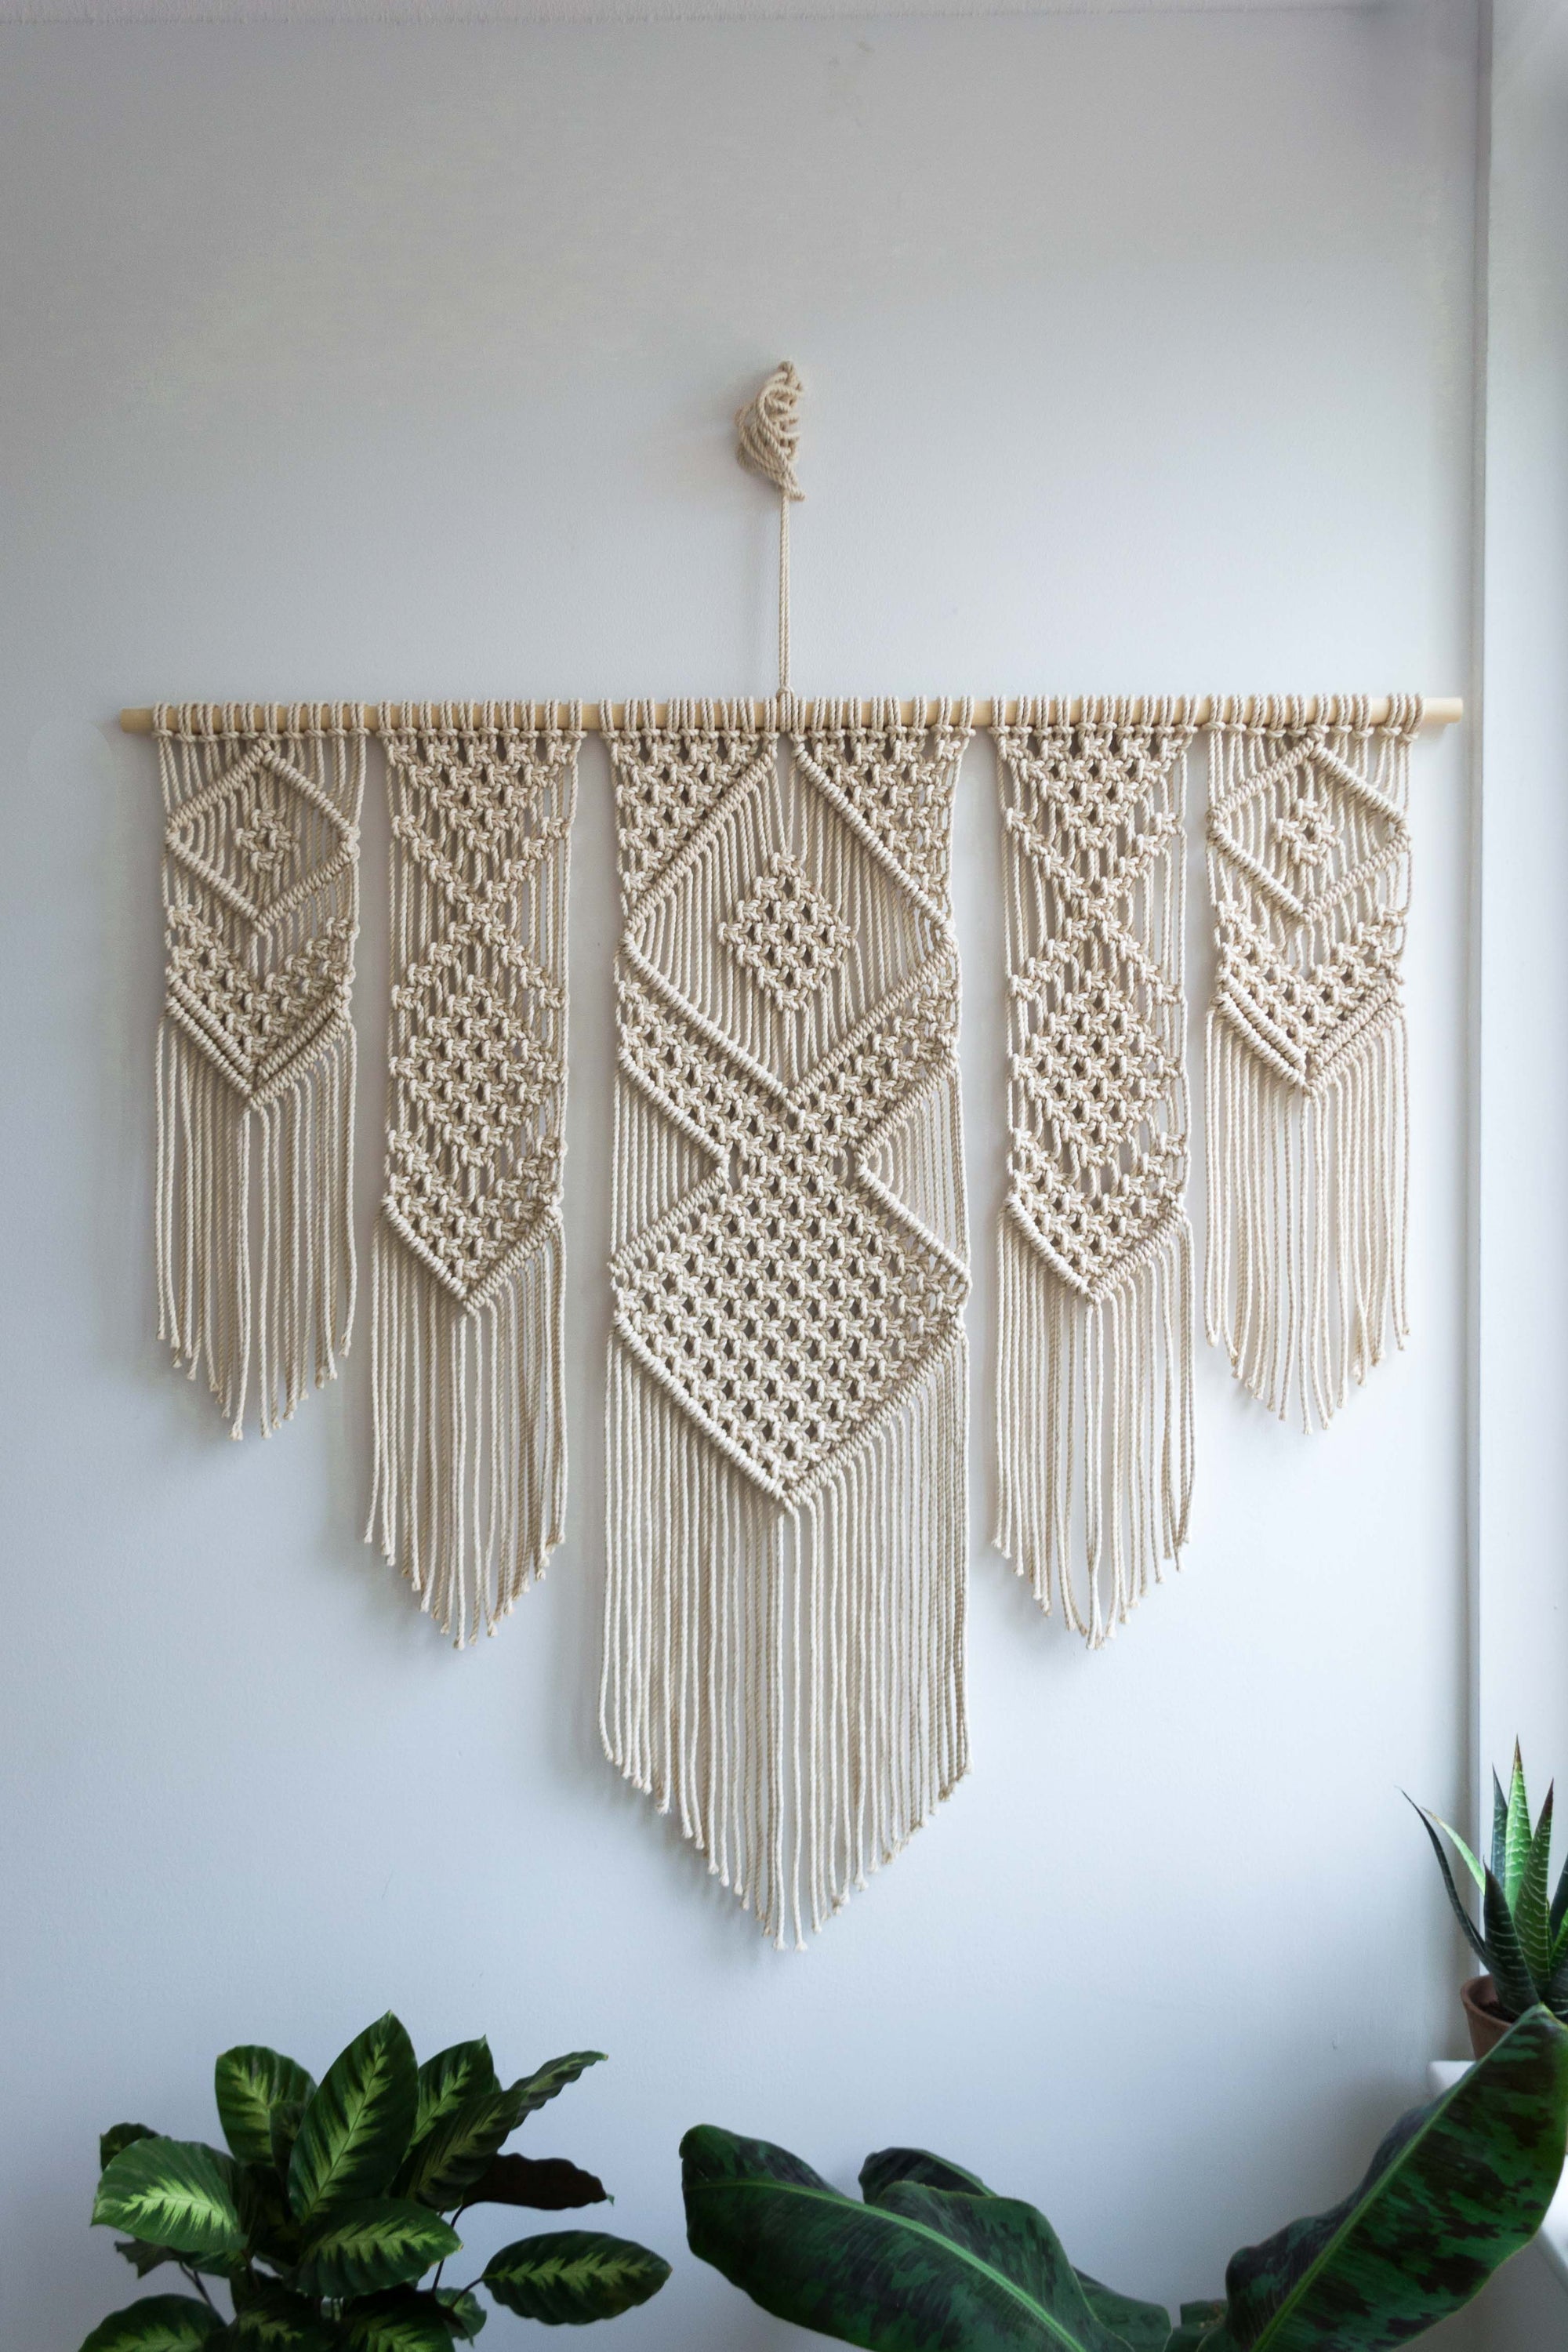
You will receive:
Below you can find the pattern for this macrame wall hanging.
In this pattern I will teach you the knots used in this wall hanging. See the video for the full time lapse
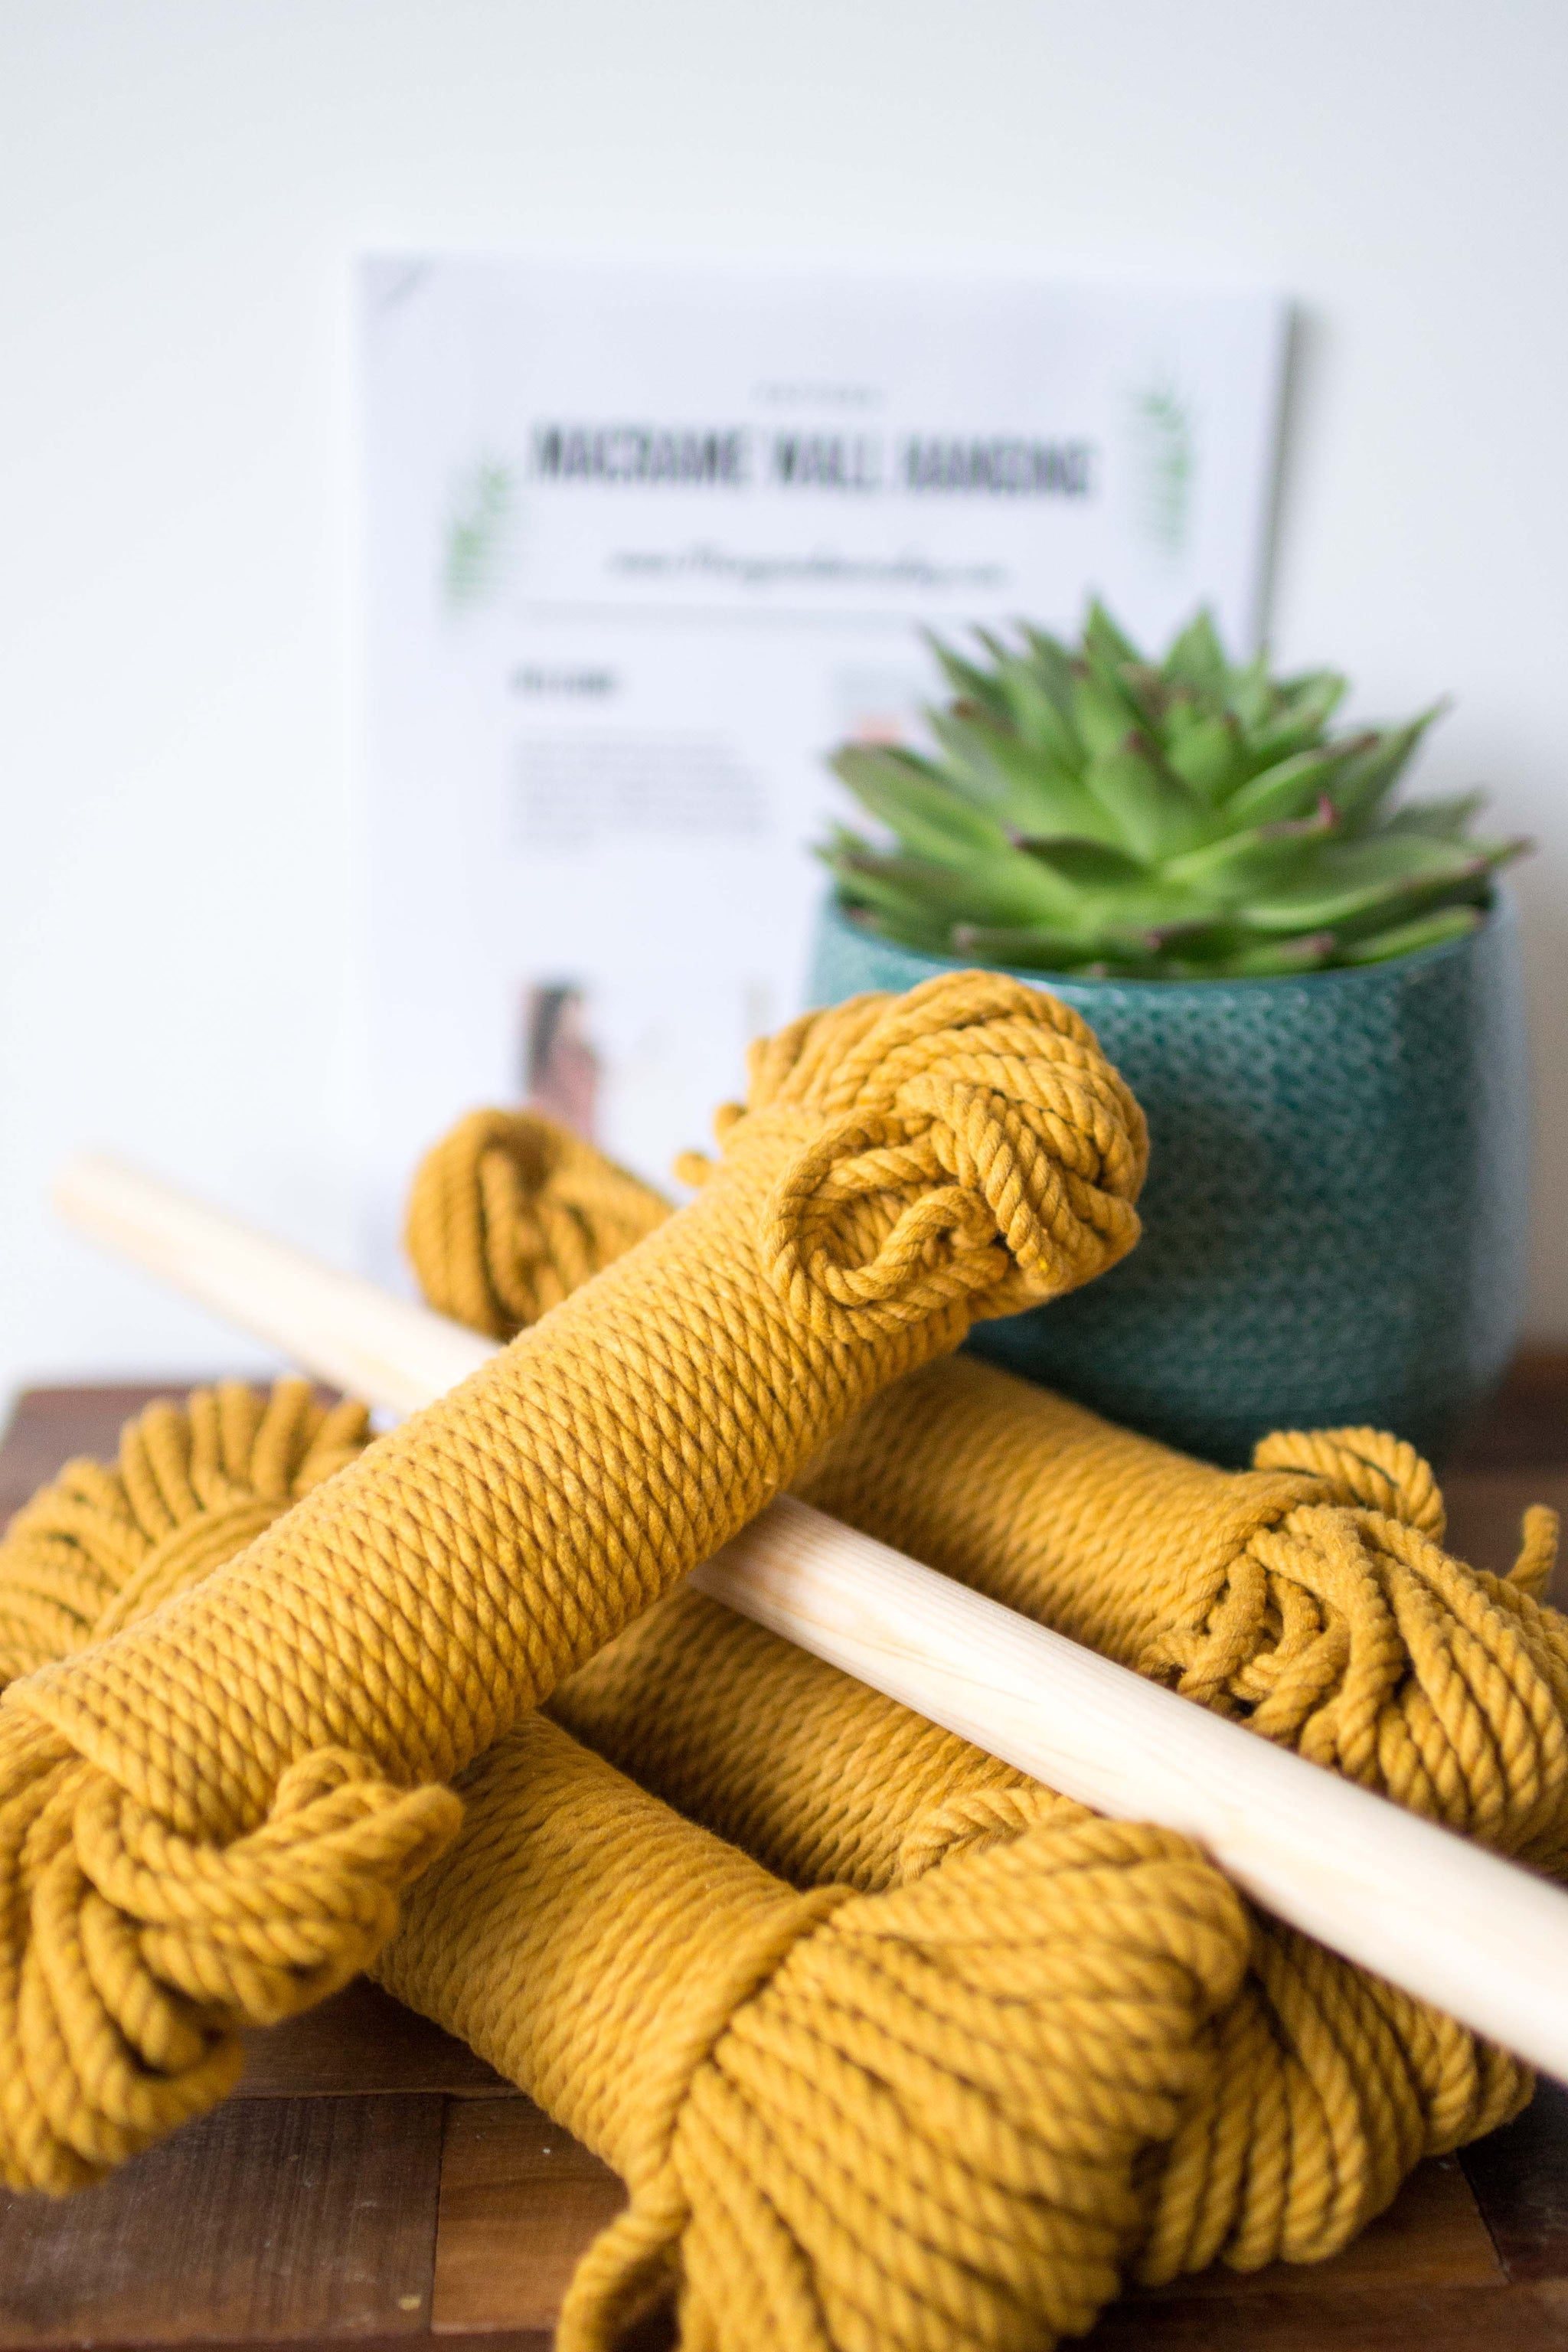
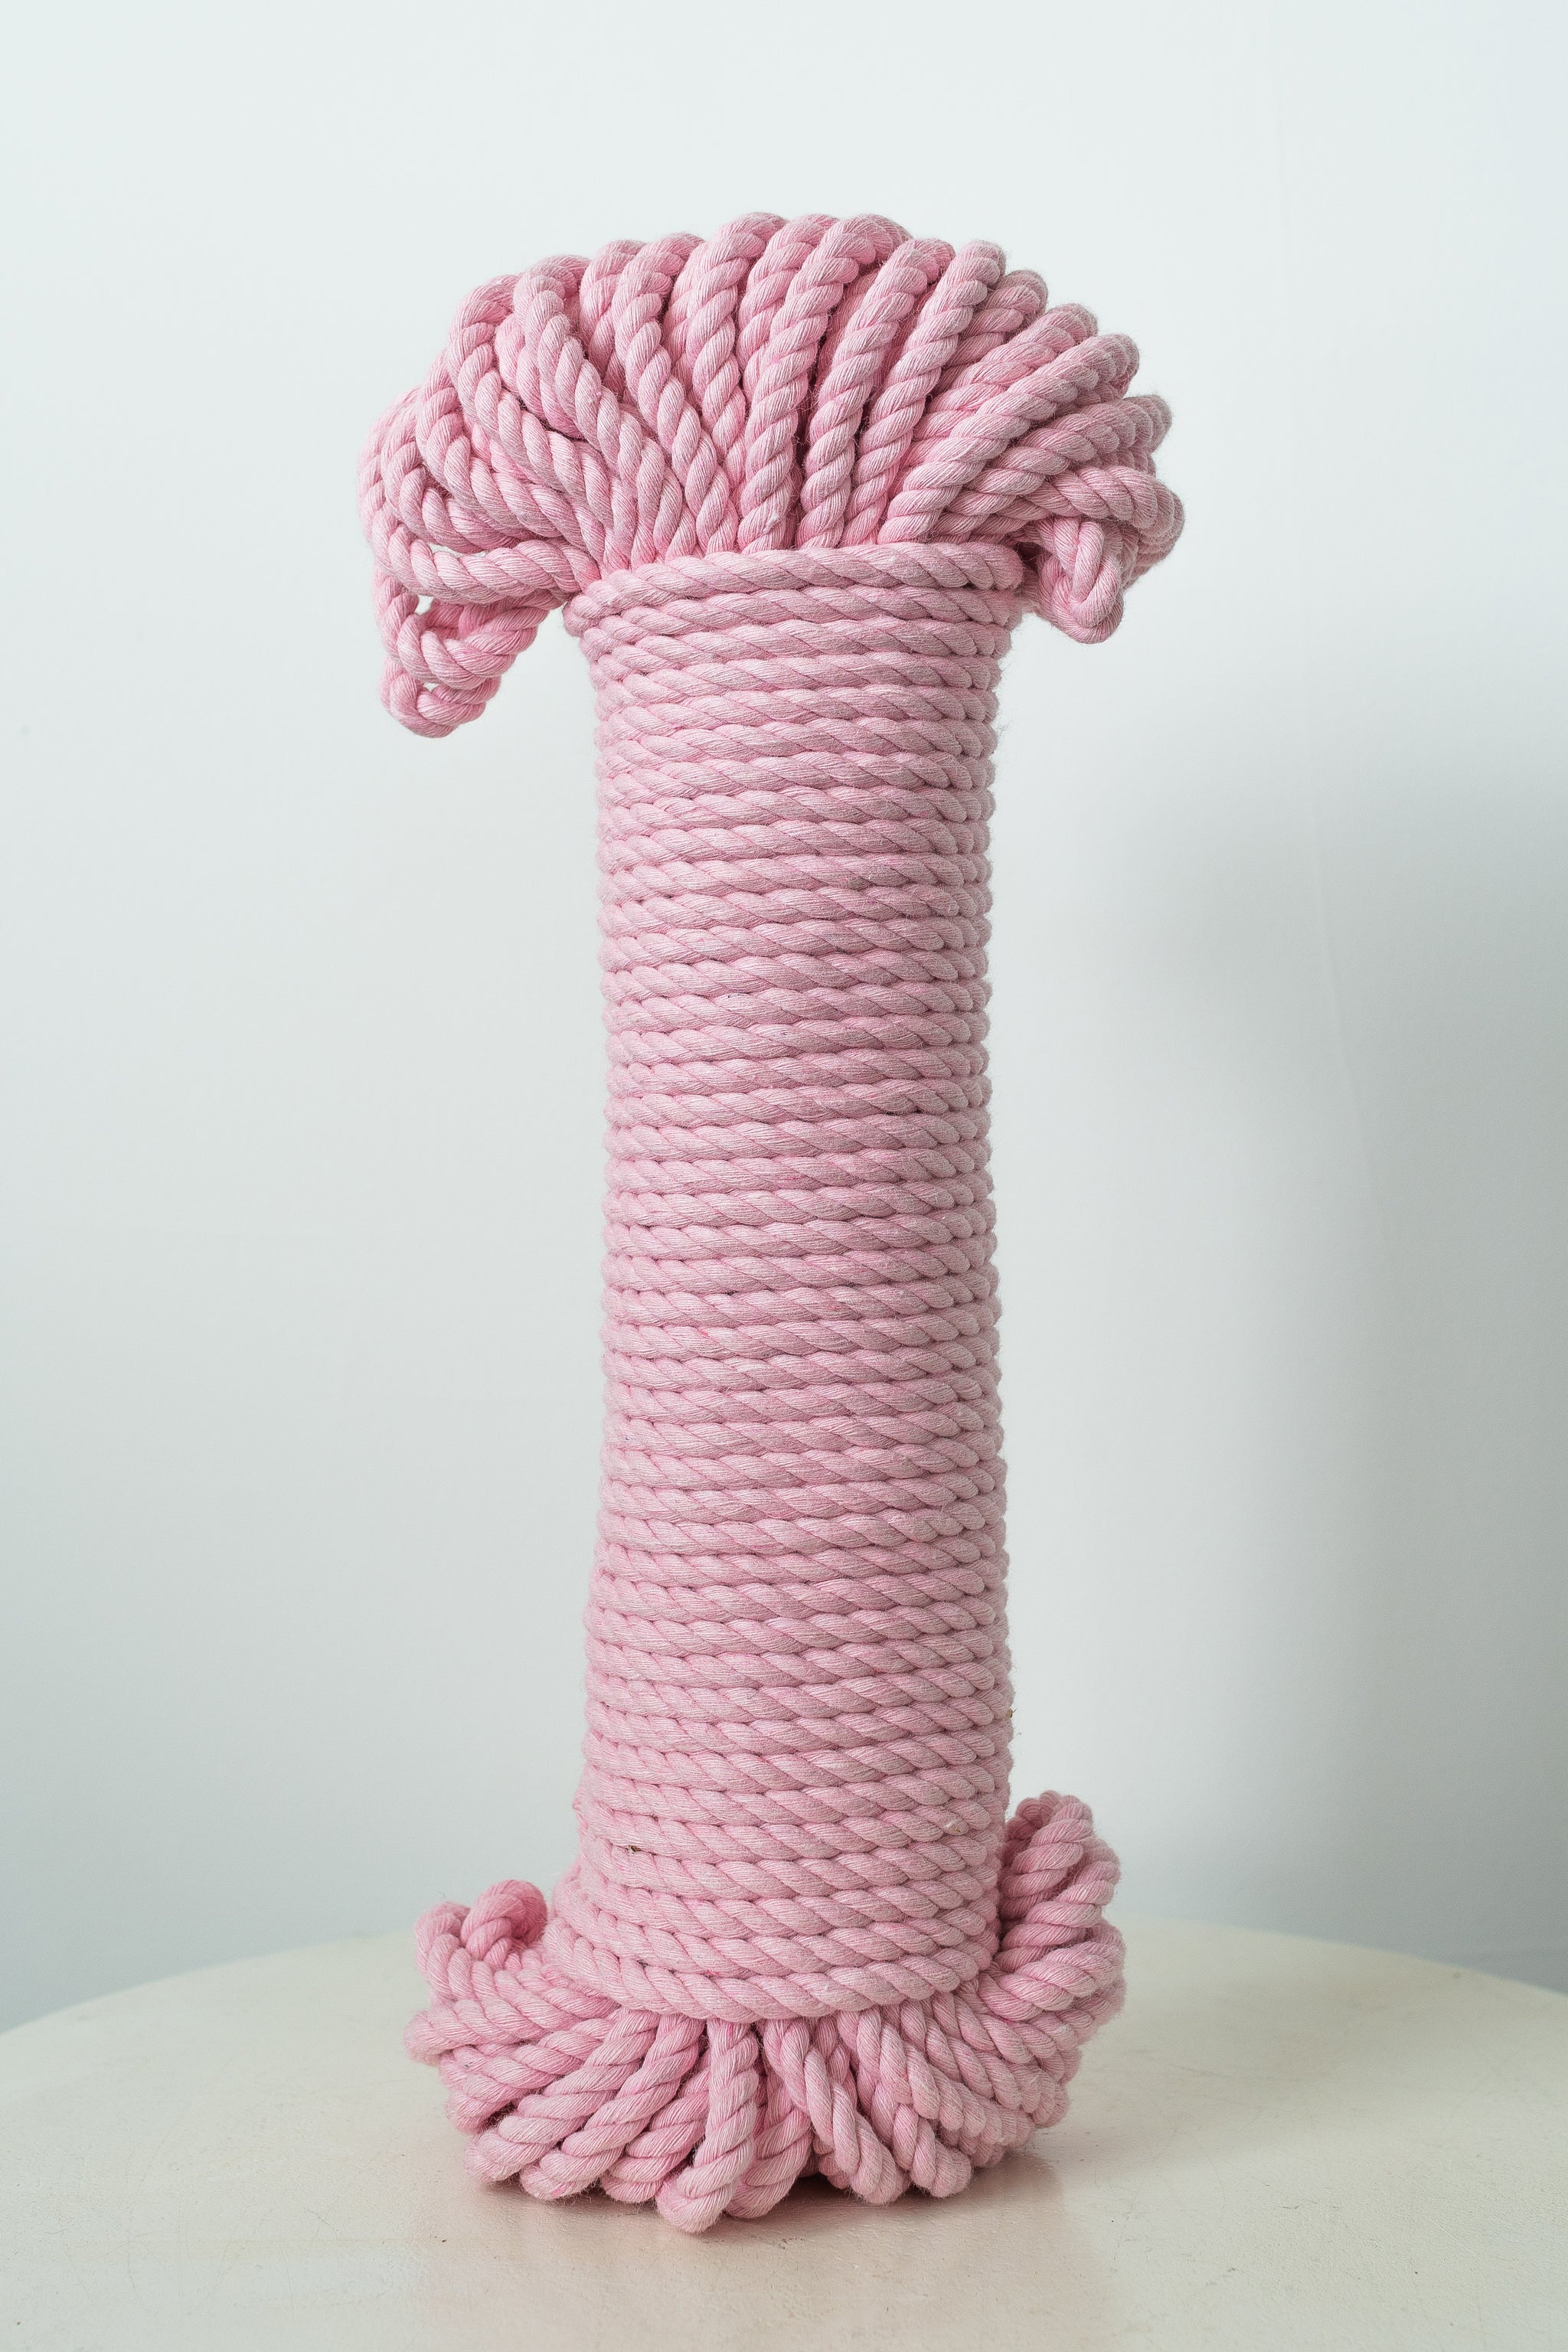
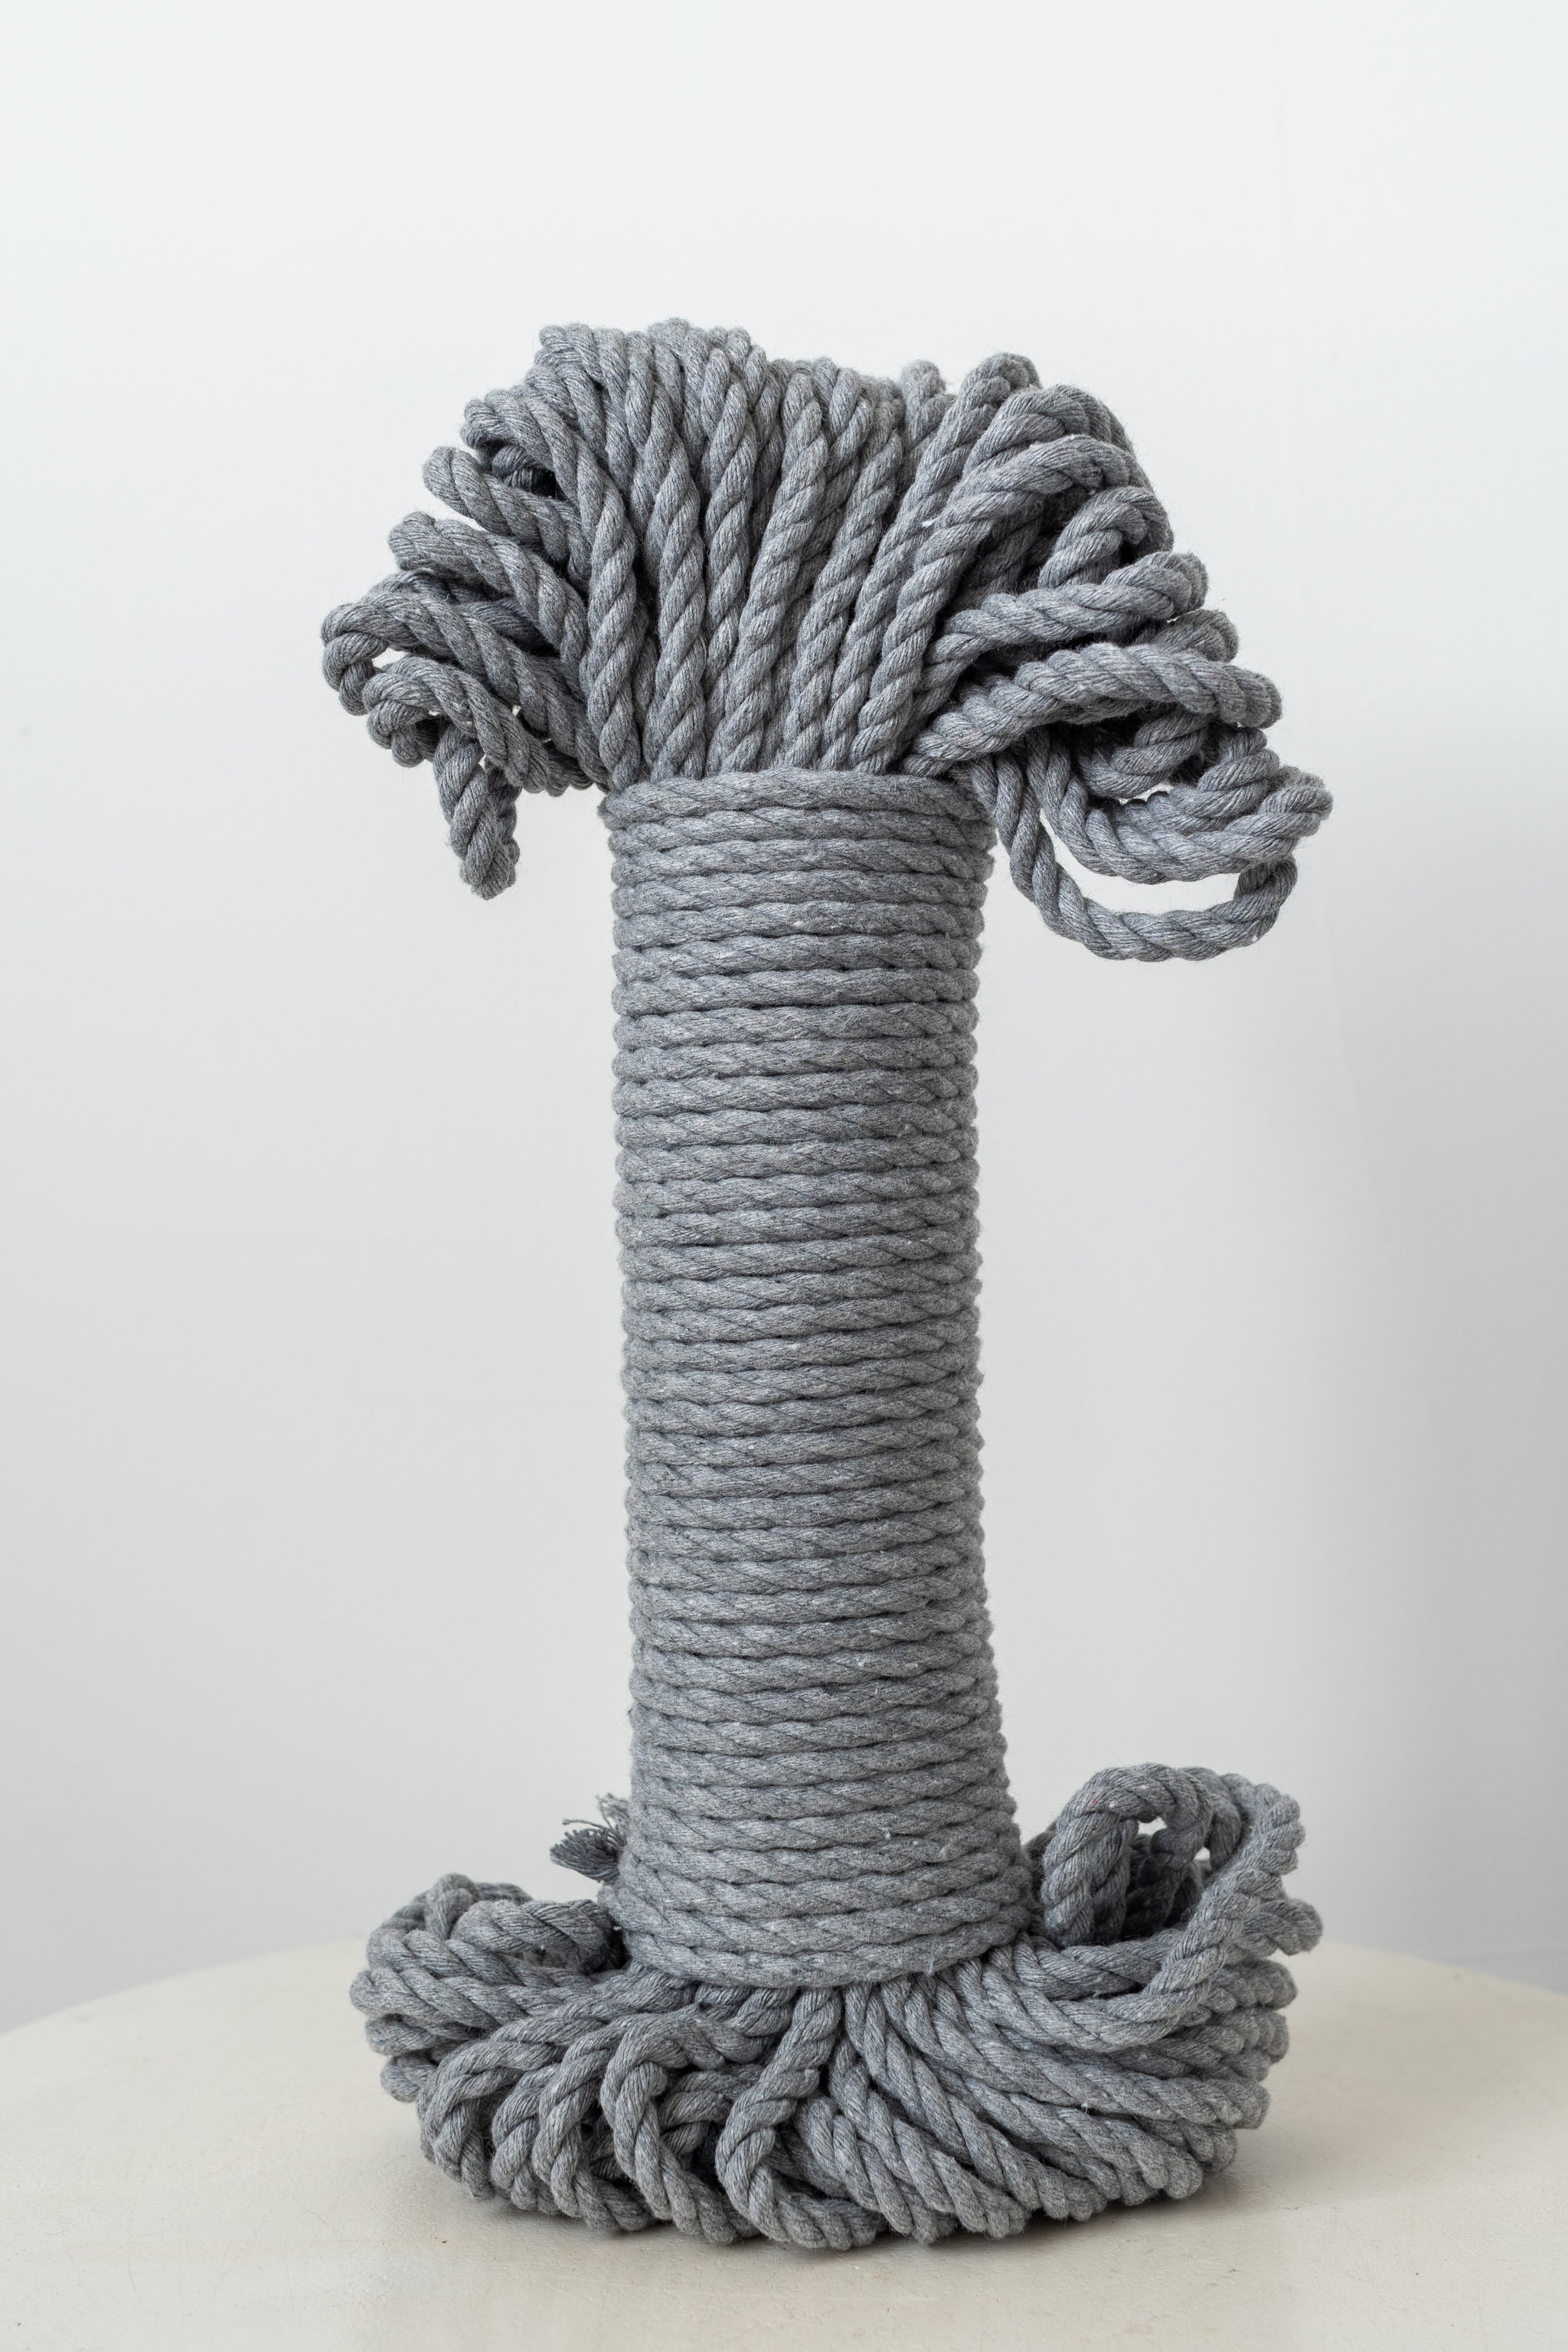
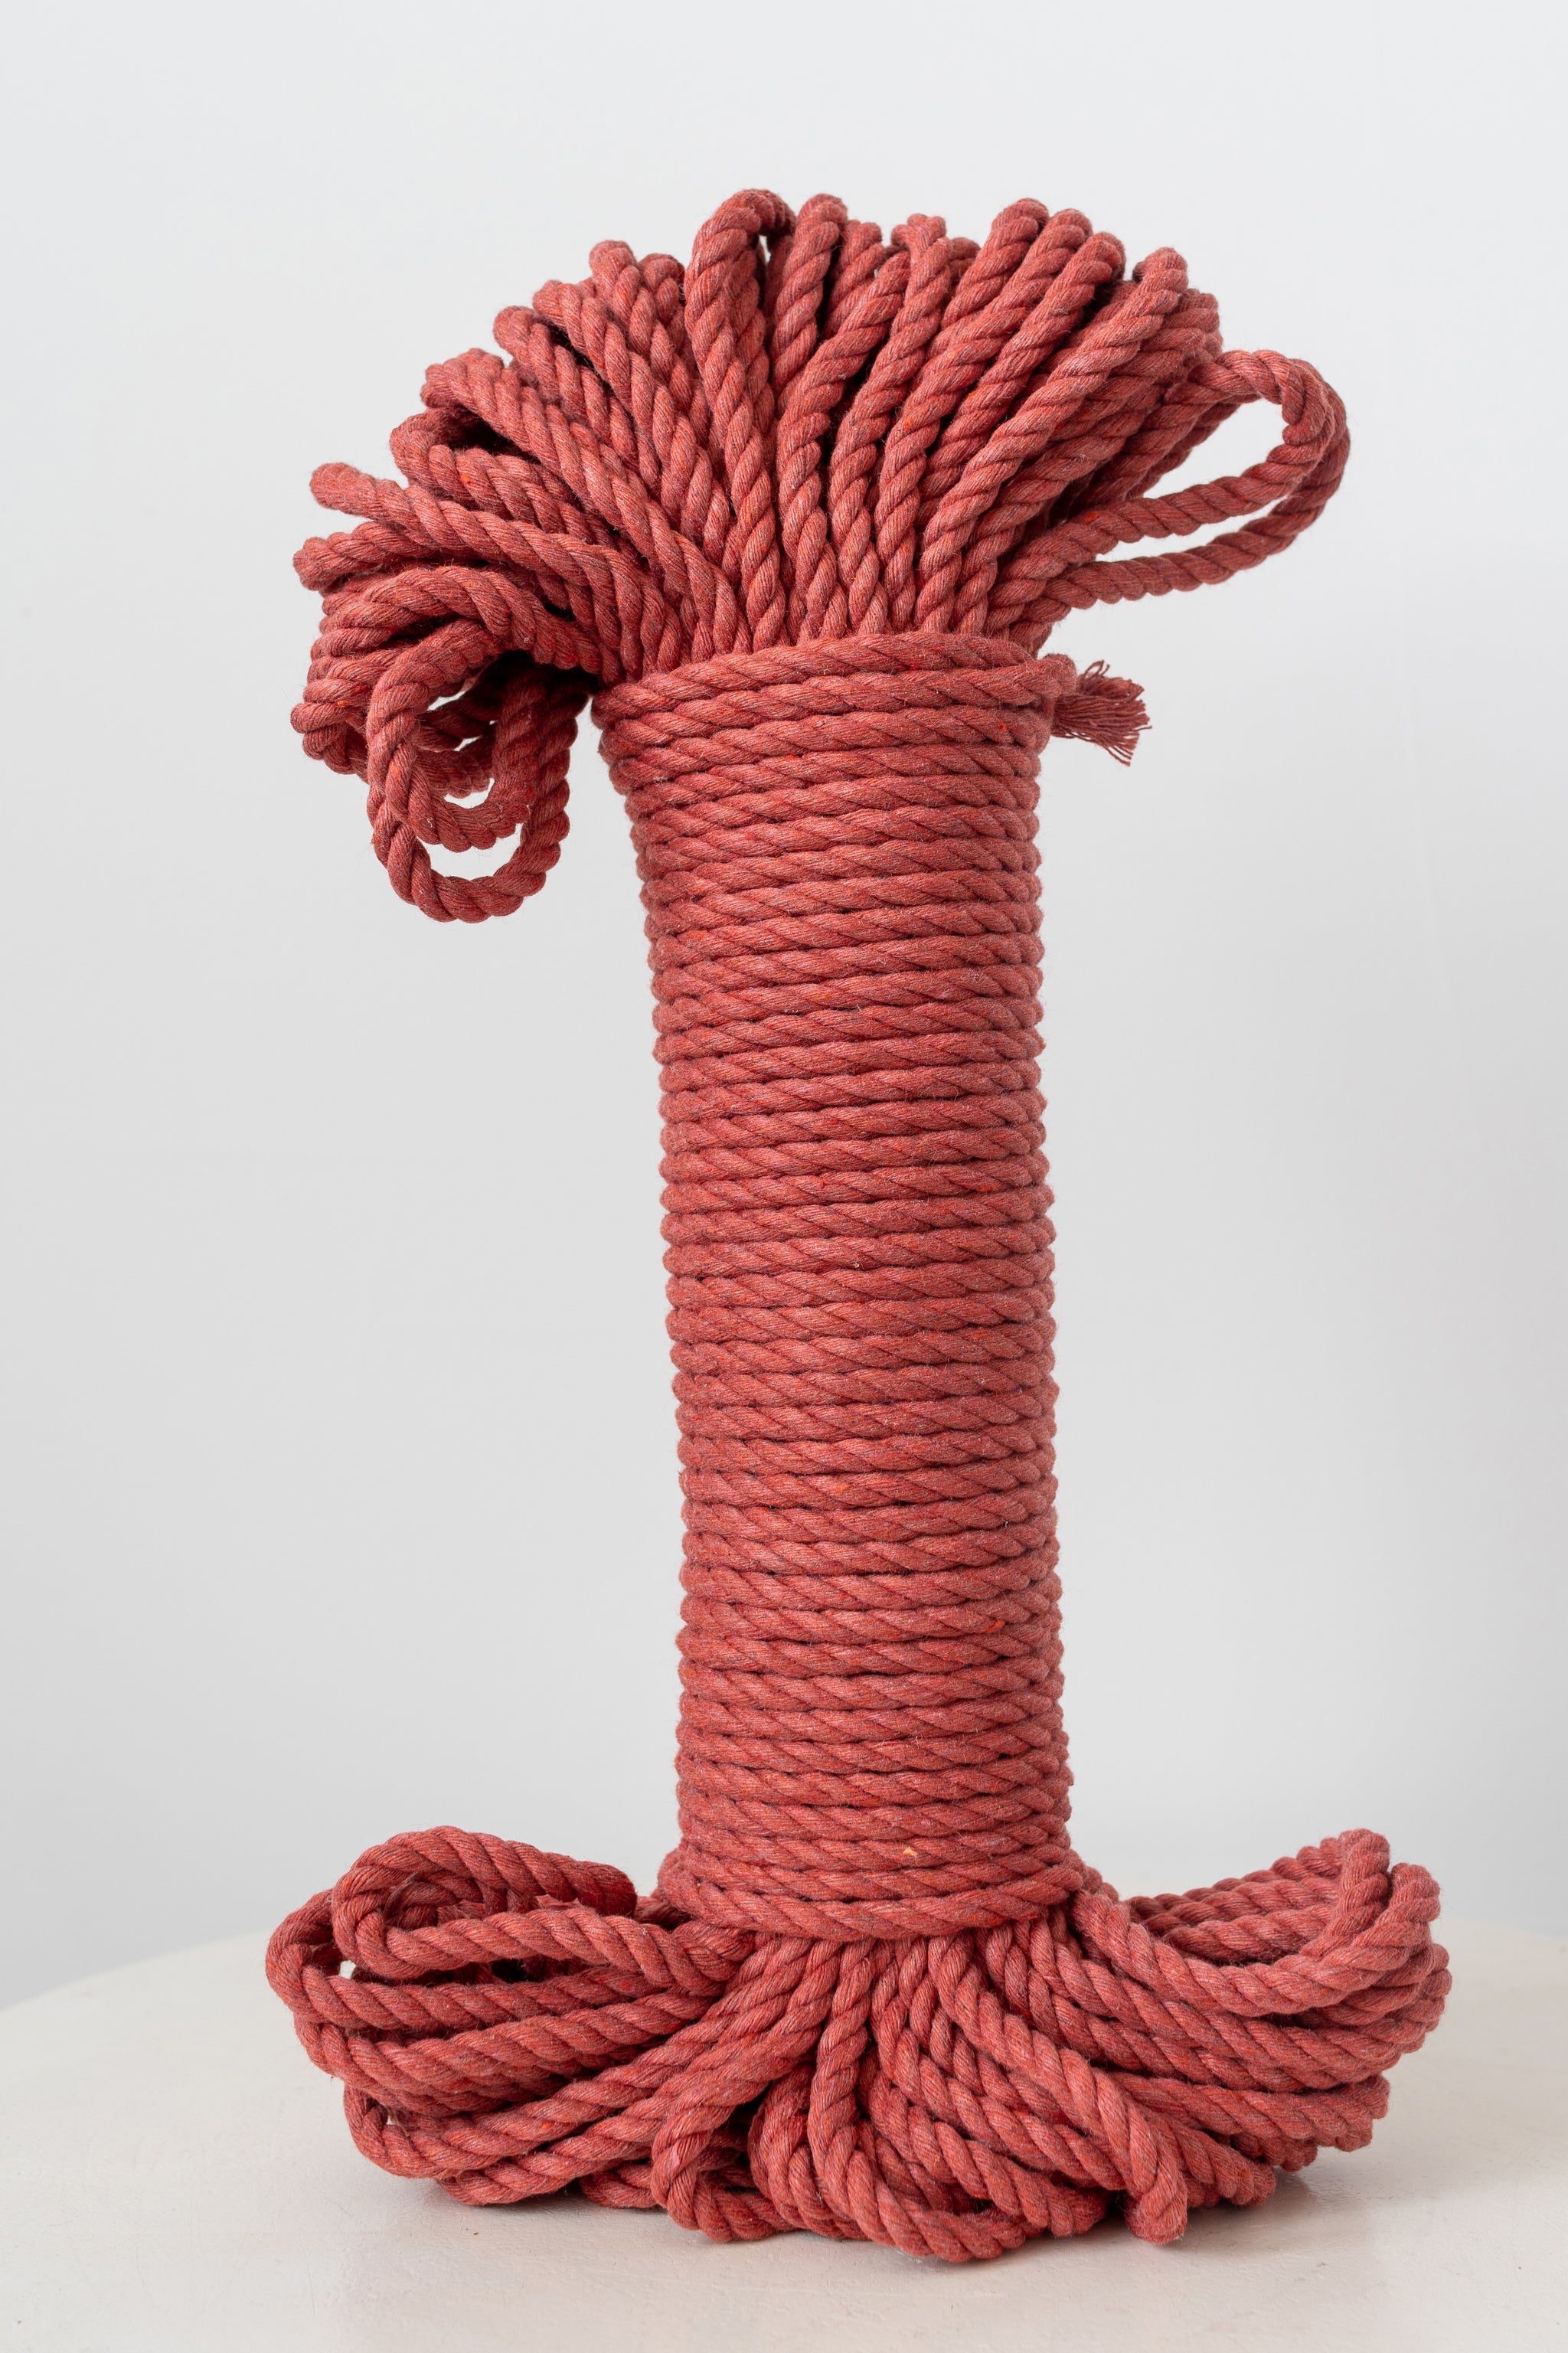
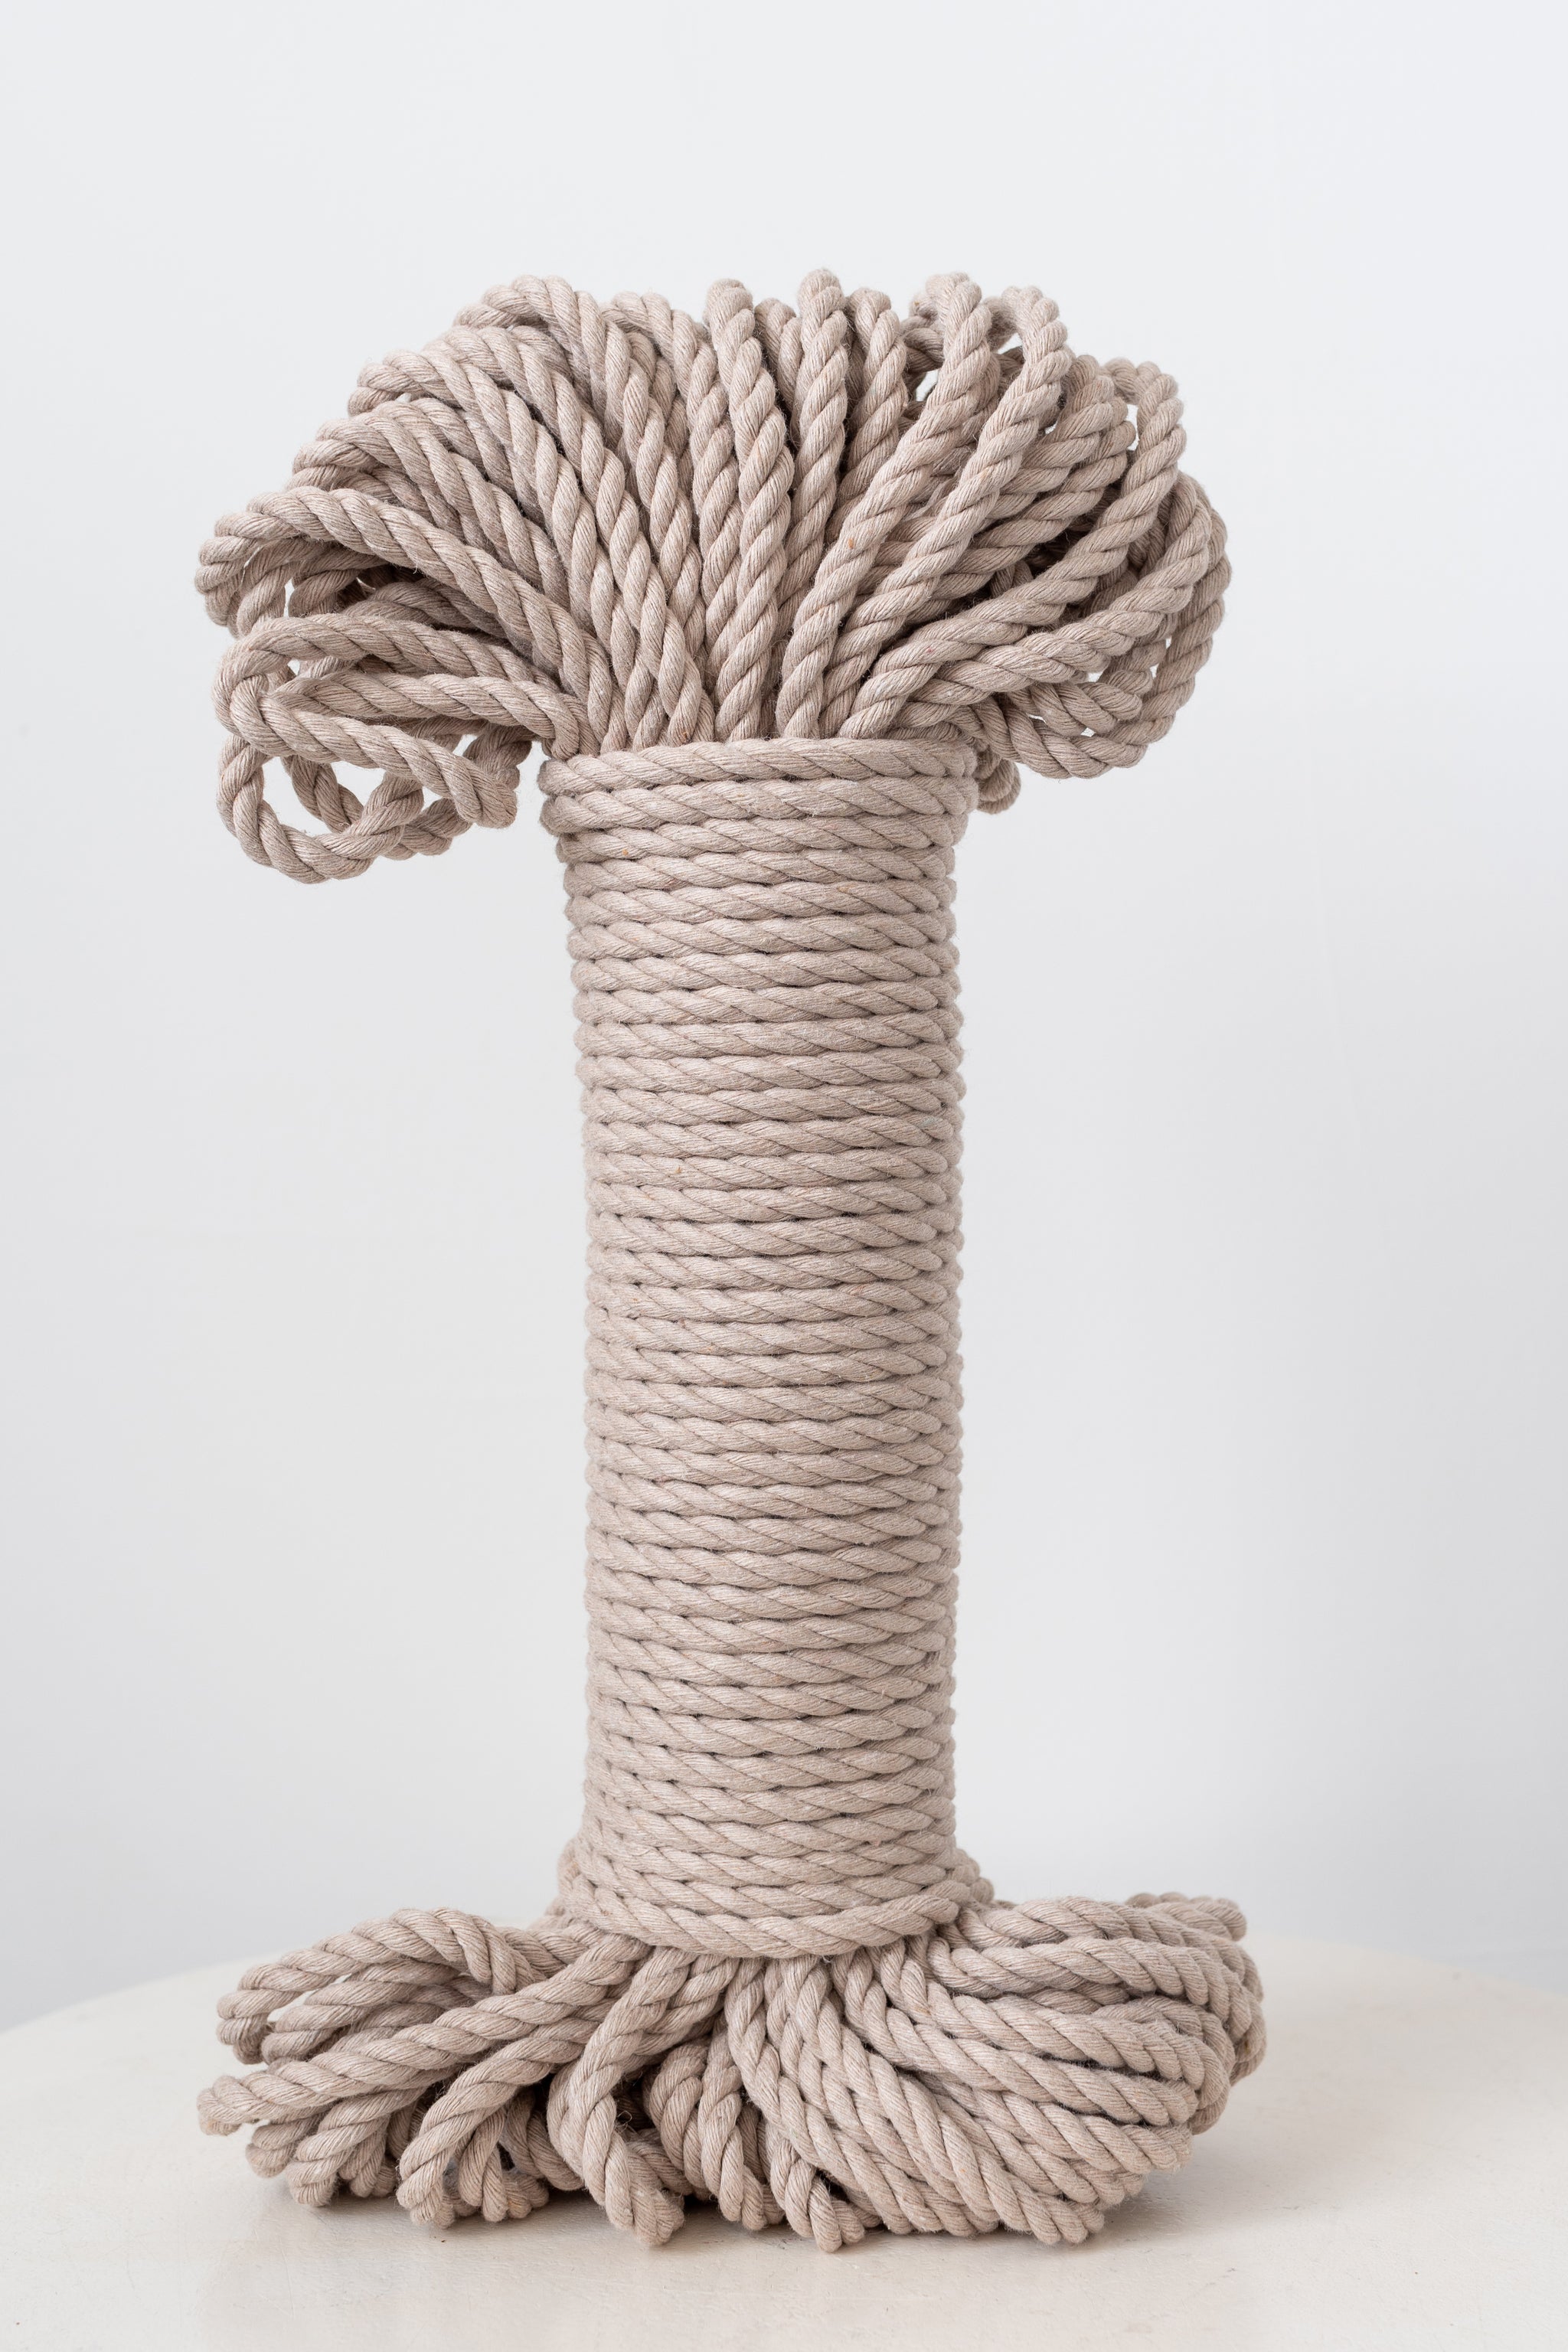
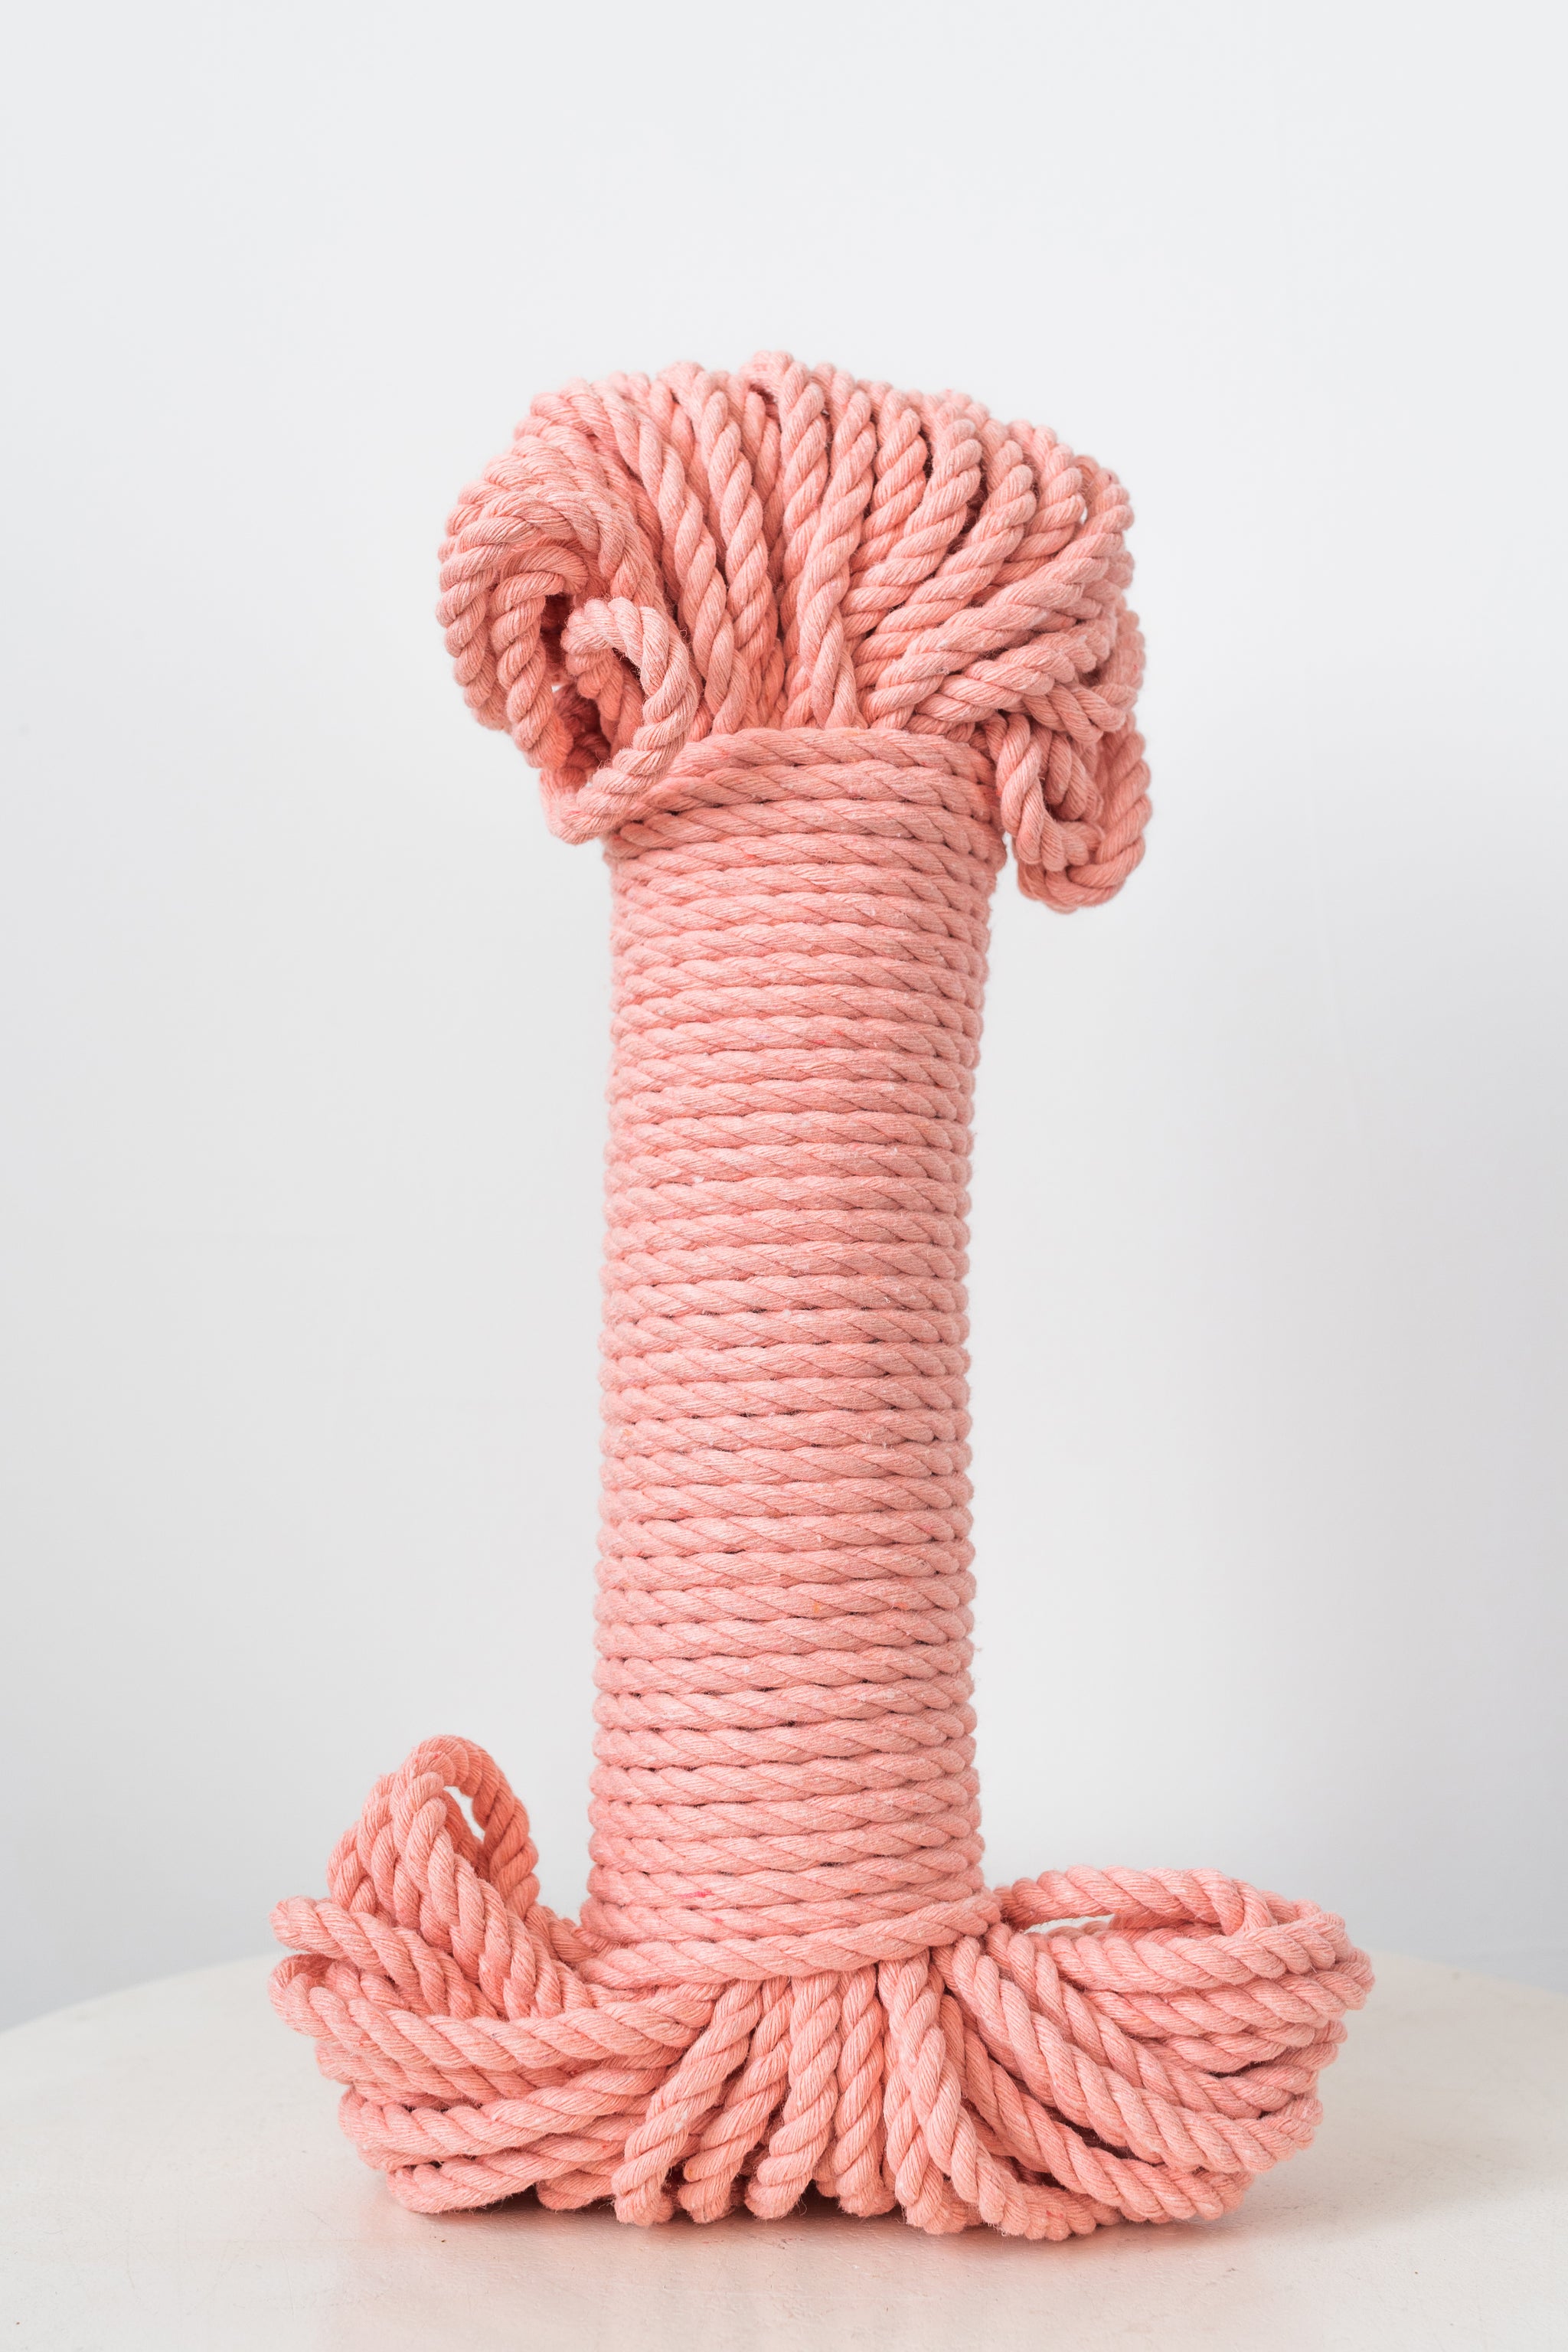
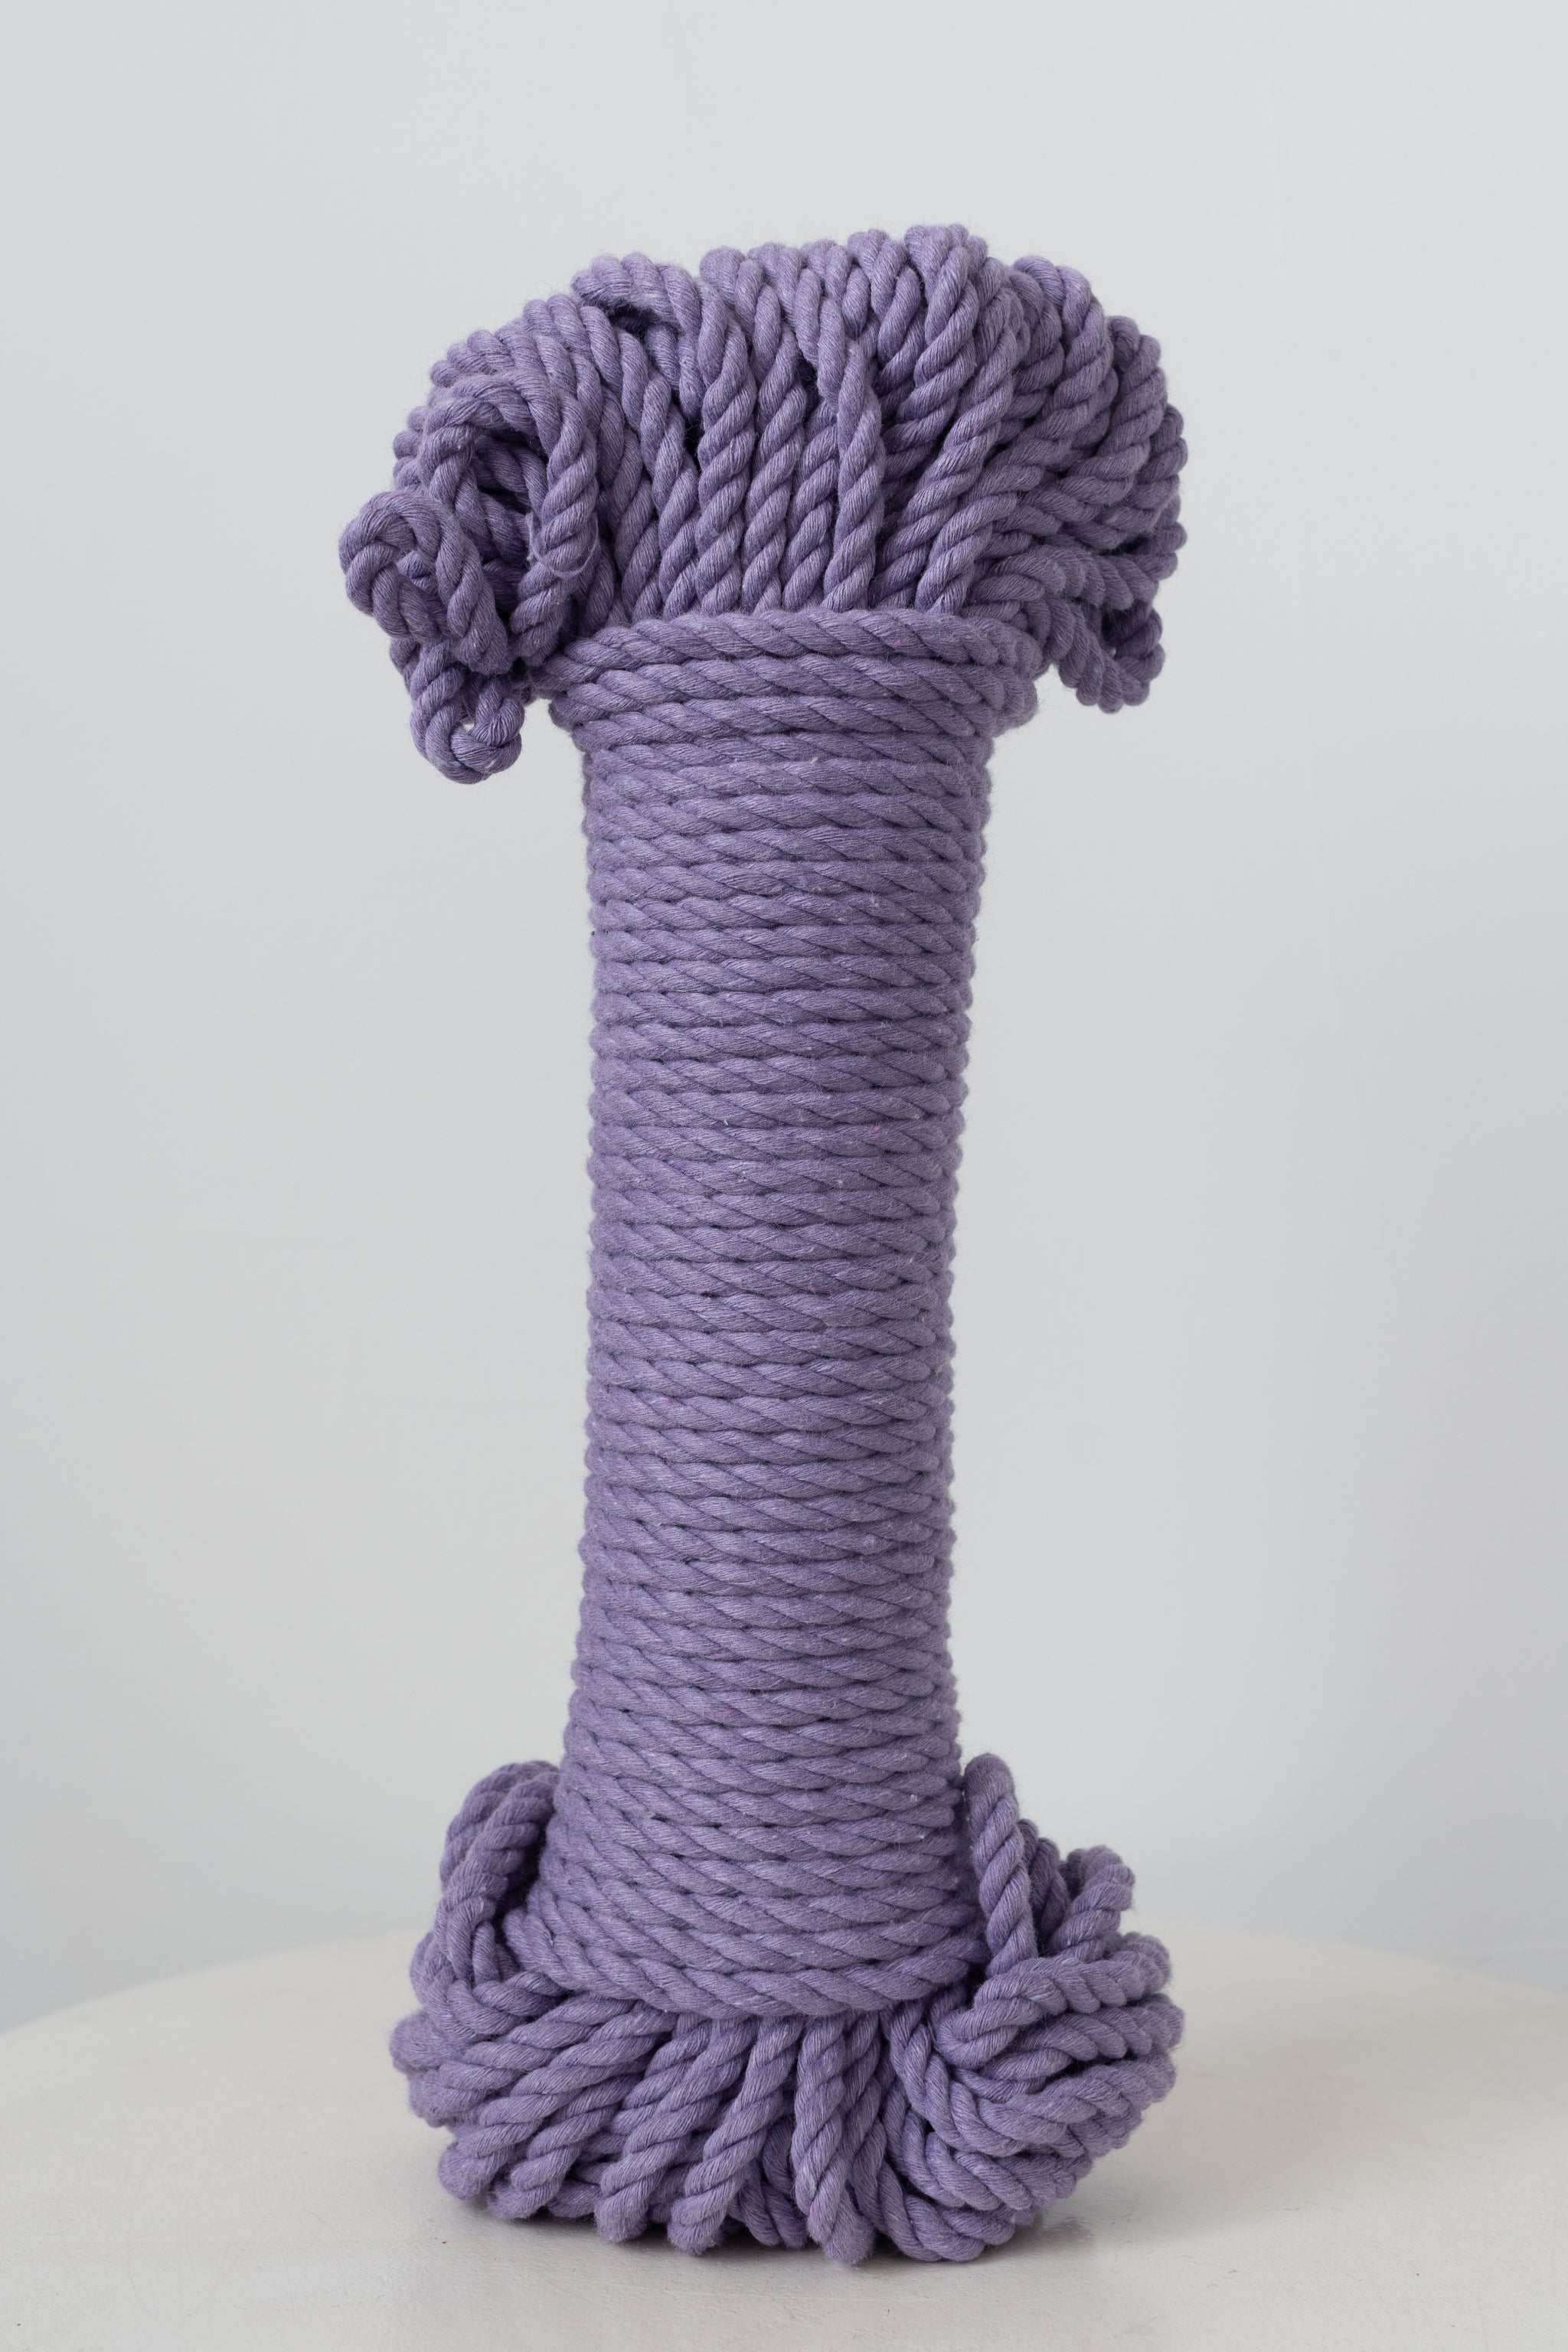
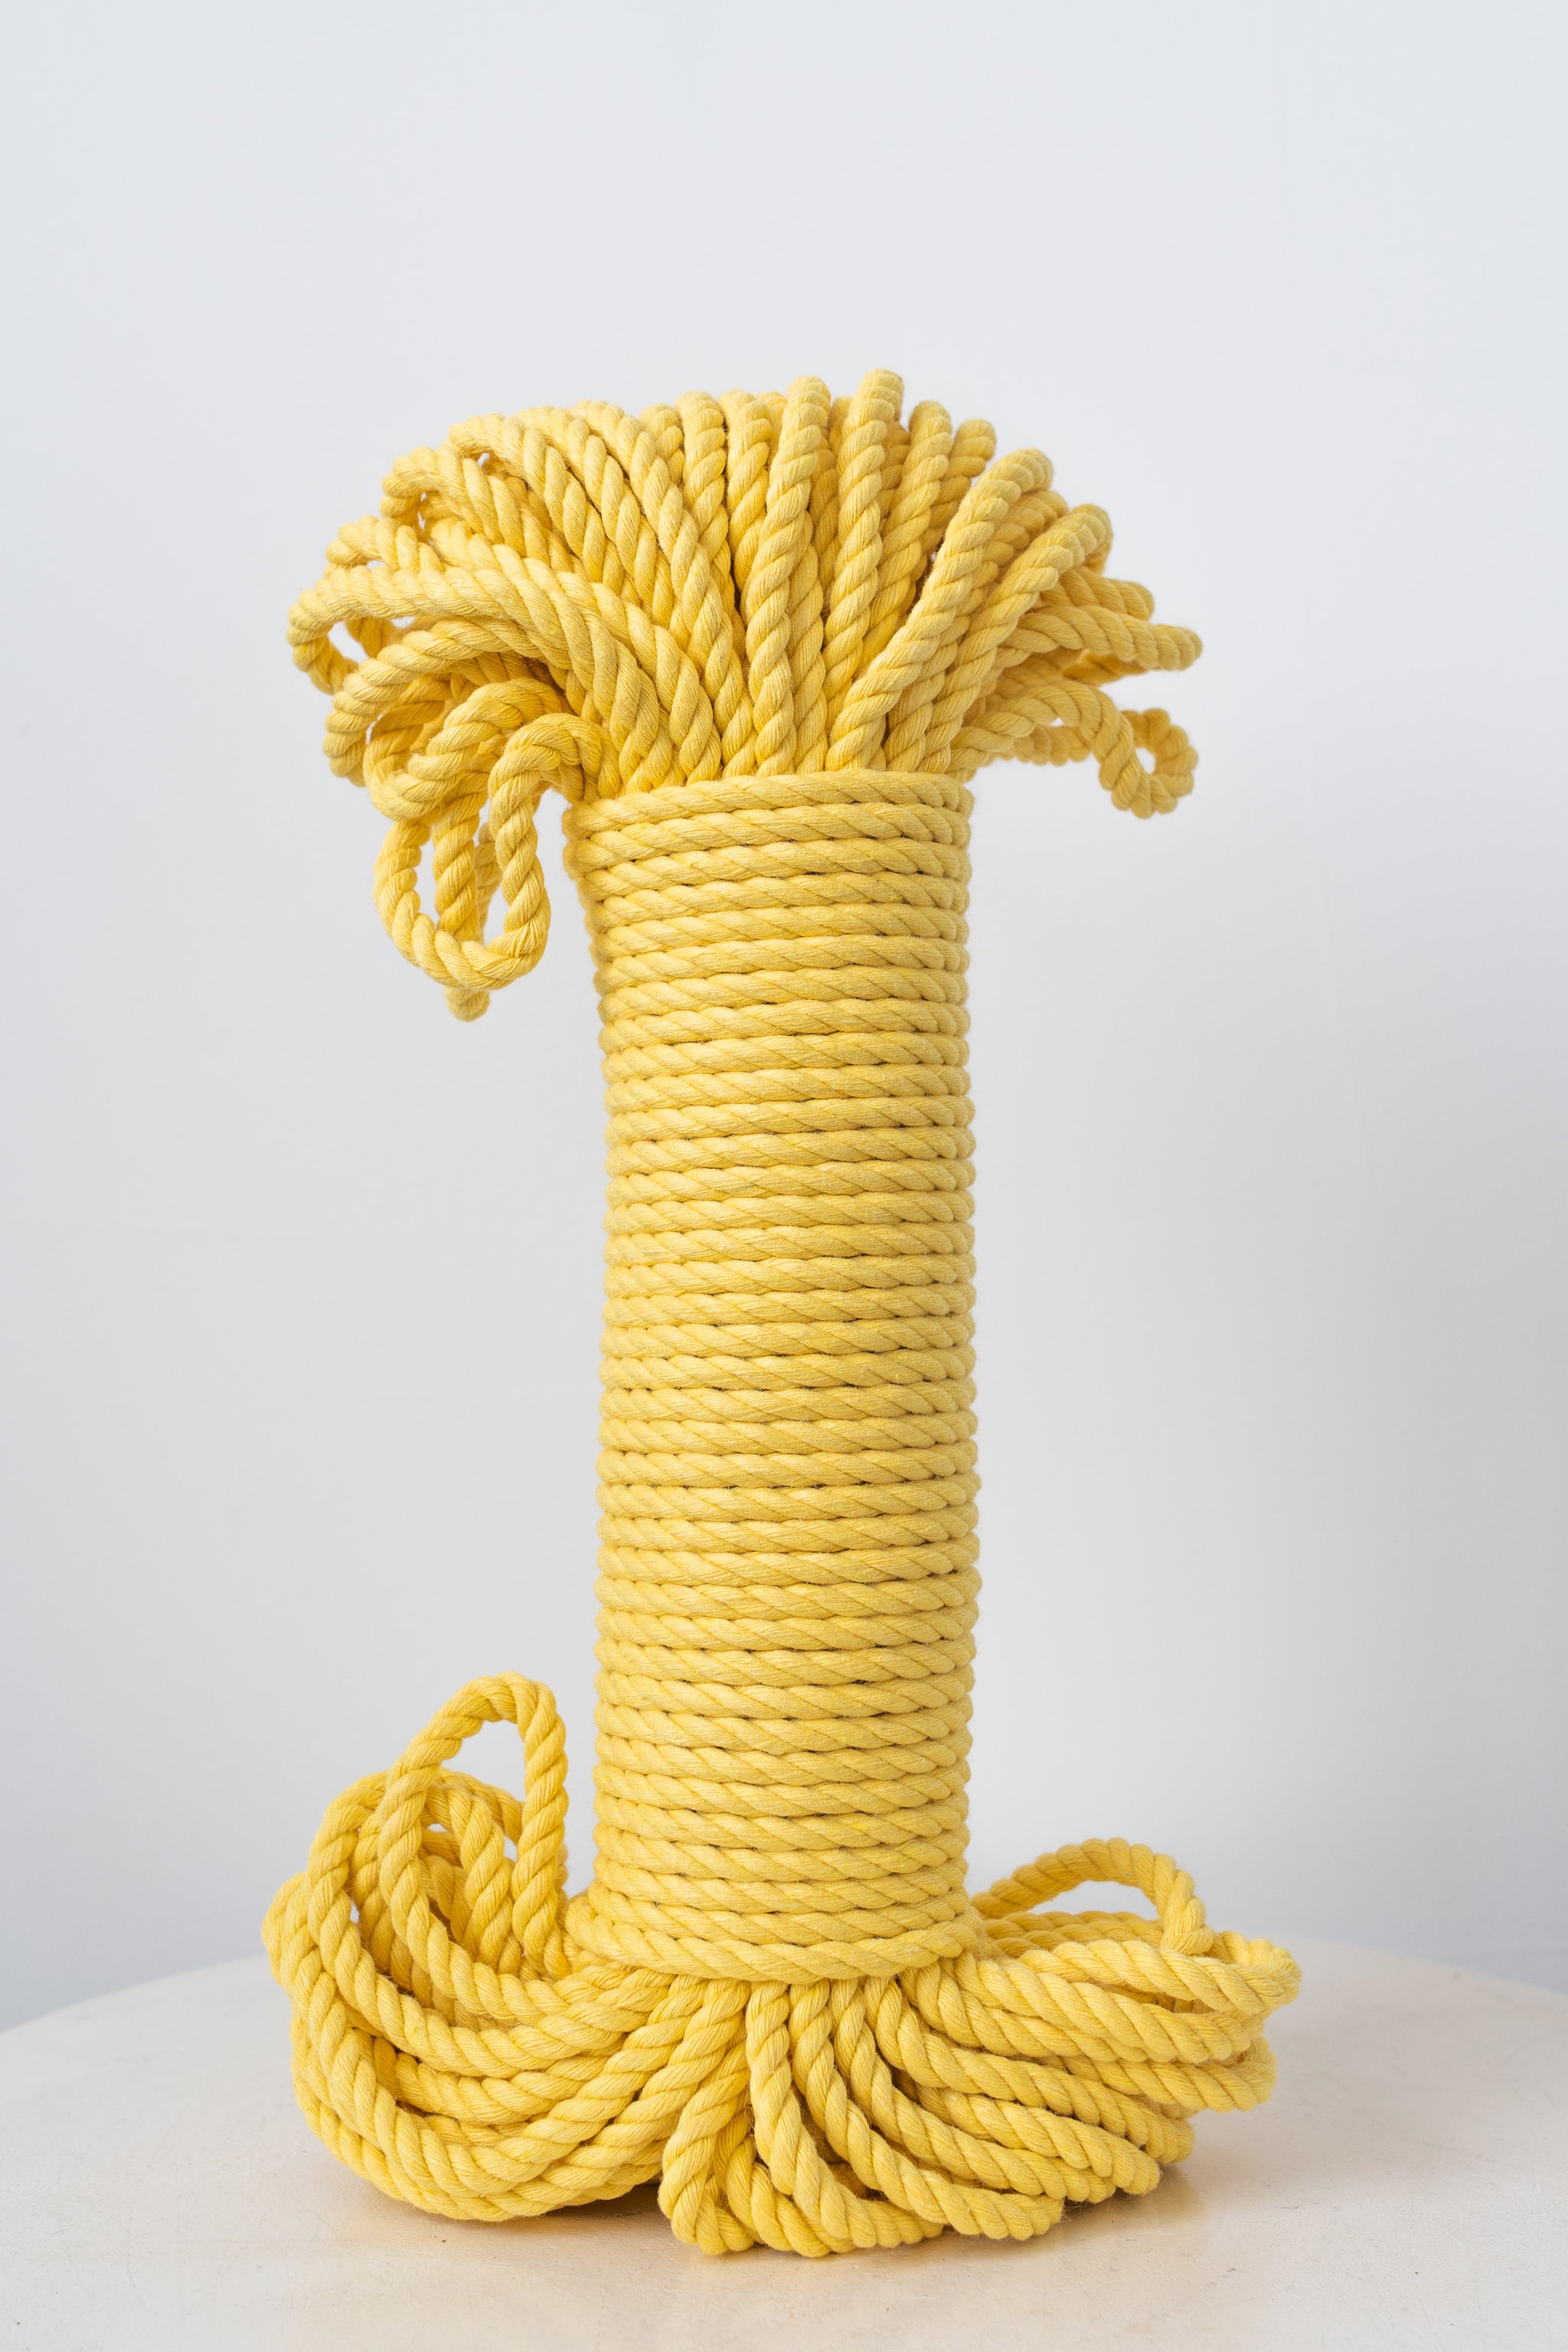
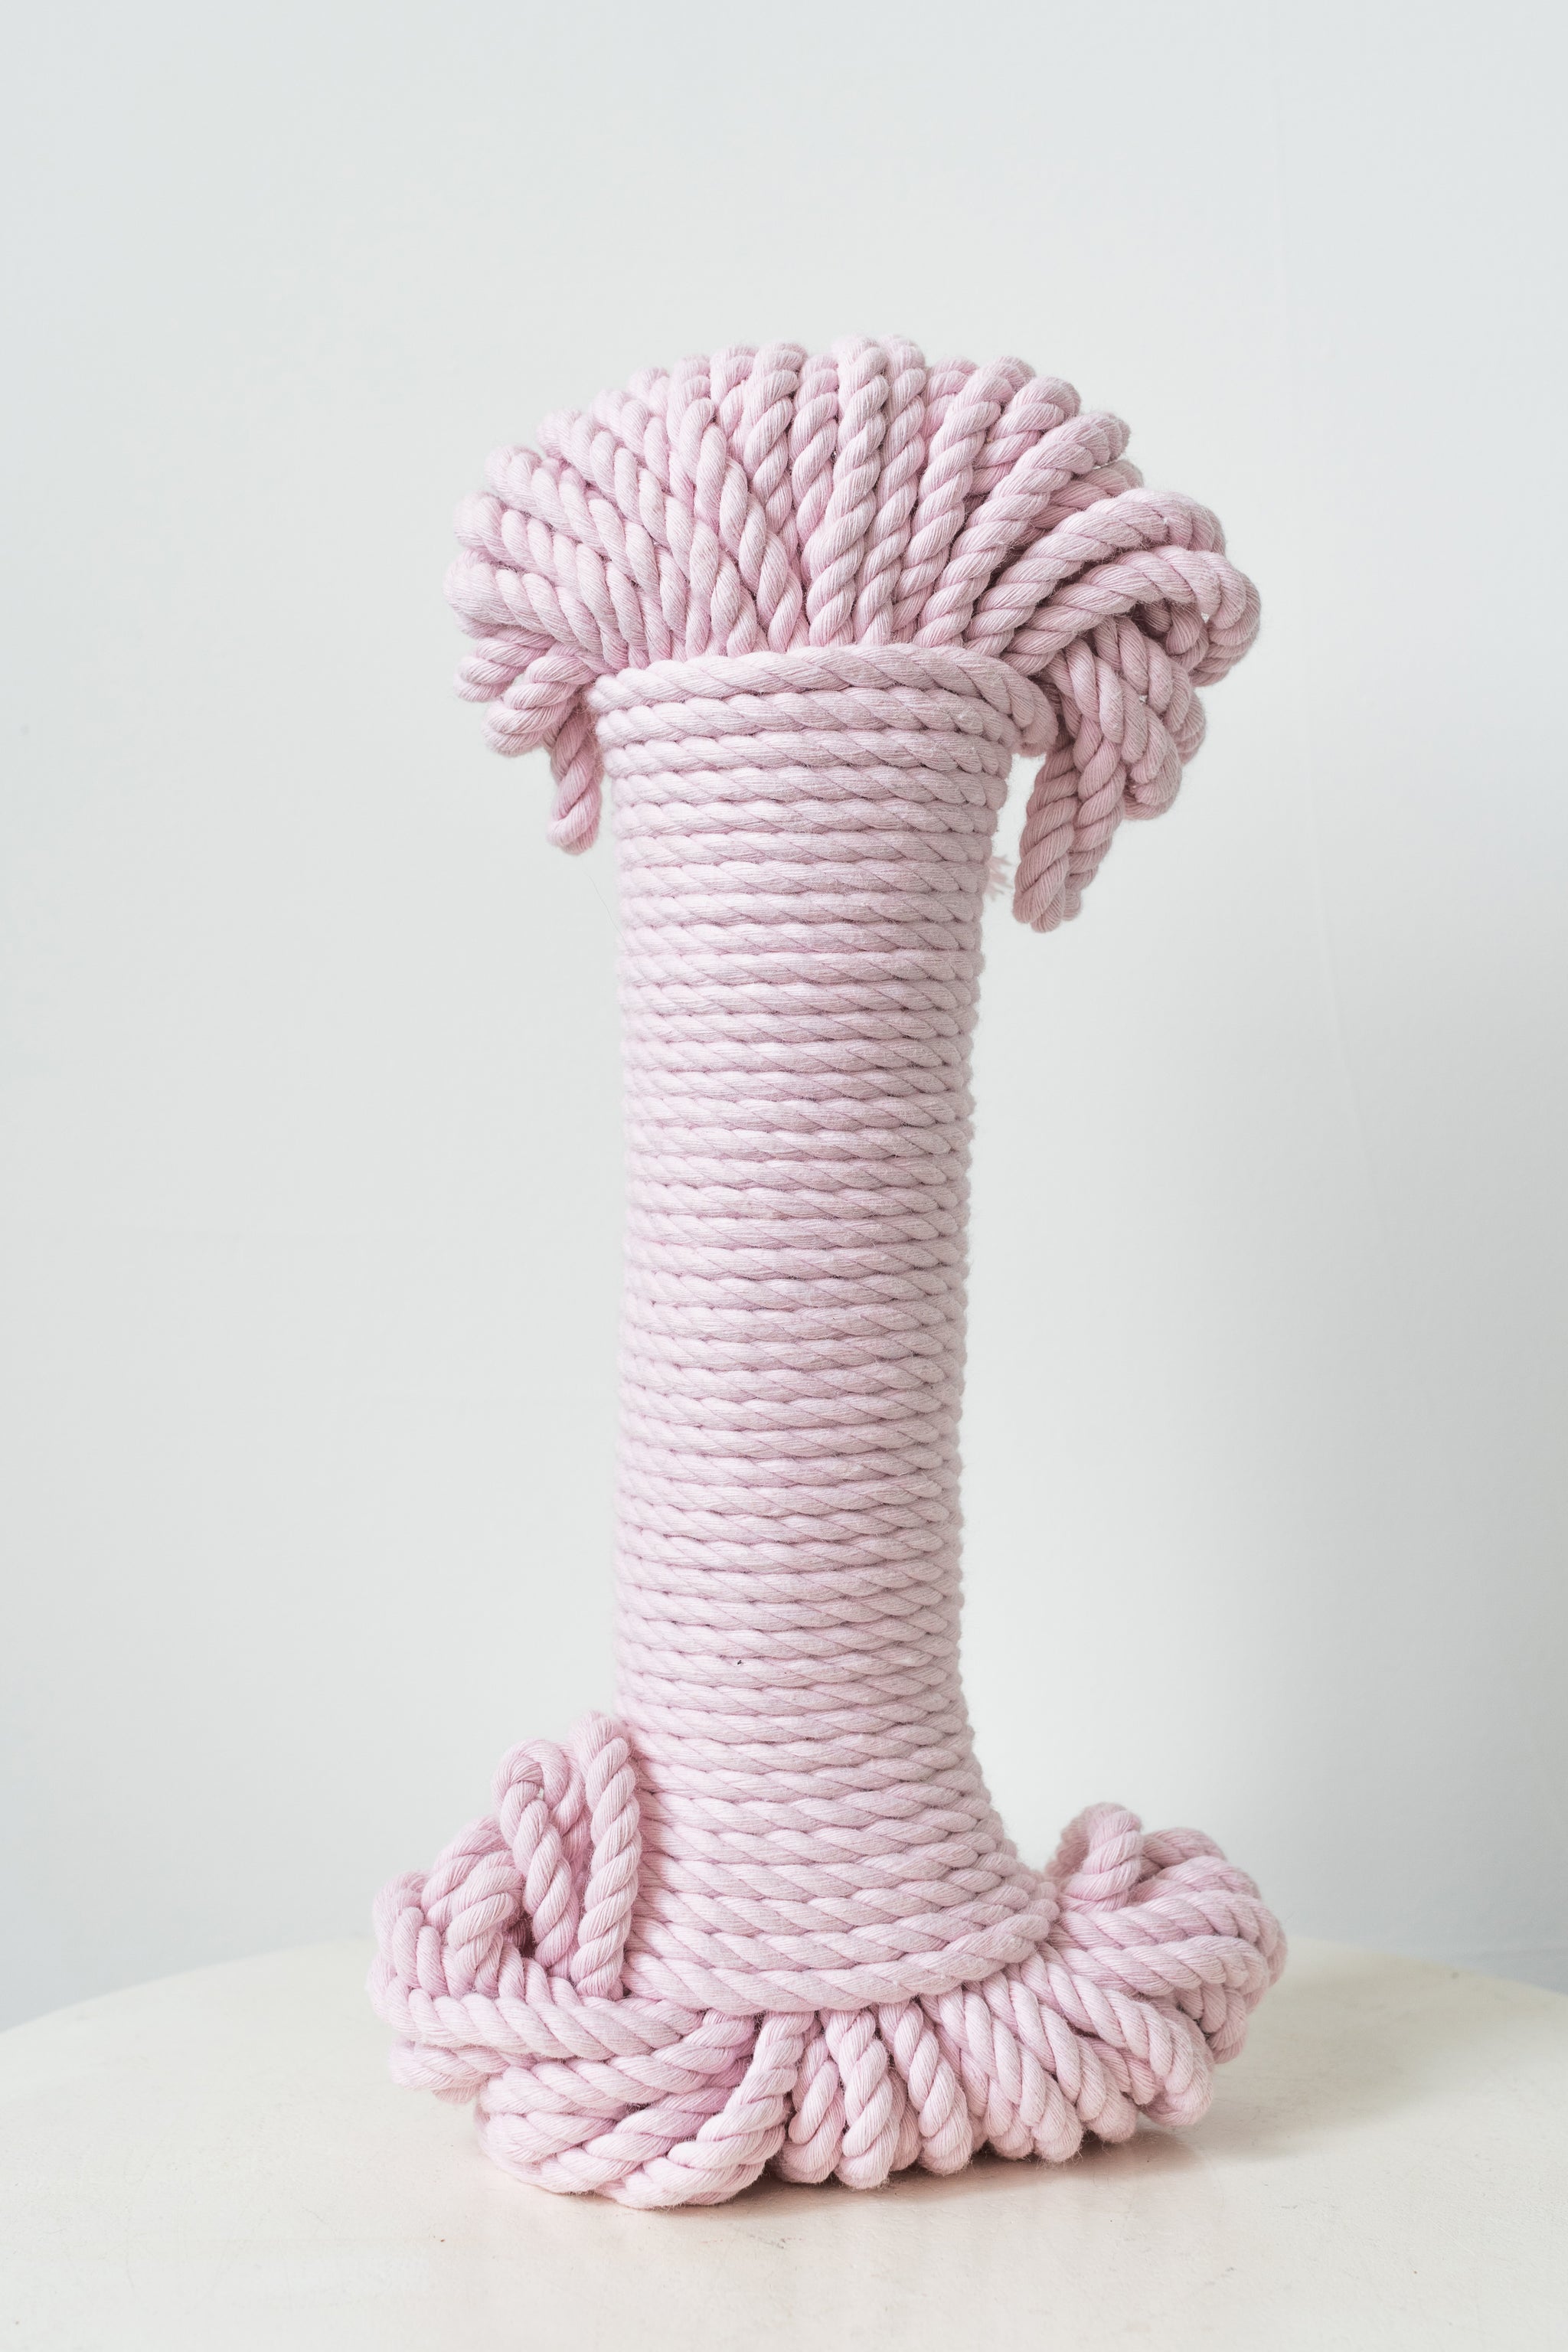
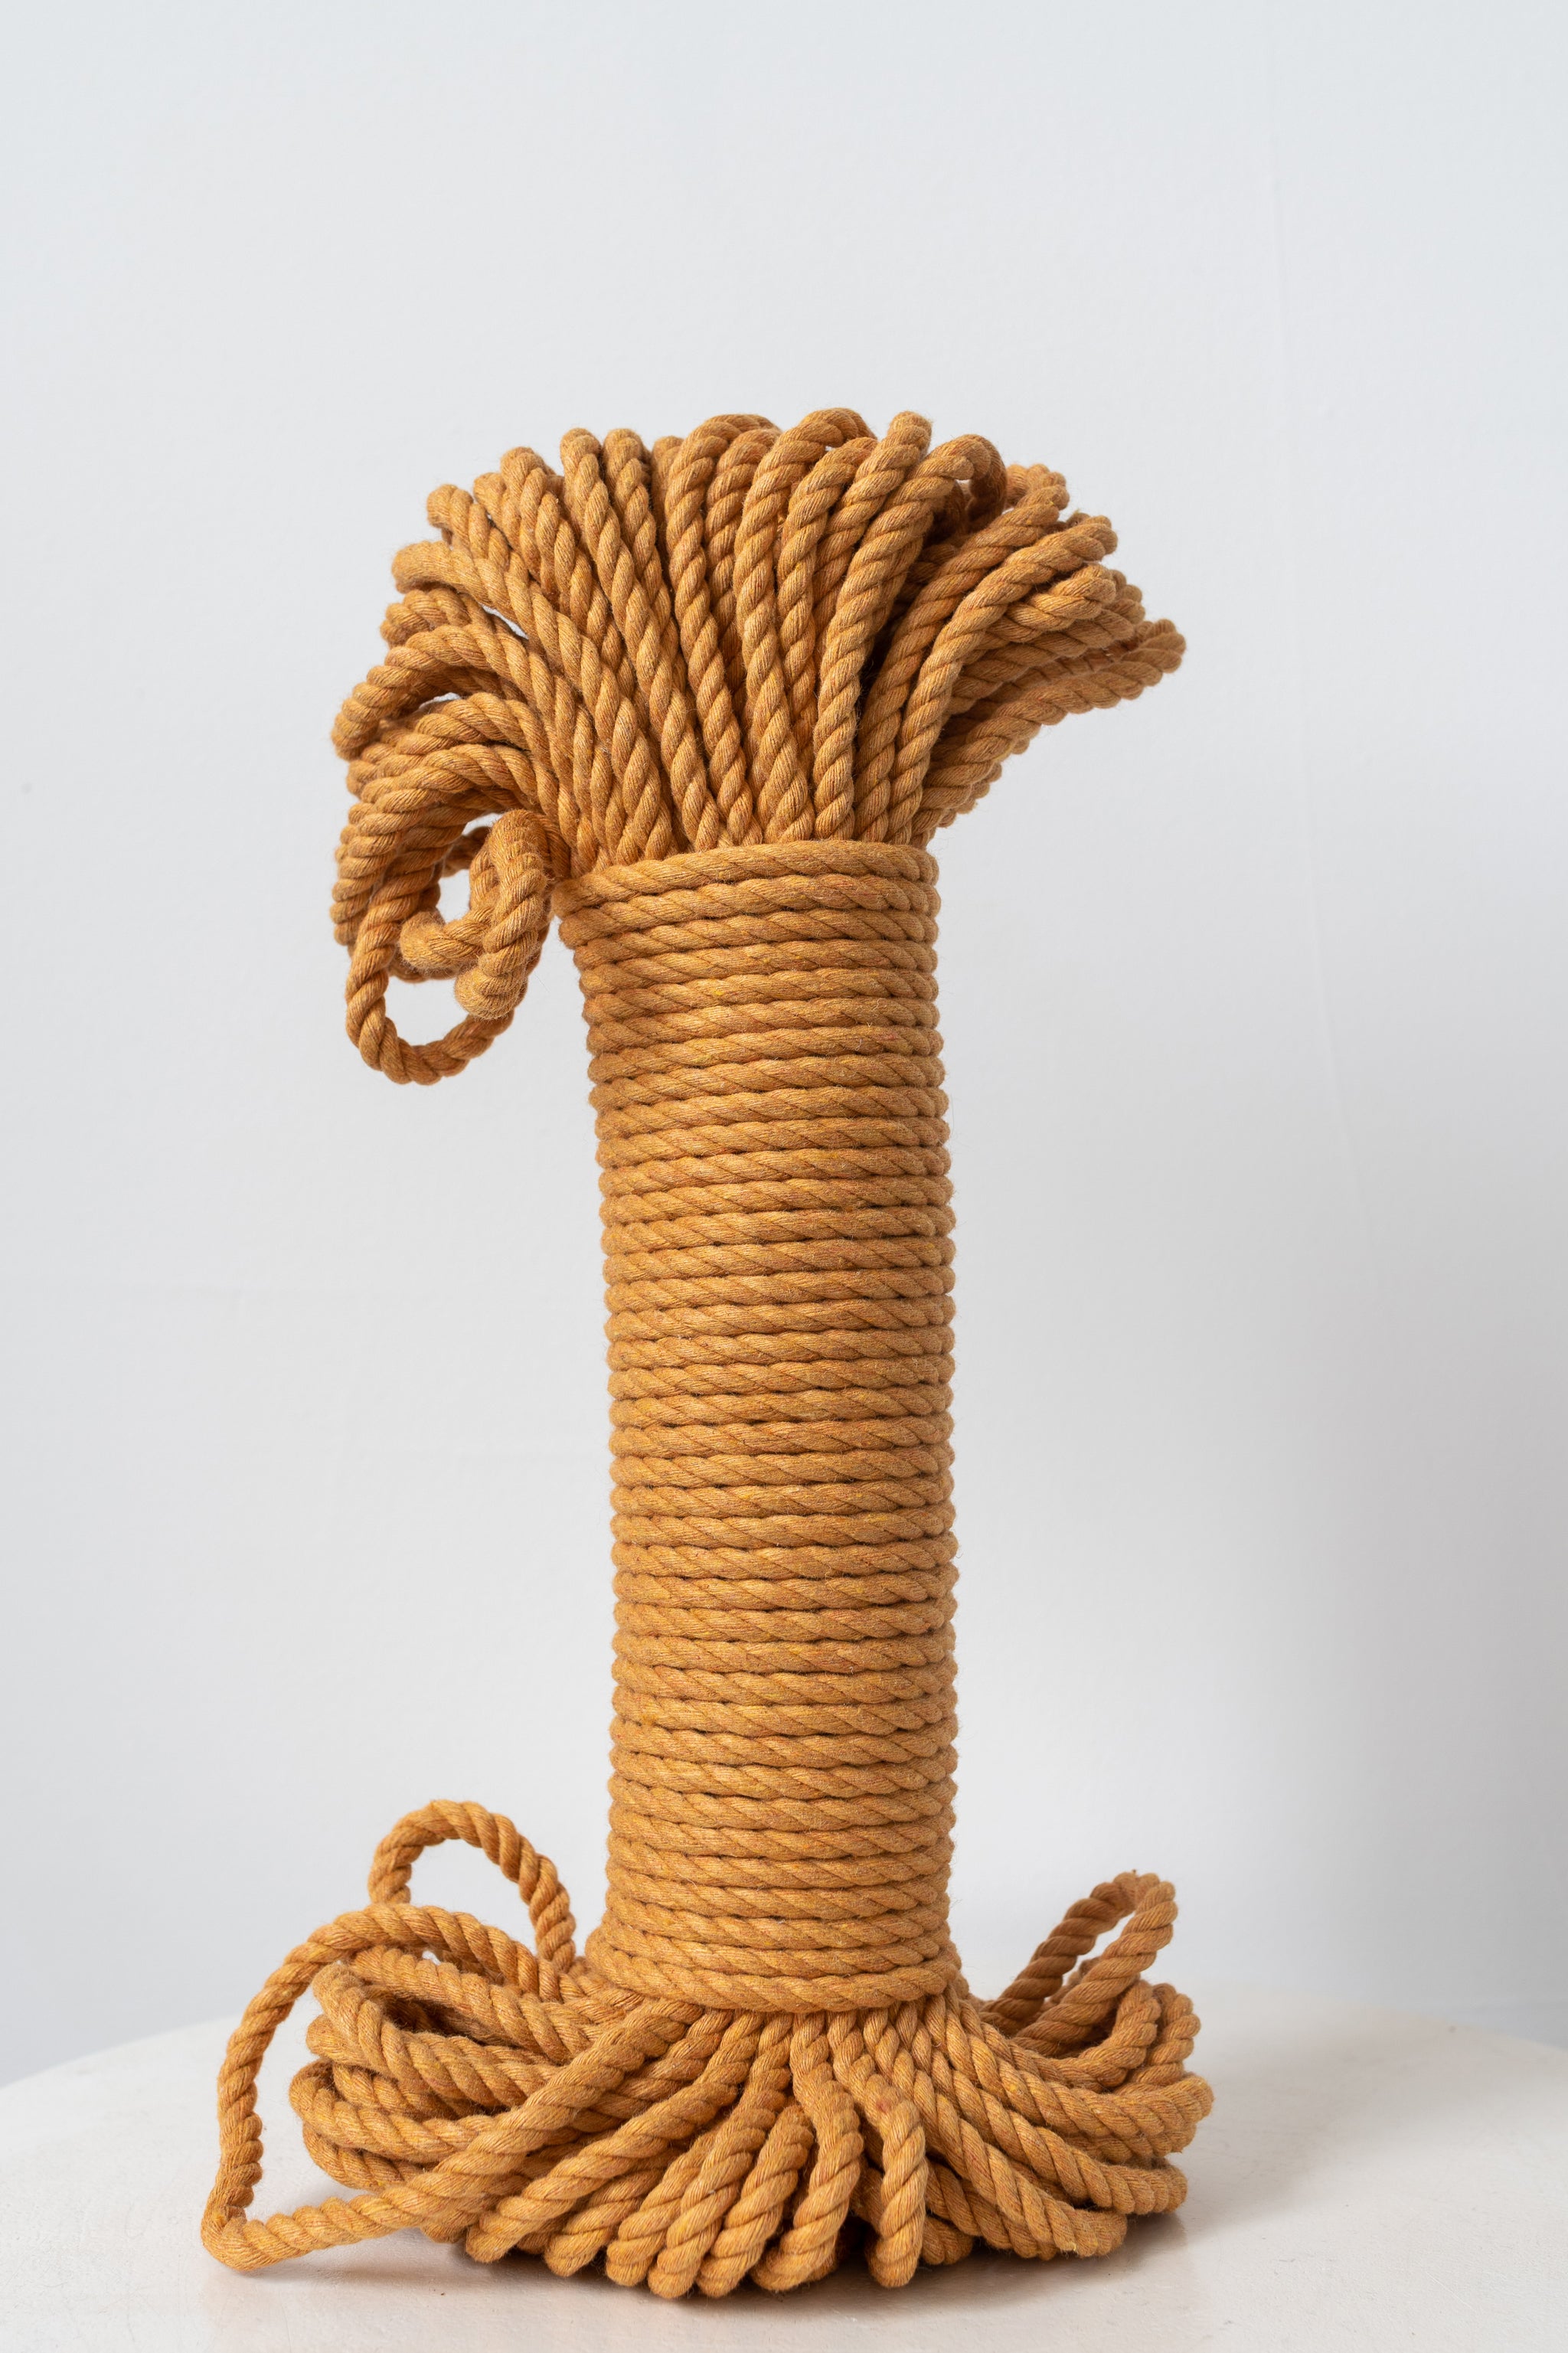
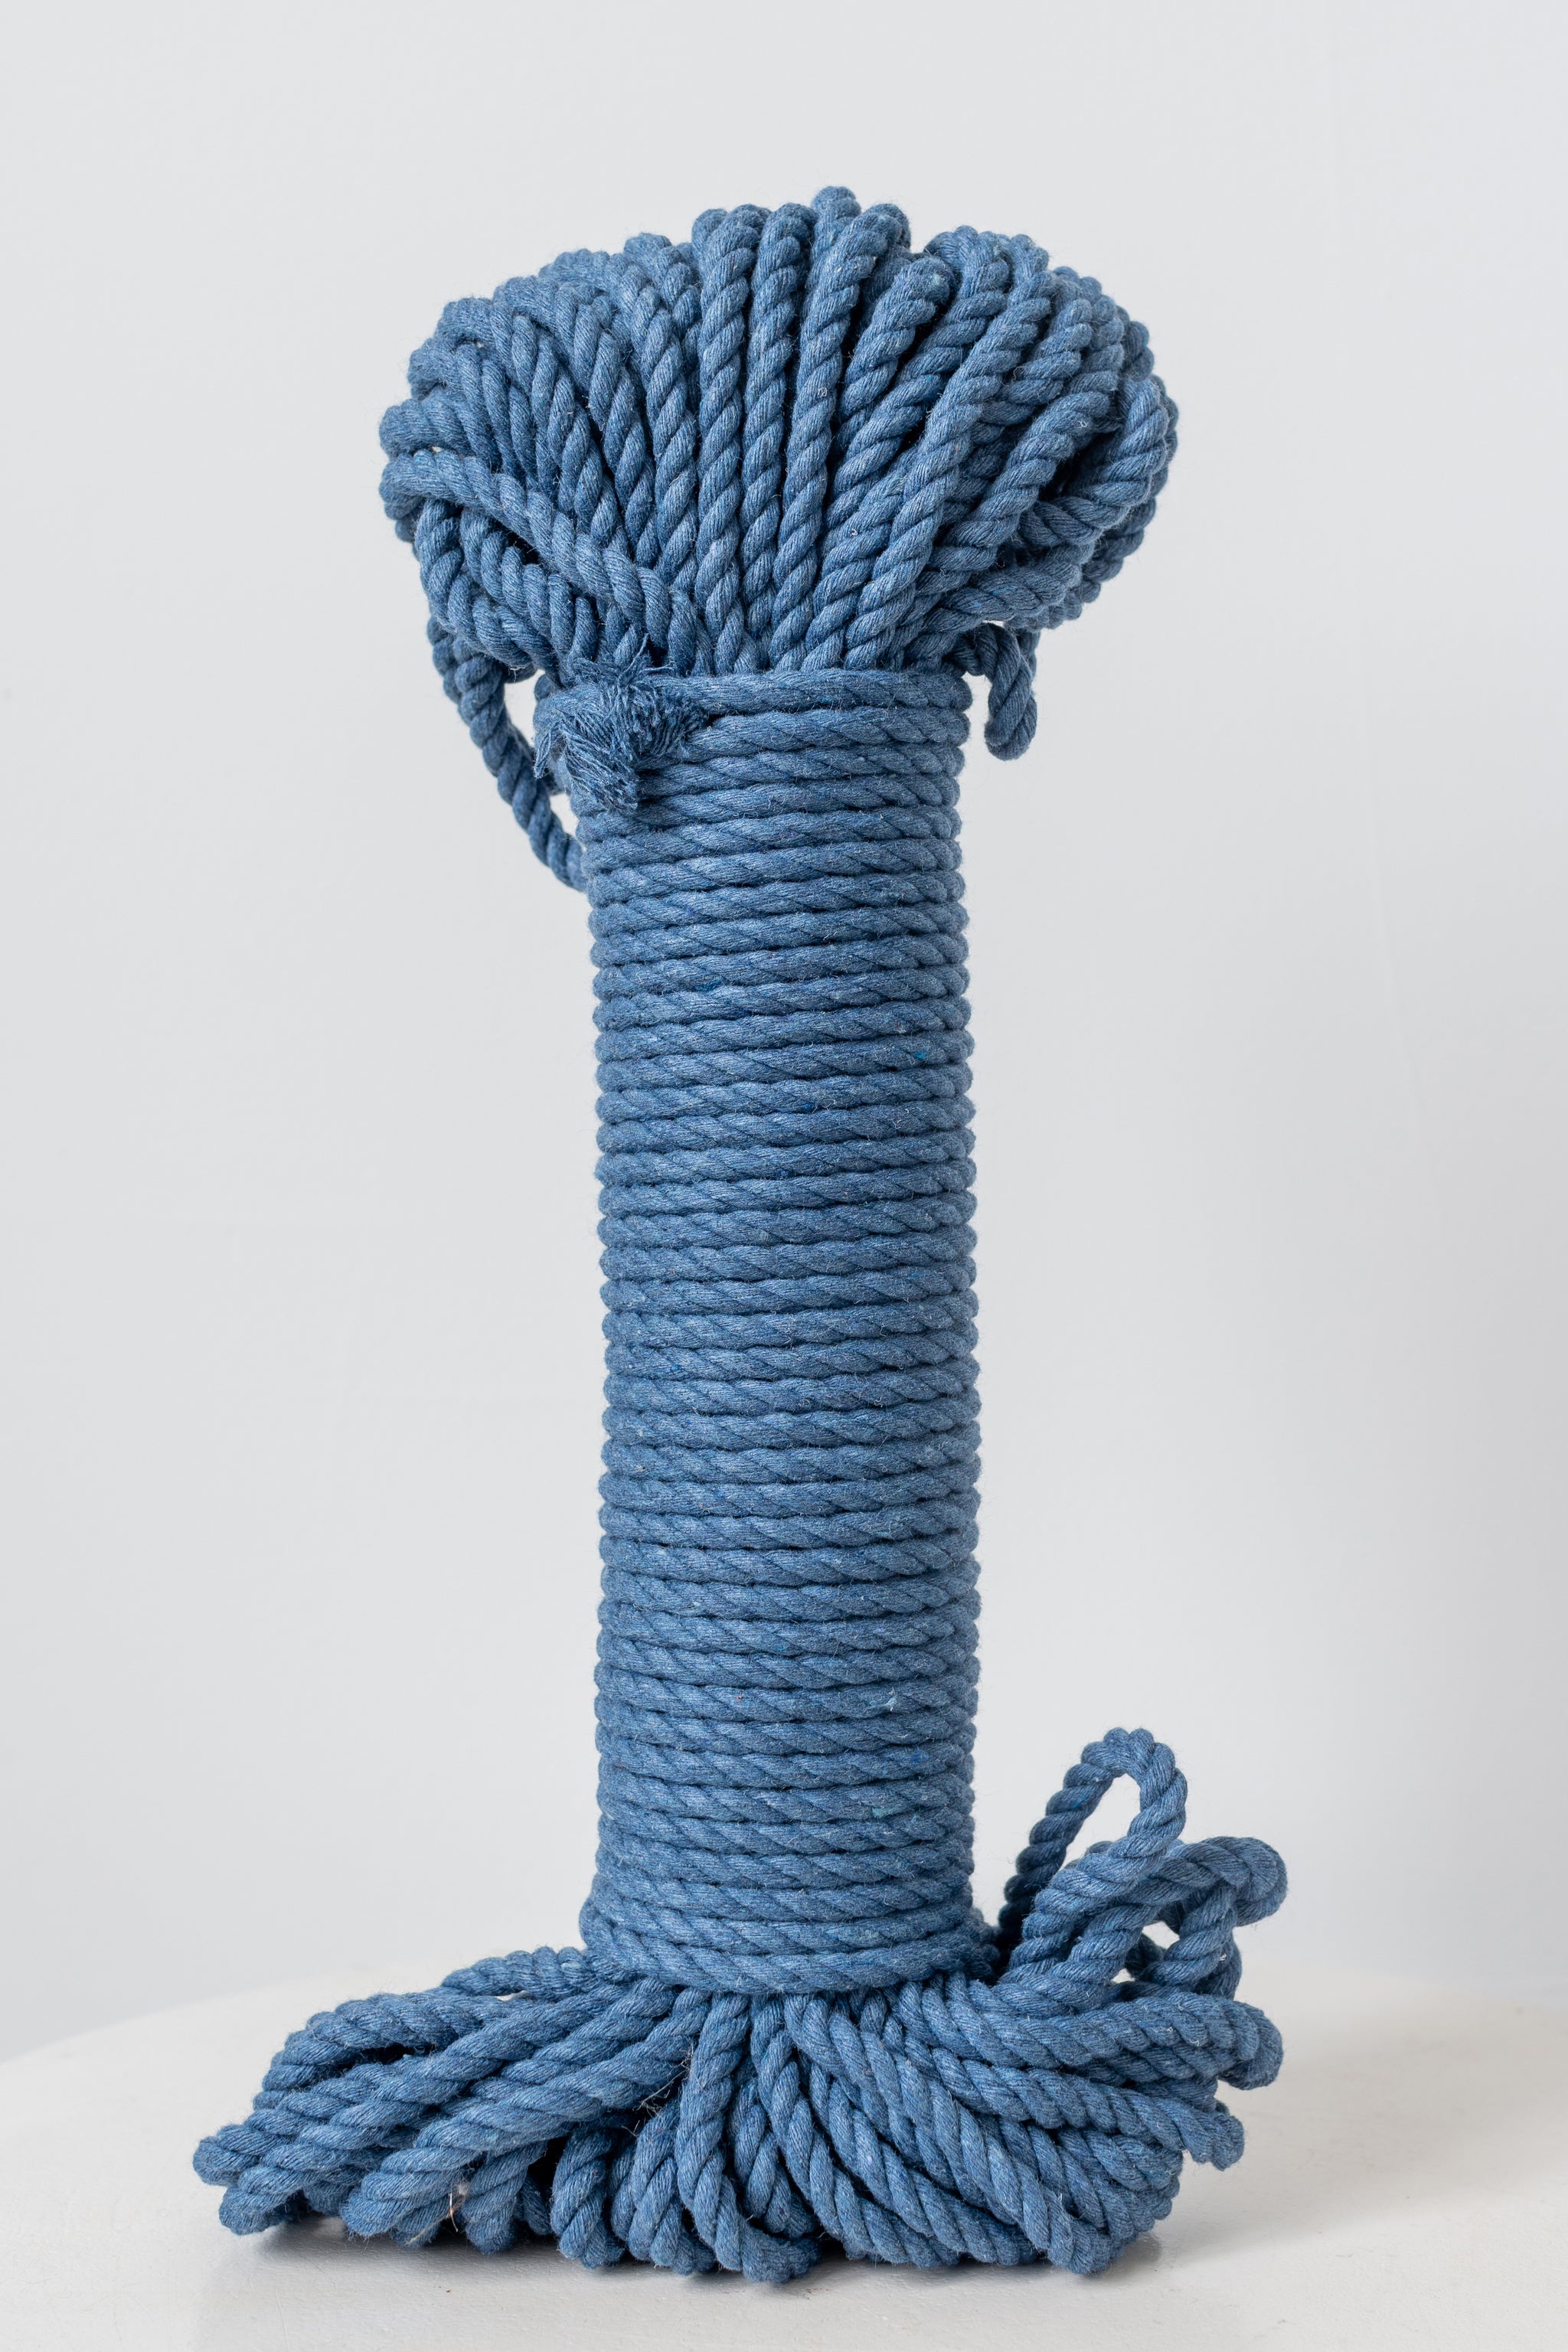
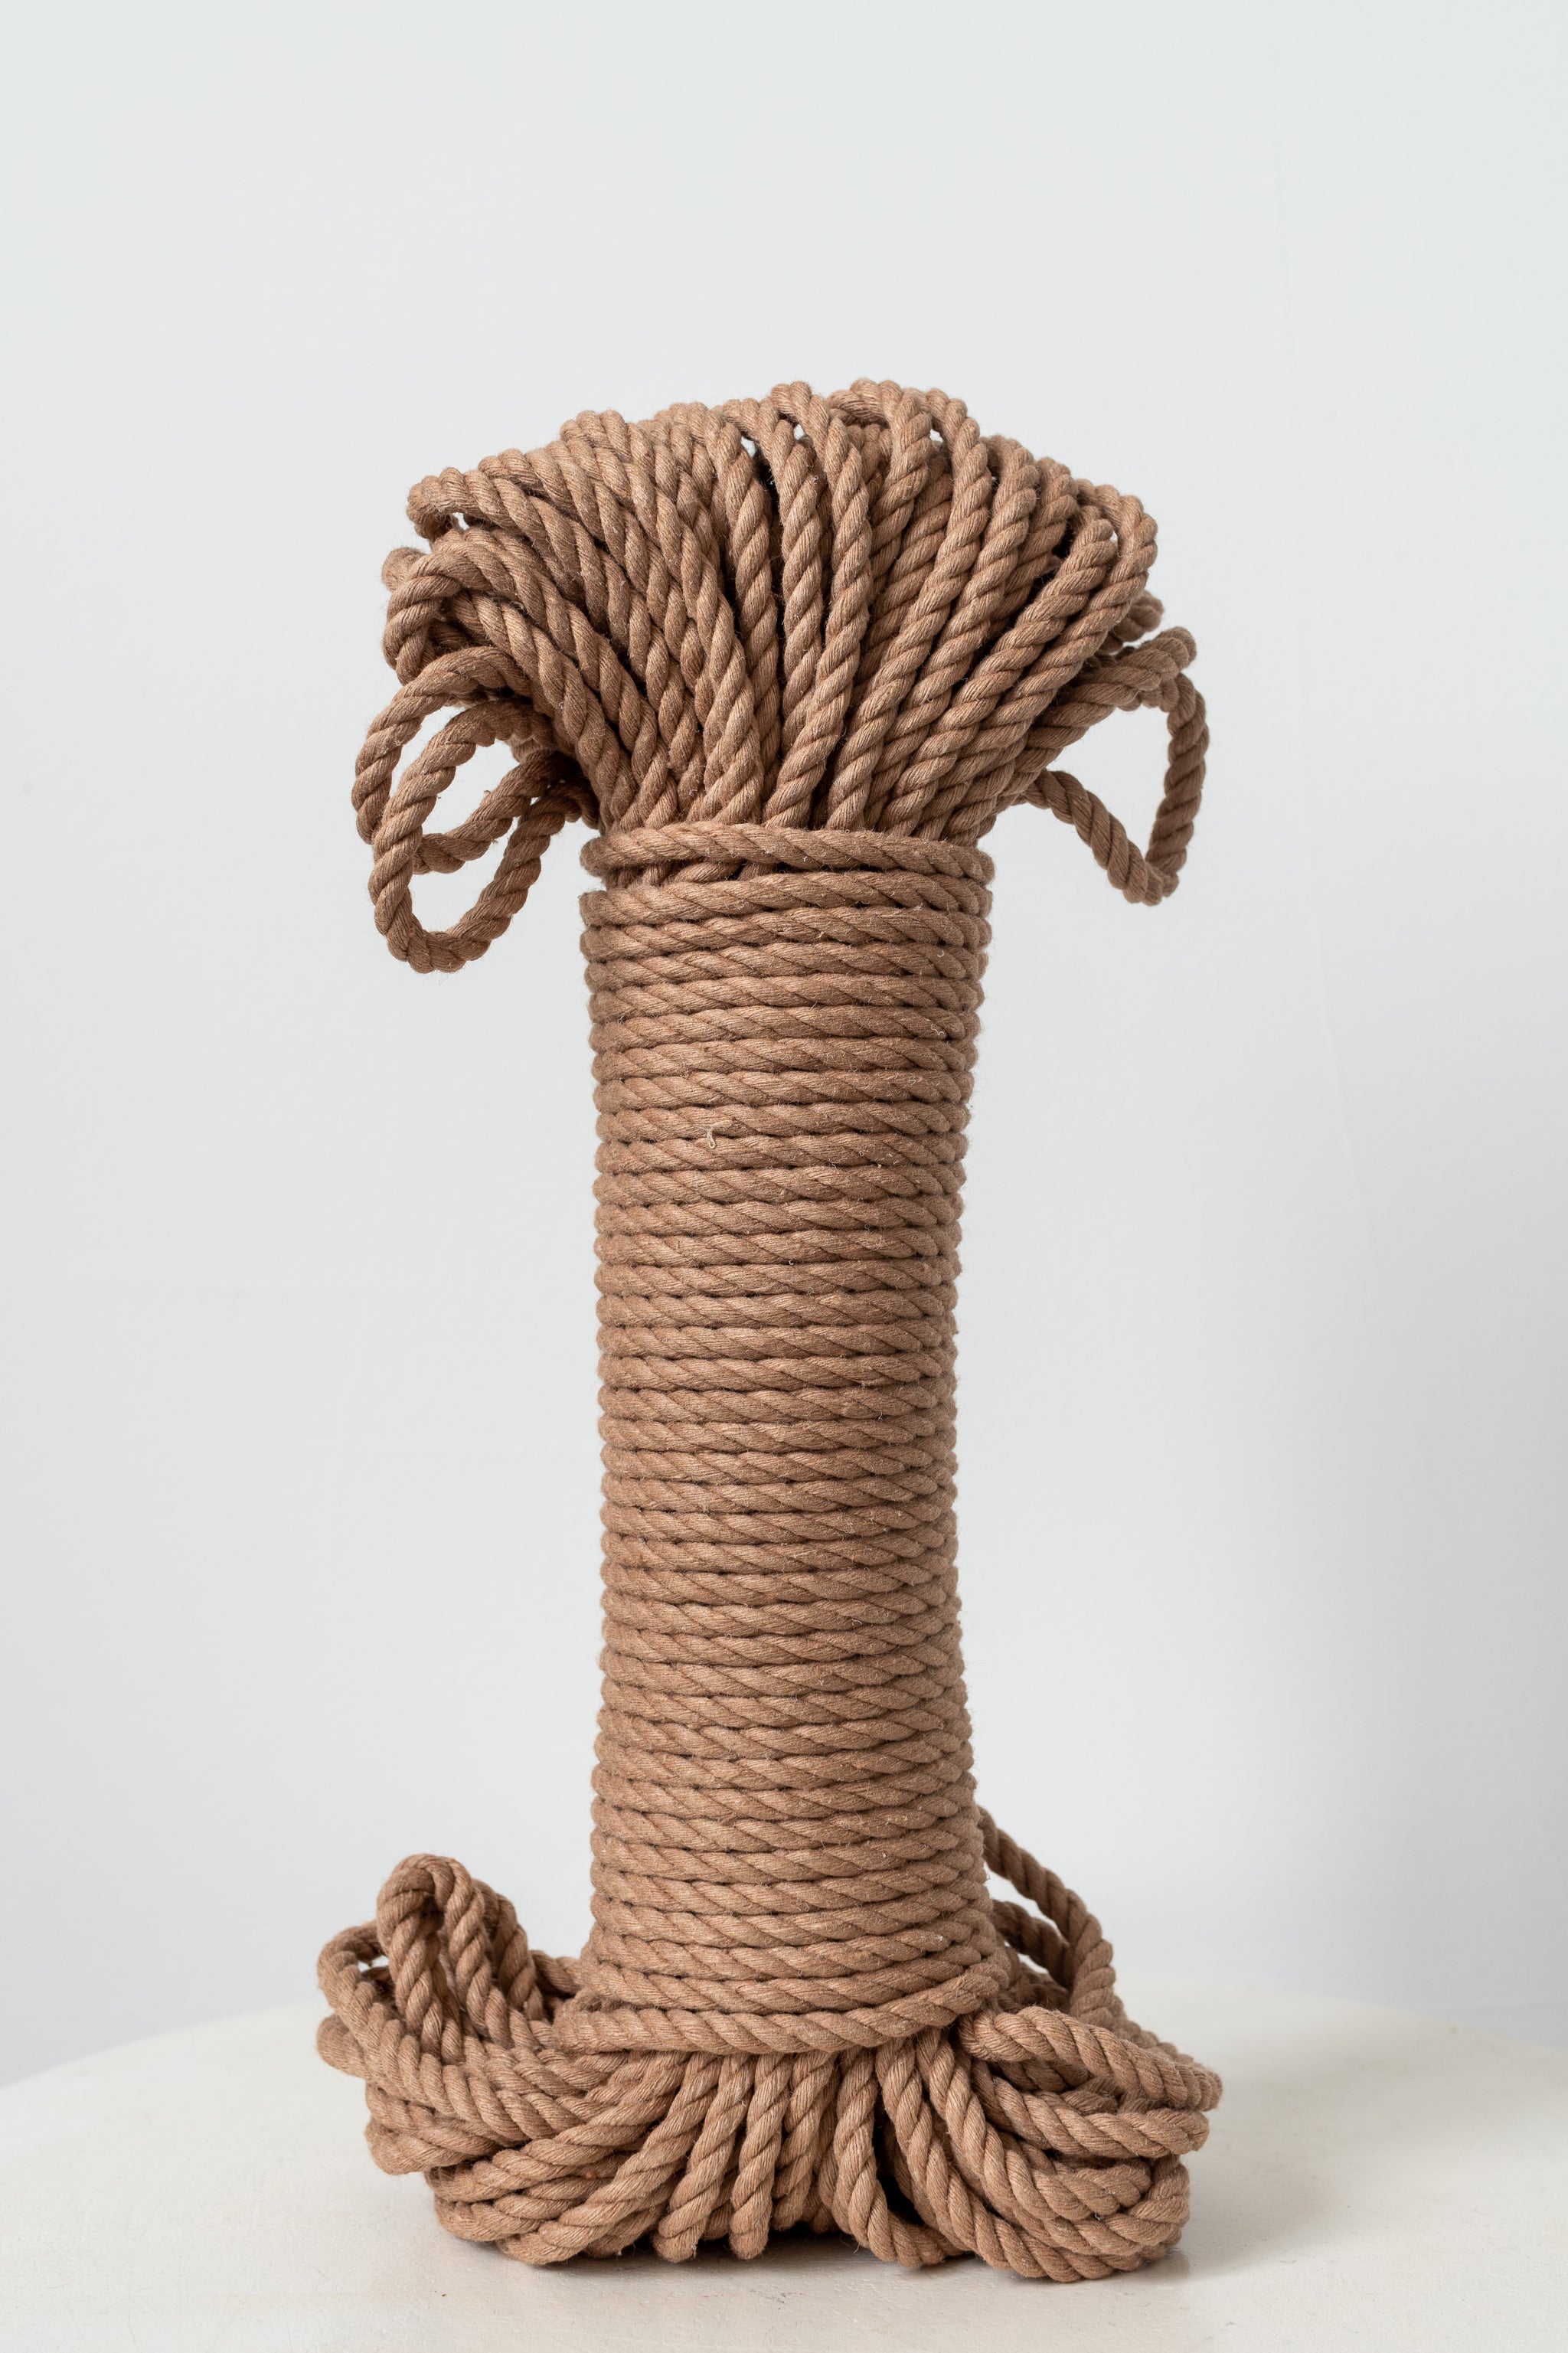
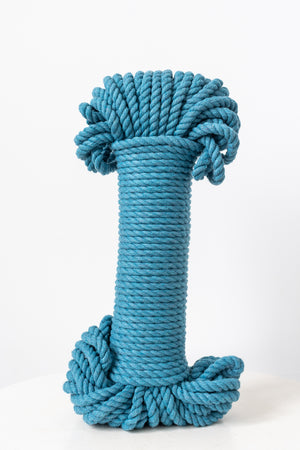
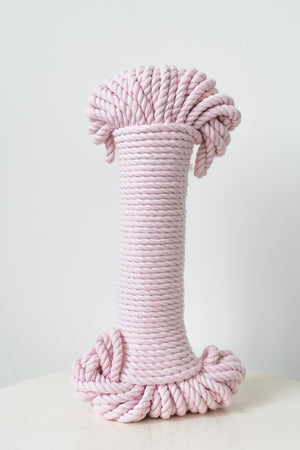
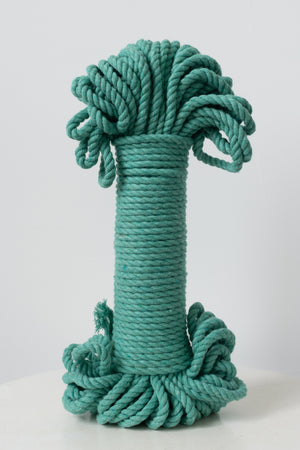
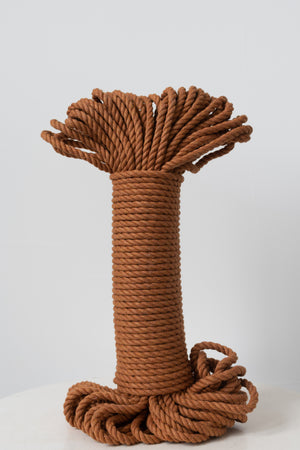
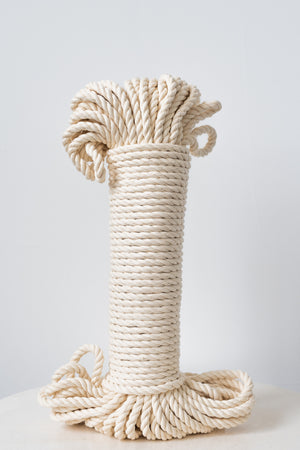
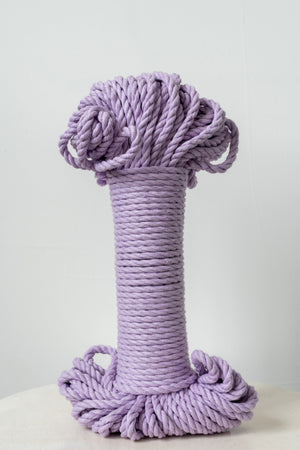
To make this wall hanging you will need the following materials:
To start your wall hanging cut 18 sections of cotton rope 5 meters (16,5 foot) each. You will need to attach all 18 ropes using a Lark's head knot. To make this knot take 1 rope and fold it in half. Pull the folded end over the wood dowel and pull the the cord ends through the loop you just made. Repeat this step 18 times.
Now it is time for the the first horizontal line of double half-hitch knots. First use 1 of your 50cm (20") cotton rope to use as you holding cord. Now use your hanging cords to tie 36 double half-hitch knots around your holding cord.
The wall hanging consists of 4 distinct different patterns. Each pattern is locked in by 2 horizontal rows of half-hitch knots.
The first part of this wall hanging is the easiest part. First you start out with a row of square knots. Next a row of 2 square knots followed by a row of single square knots. Repeat this once more. To finish the first part tie a horizontal row of half-hitch knots. Leave a small gap of about 2.5cm (1") and tie another horizontal row of half-hitch knots.
Each cross uses 8 cords. In total this wall hanging has 36 cords. We need to leave 2 cords untouched on both sides of the wall hangings. So we start out with the 3rd cord as our holding cord. Tie double half-hitch knots diagonally around this holding cord with cord 4, 5 and 6. Use cord 10 as your holding cord and tie double half-hitch knots diagonally around this cord with cord 9,8 and 7. Now use your left holding cord to tie a double half hitch around the right holding cord. Continue to tie diagonal half-hitch knots with cord 6,5 and 4 and 7,8 and 9. Repeat this entire step 3 more times for the remaining 3 crosses. Once you have finished all 4 crosses it is time to make another horizontal row of double half-hitch knots.
For this part we will be using only the first half of the square knot. In total tie 5 rows of half square knots. Leave about 2cm (0,8") between each row. Finish this part with another horizontal row of double half-hitch knots.
This is the most complex part of the wall hanging. We will be using a combination of square knots and half-hitch knots. First start with a row of square knots. Now each square knot has 4 cords hanging down. Use the outside cord as your holding cord and use the inside cord as your working cord to tie 1 diagonal double half-hitch knot. Repeat this for all cords. Tie a row of square knots followed by another row of the diagonal half-hitch knots. Finish the pattern with 1 last row of square knots followed by the last horizontal row of double half-hitch knots.
Your wall hanging is now almost done. Just the finishing touches are left. First it is time to weave in the loose ends of the holding cords of the horizontal rows. Lay your wall hanging flat on the floor upside down. Use a scissor to loosen the back of one of double half-hitch knots and pull the loose end through. Cut the end. If you wish to prevent any fraying you can use some tape on the ends. Once you finished all loose ends it is time to hang your wall hanging and trim the fringe. If you wish you can untie and brush out the fringe to create a more fluffy look.


