


The comprehensive guide to Macrame Knots
Hey crafty ladies, ready to knot around with some macrame magic? You may be wondering, "What in tarnation are the most popular macrame knots and how do I tie them?" Well, fear not! I've got you covered.
And for those of you wondering where to find those sweet macrame patterns and supplies, don't worry, I'll point you in the right direction.
Now, I know what you're thinking, "Why do I need to learn macrame knots?" Well, let me tell you, these knot-tying skills are not only impressive but they can also lead to some seriously stunning home decor.
In this guide, we're breaking it down into 4 sections to make it easy peasy lemon squeezy. We've got macrame knots, macrame tips, and macrame patterns. I'll teach you all the popular knots, give you some pro tips, and help you get started on your first projects.
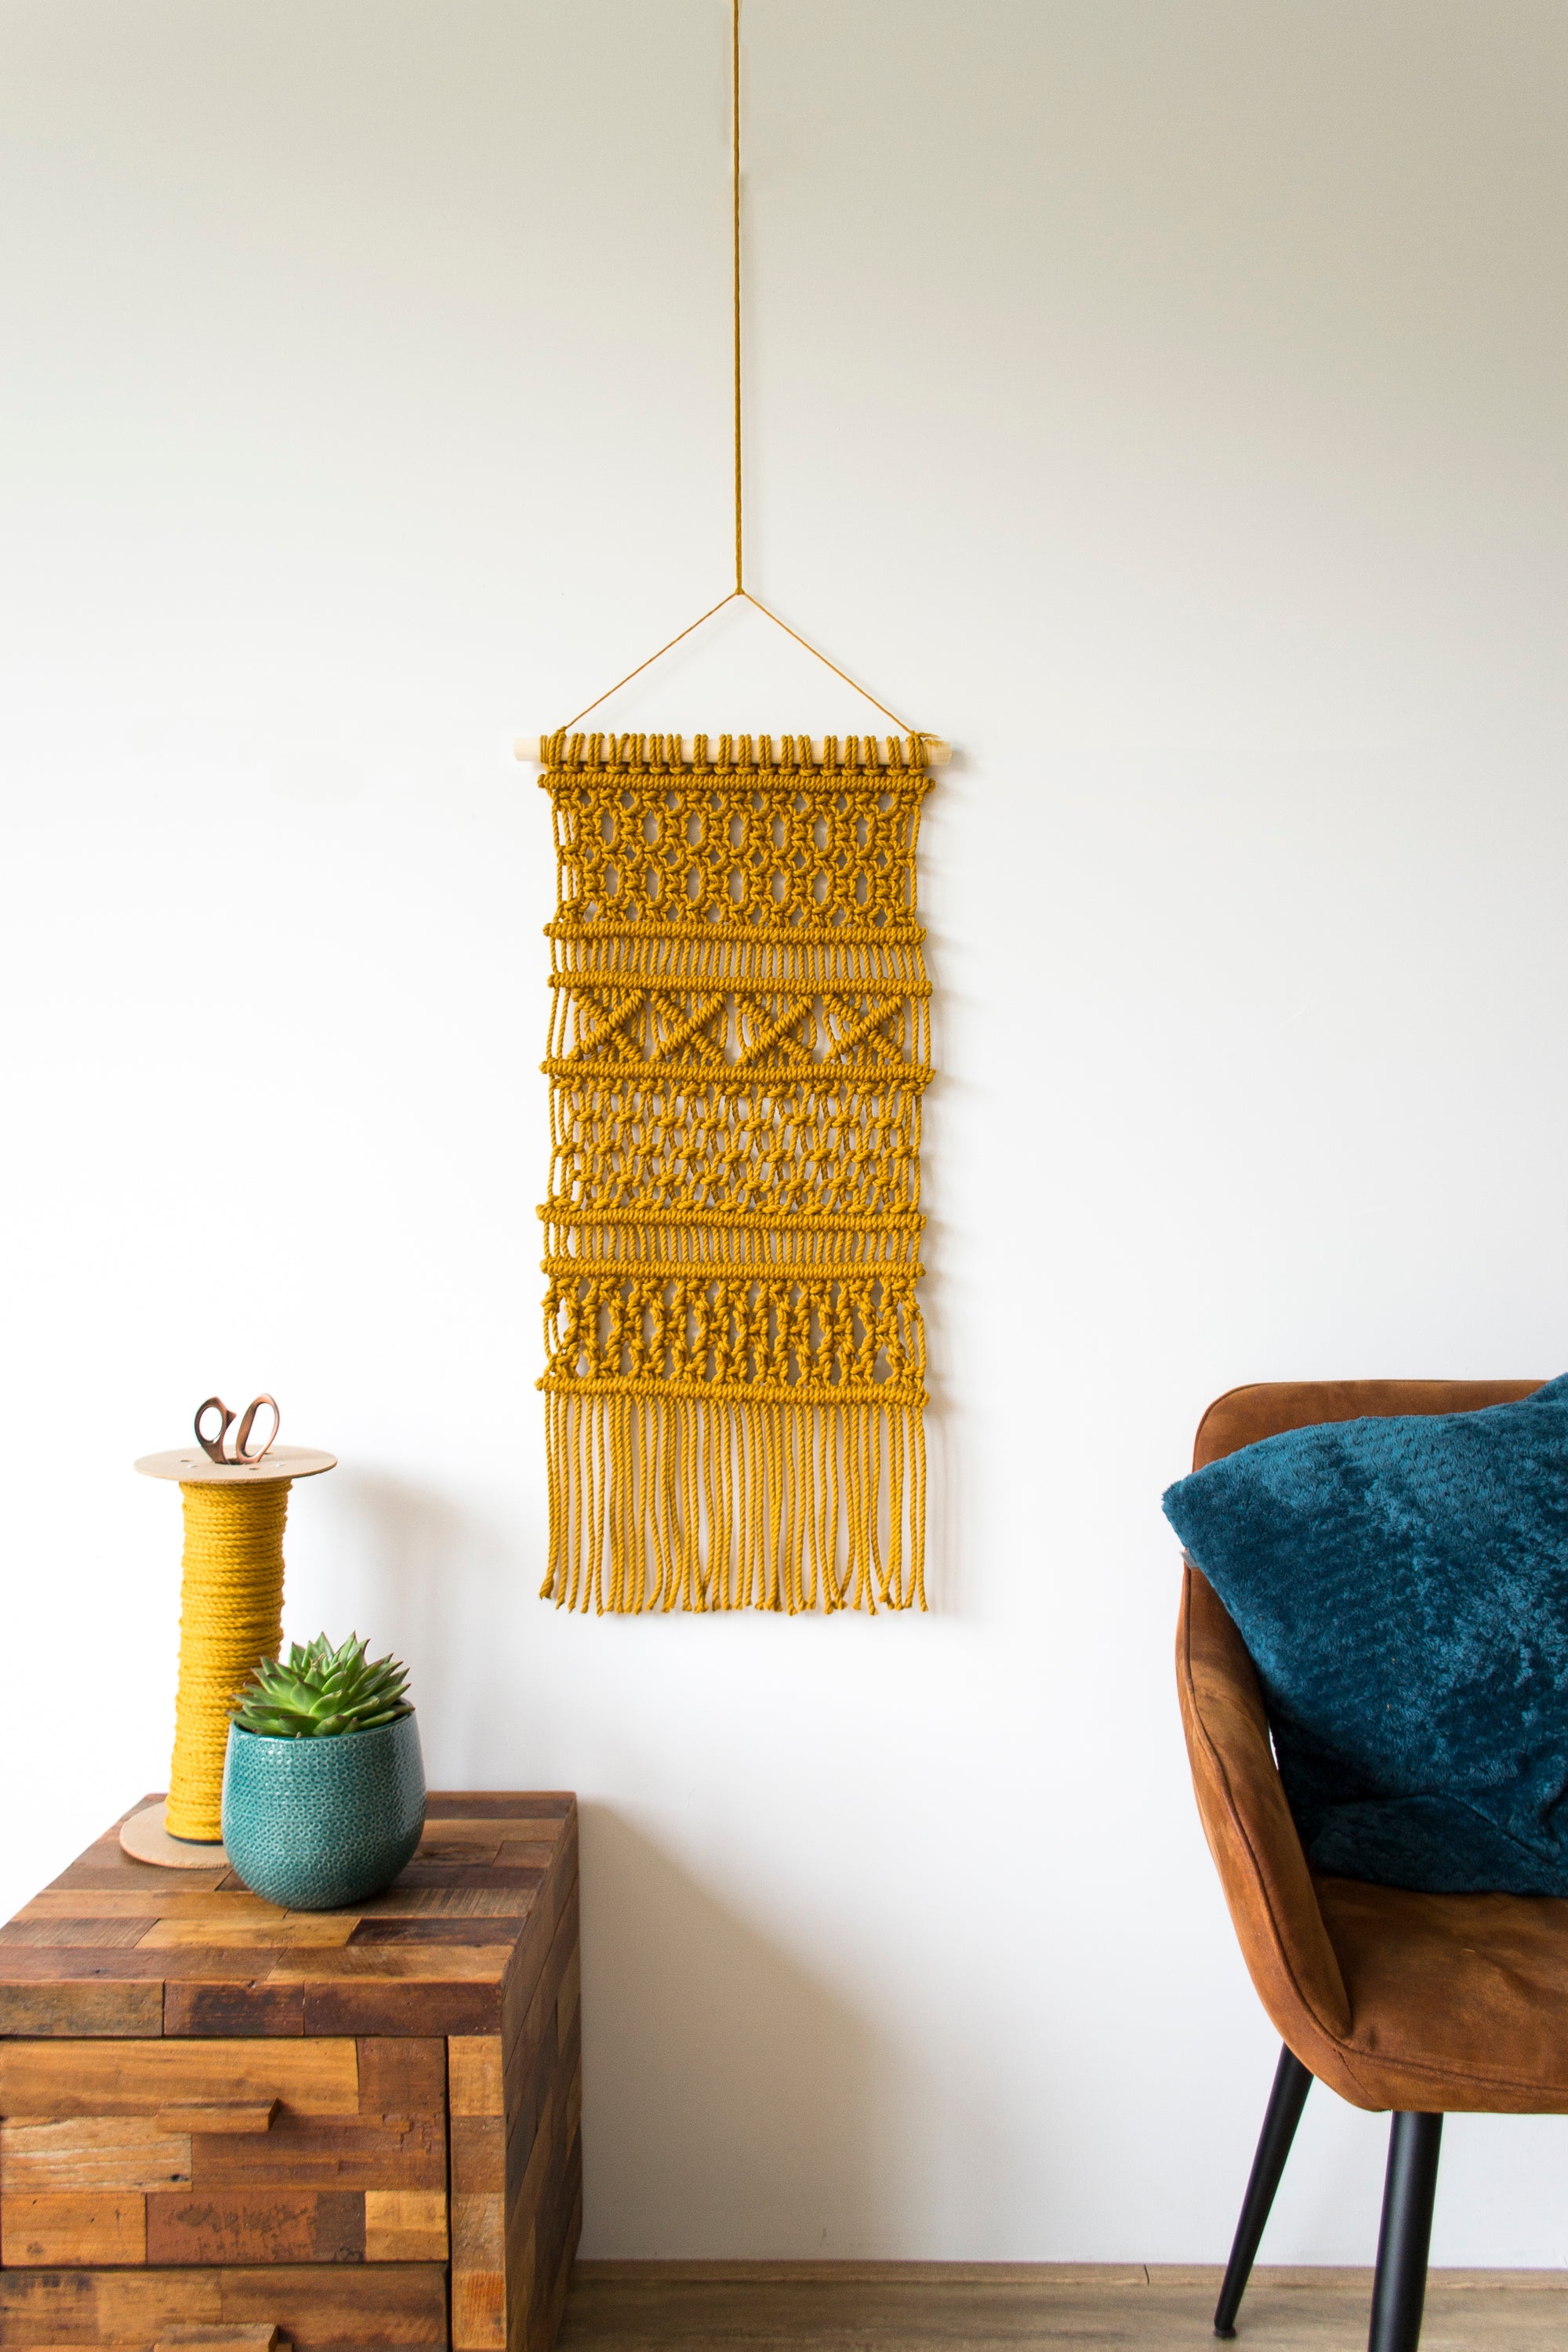
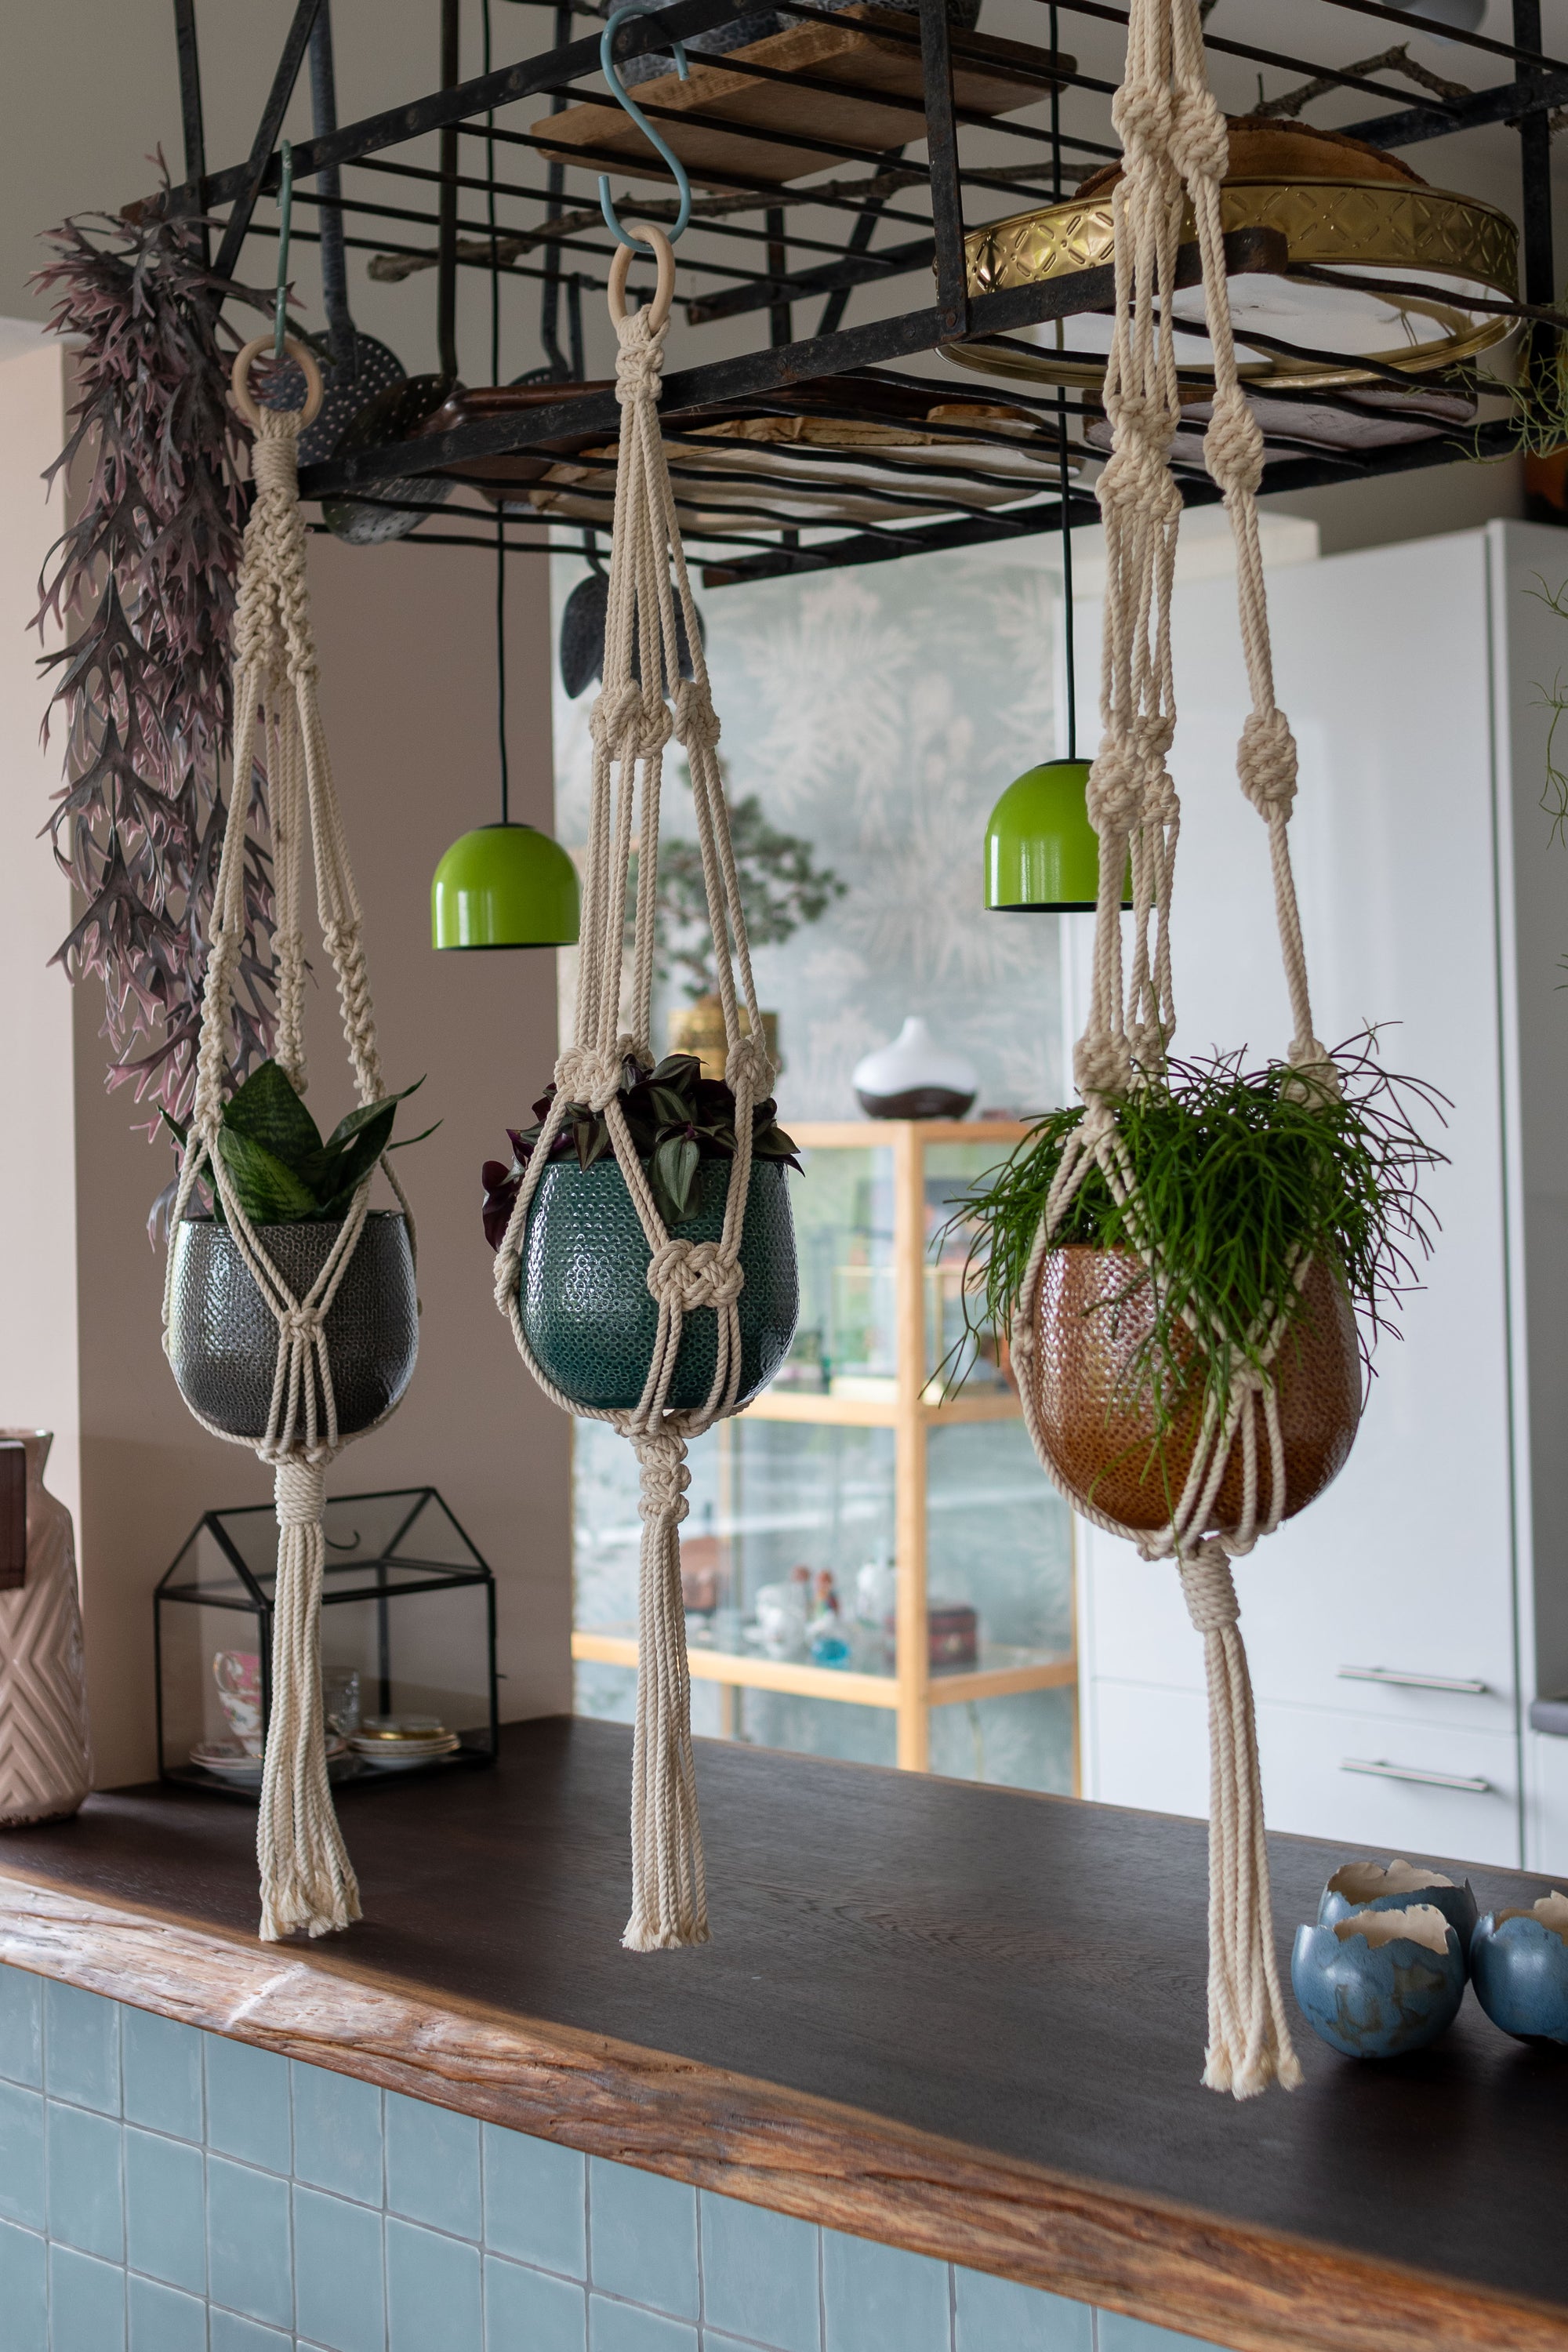
So, let's get knotting! You can make your very own macrame wall hanging or plant hanger for all you plant mamas out there. Let's make some boho-tastic creations that would make even Joanna Gaines proud. #girlpower #knotonmywatch #plantsaremybaes
Table of Contents |
Section 1: Macrame knots
Macrame is a craft that involves a series of knots. In this section, you will learn about the most commonly used knots in macrame.
Square knot
Square Knots are one of the strongest and most common knots used in macrame. The knot is done in two parts. Start by bending the left working cord, cross it over the filler cords, and then under the right working cord. Pass the right working cord behind the filler cords and pull it through the loop created by the left working cord. Gently pull on both cords. The knot is halfway done. To finish the knot, do the same steps in reverse, starting with the right working cord. Bend it, cross it over the filler cords, then under the left working cord. Pass the left working cord behind the filler cords and pull it through the loop created by the right working cord. Pull on both cords to complete the knot.
Spiral knot
The spiral knot creates a beautiful helix or DNA spiral. It is especially well-suited for creating plant hangers. The spiral knot is essentially a square knot but tied repeatedly. The knot becomes offset, forming a spiral that twists down. To make this knot, start by following the steps for the square knot. Keep repeating the above steps until the spiral is the desired length.
Half hitch
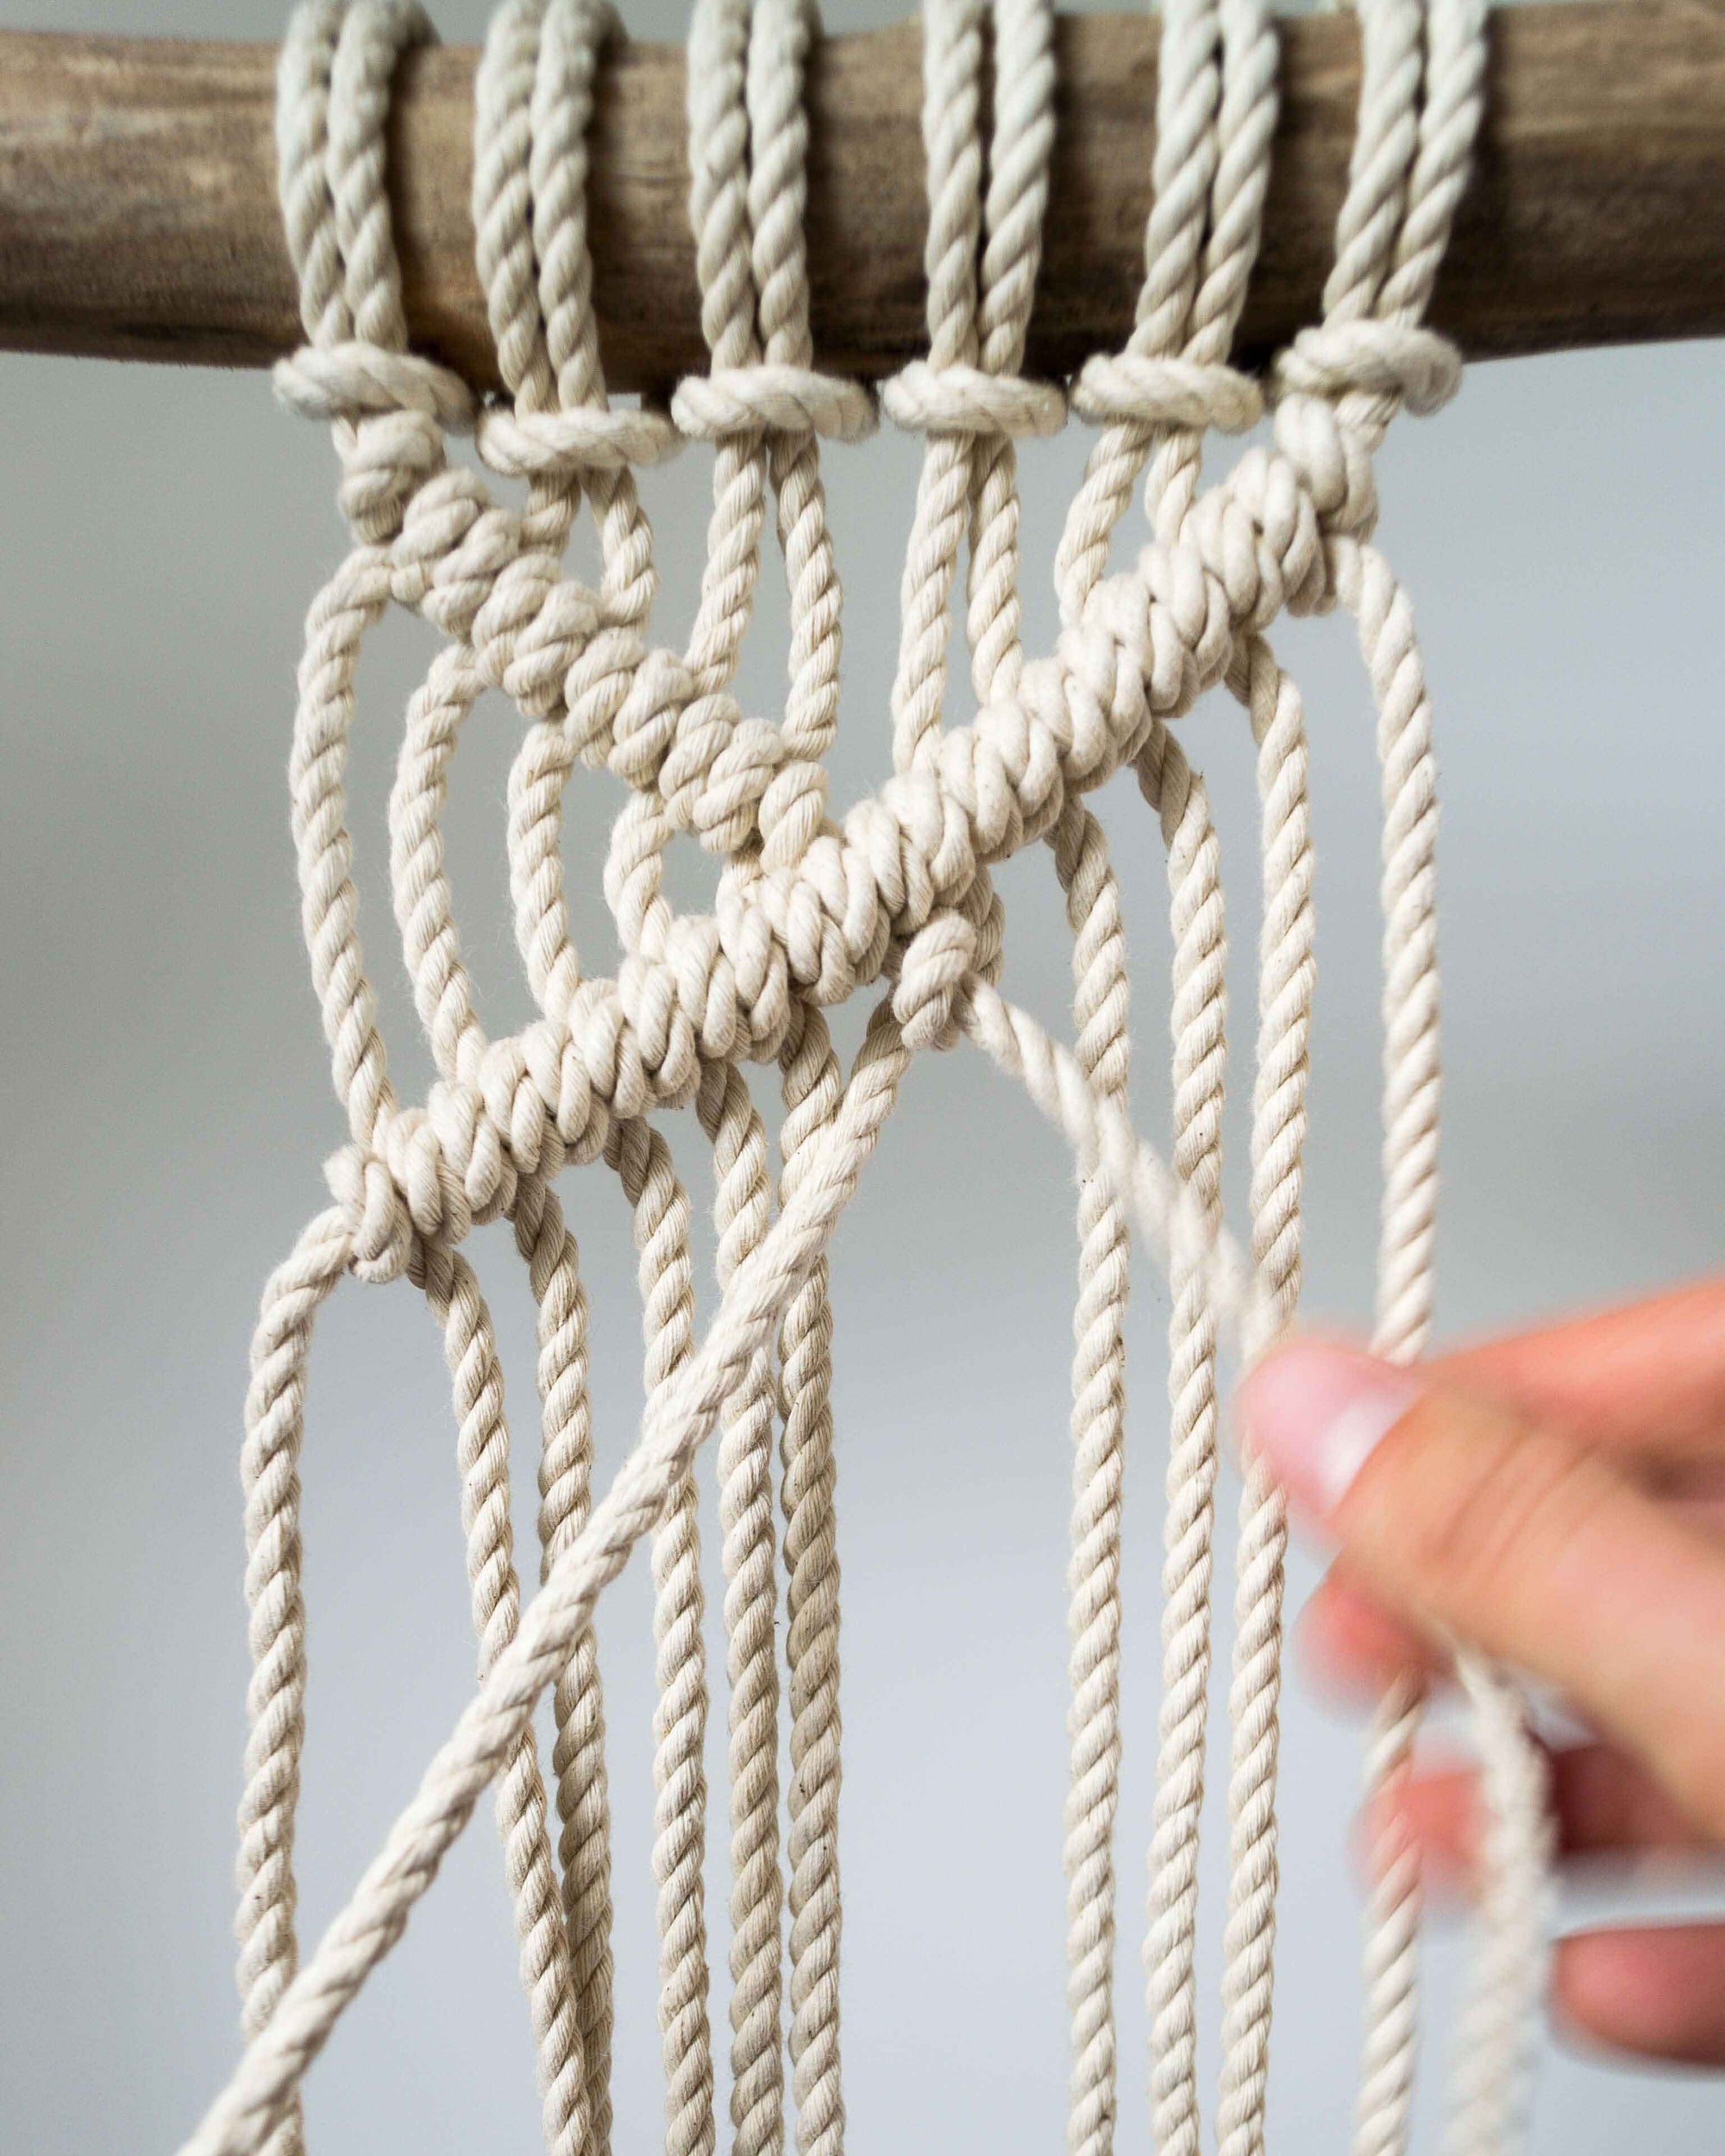
The half hitch is the most versatile knot used in macrame. The possibilities are endless with this knot. In this section, we will explain the most commonly used variations: Half Hitch, Double half hitch, and Horizontal half hitch. The half hitch knot is great for creating wavy patterns in a macrame wall hanging. It is the most simple knot in macrame. To make this knot, the working cord passes in front of and then loops around the filler cord. Pass it through the loop created by the working cord.Double half hitch
The double half hitch is the knot that can elevate your work to the next level. It is used to create different structures and shapes in macrame. The knot can be tied horizontally, vertically, diagonally, or in free form. Here we will look at the diagonal half hitch knot. Use one cord as your filler cord. You can use a cord in your work or use a new rope as your filler cord. Hold the filler cord at your desired angle. Use your first working cord to pass at the back of your filler cord and loop around. Now make another loop around your filler cord to create the double half hitch knot.
Diagonal Double Half Hitch
Horizontal Double Half Hitch
Vertical Double Half Hitch
Lark's head knot
To make this knot, take one rope and fold it in half. Pull the folded end over the wooden dowel and pull the cord ends through the loop you just made.
Section 2: Advanced Macrame Knots
Vertical Crown Knot
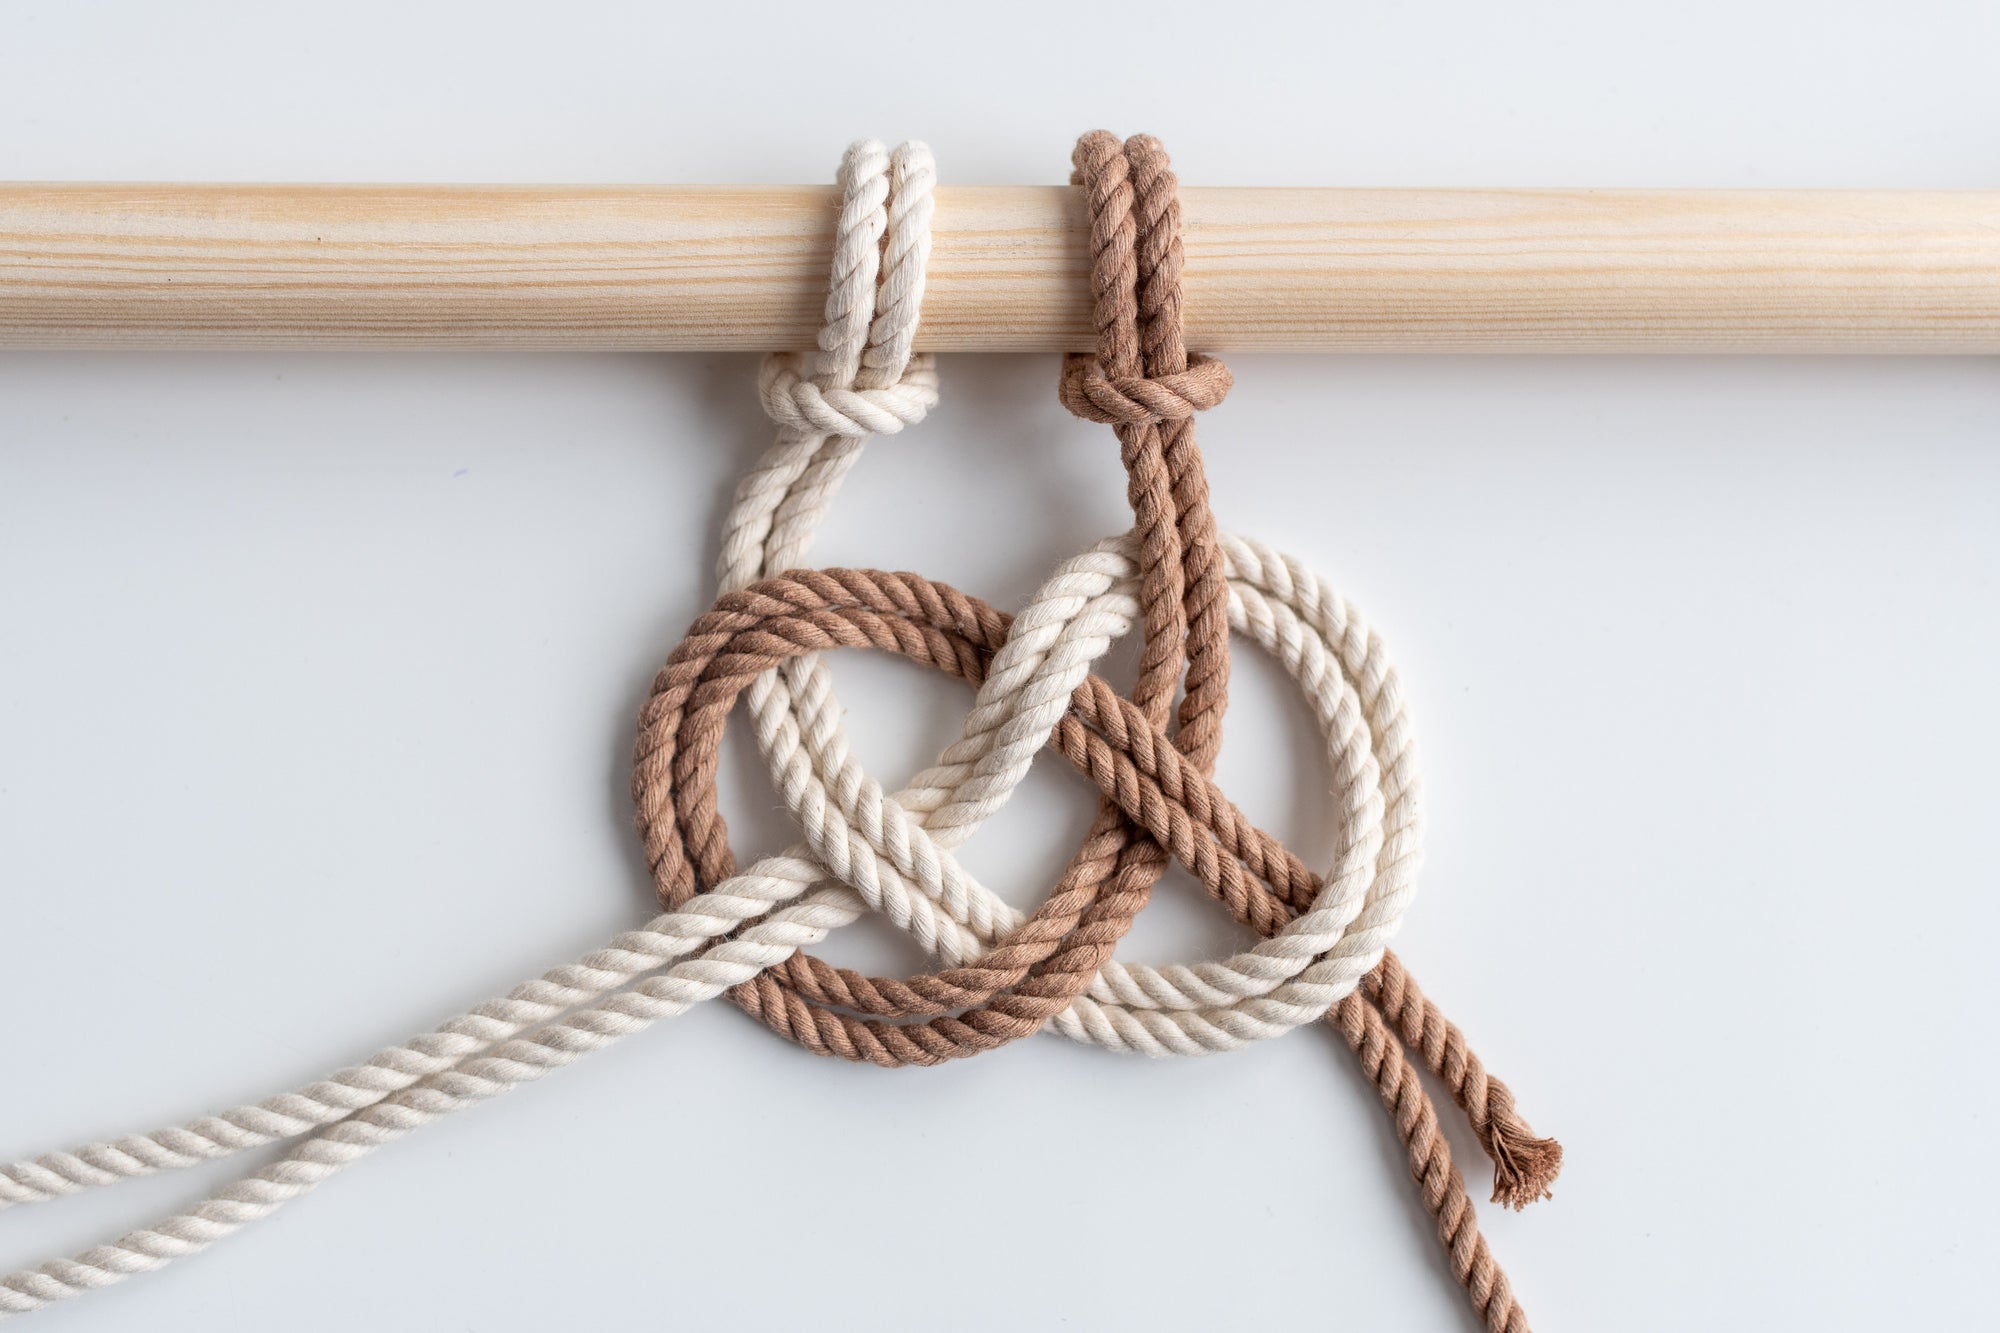
Friendship Knot
Section 3: Macrame tips
In this section, we will share some beginner tips with you. If you are more advanced, feel free to skip to Section 3.
Use good quality rope
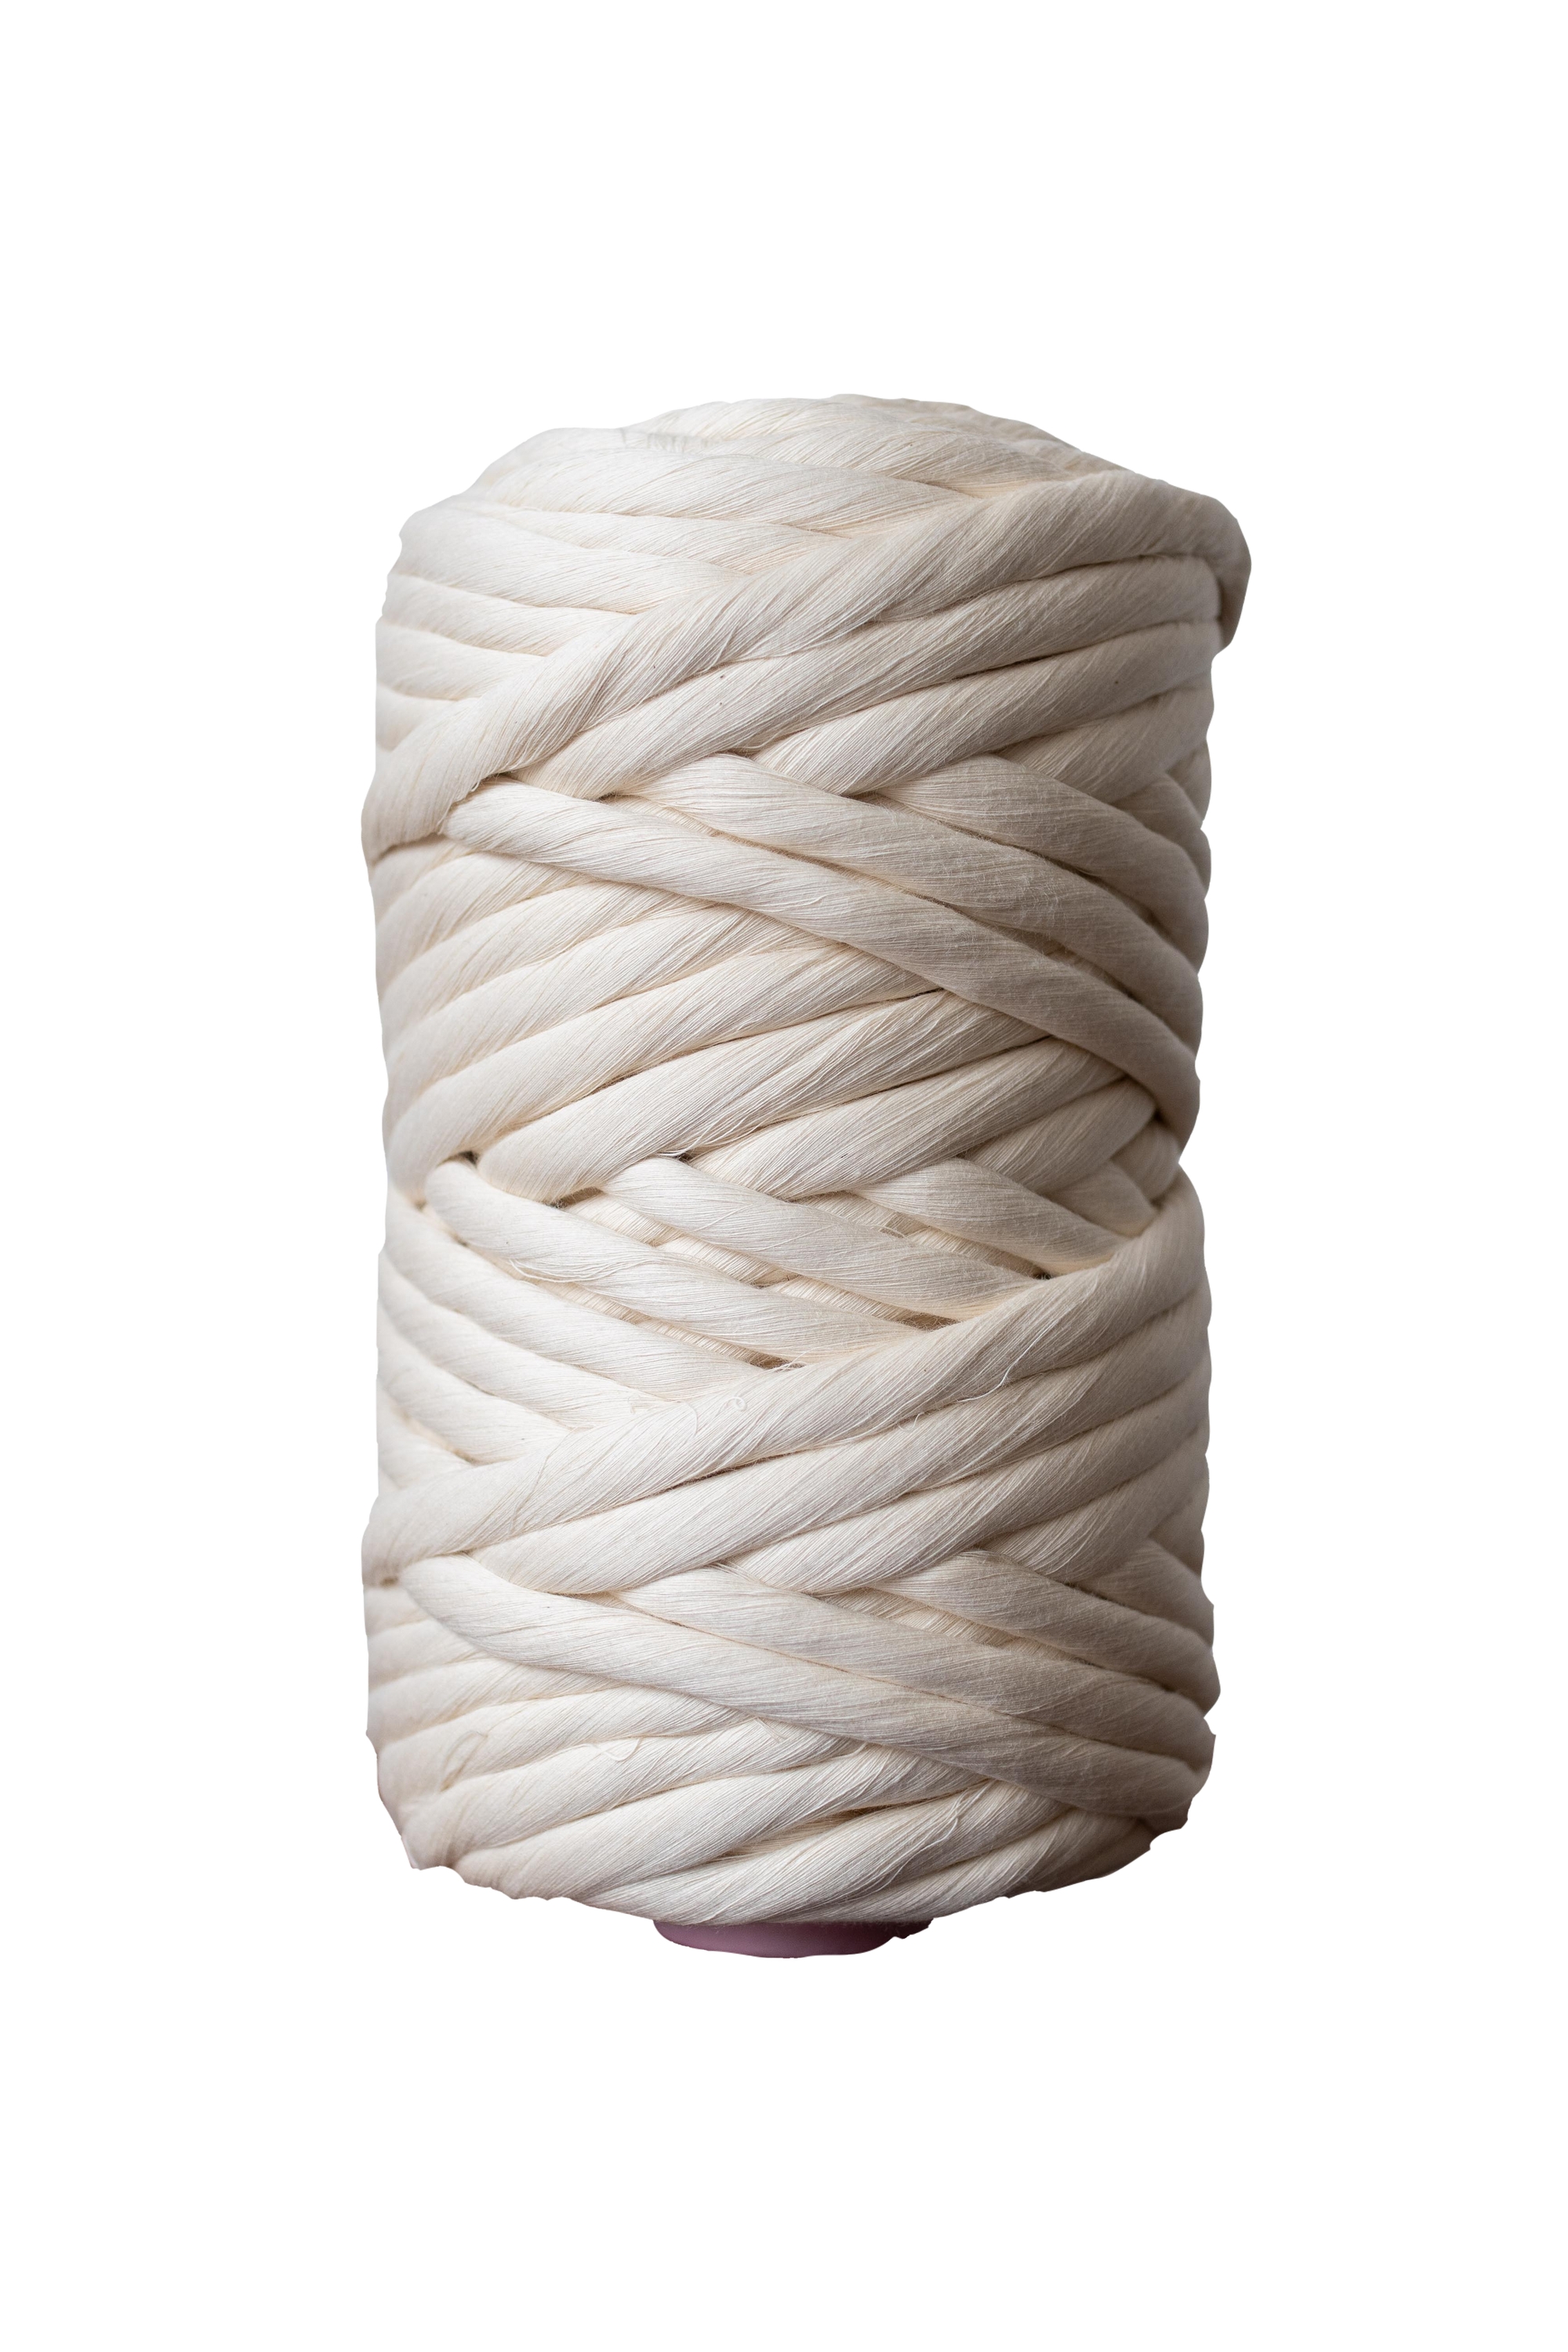
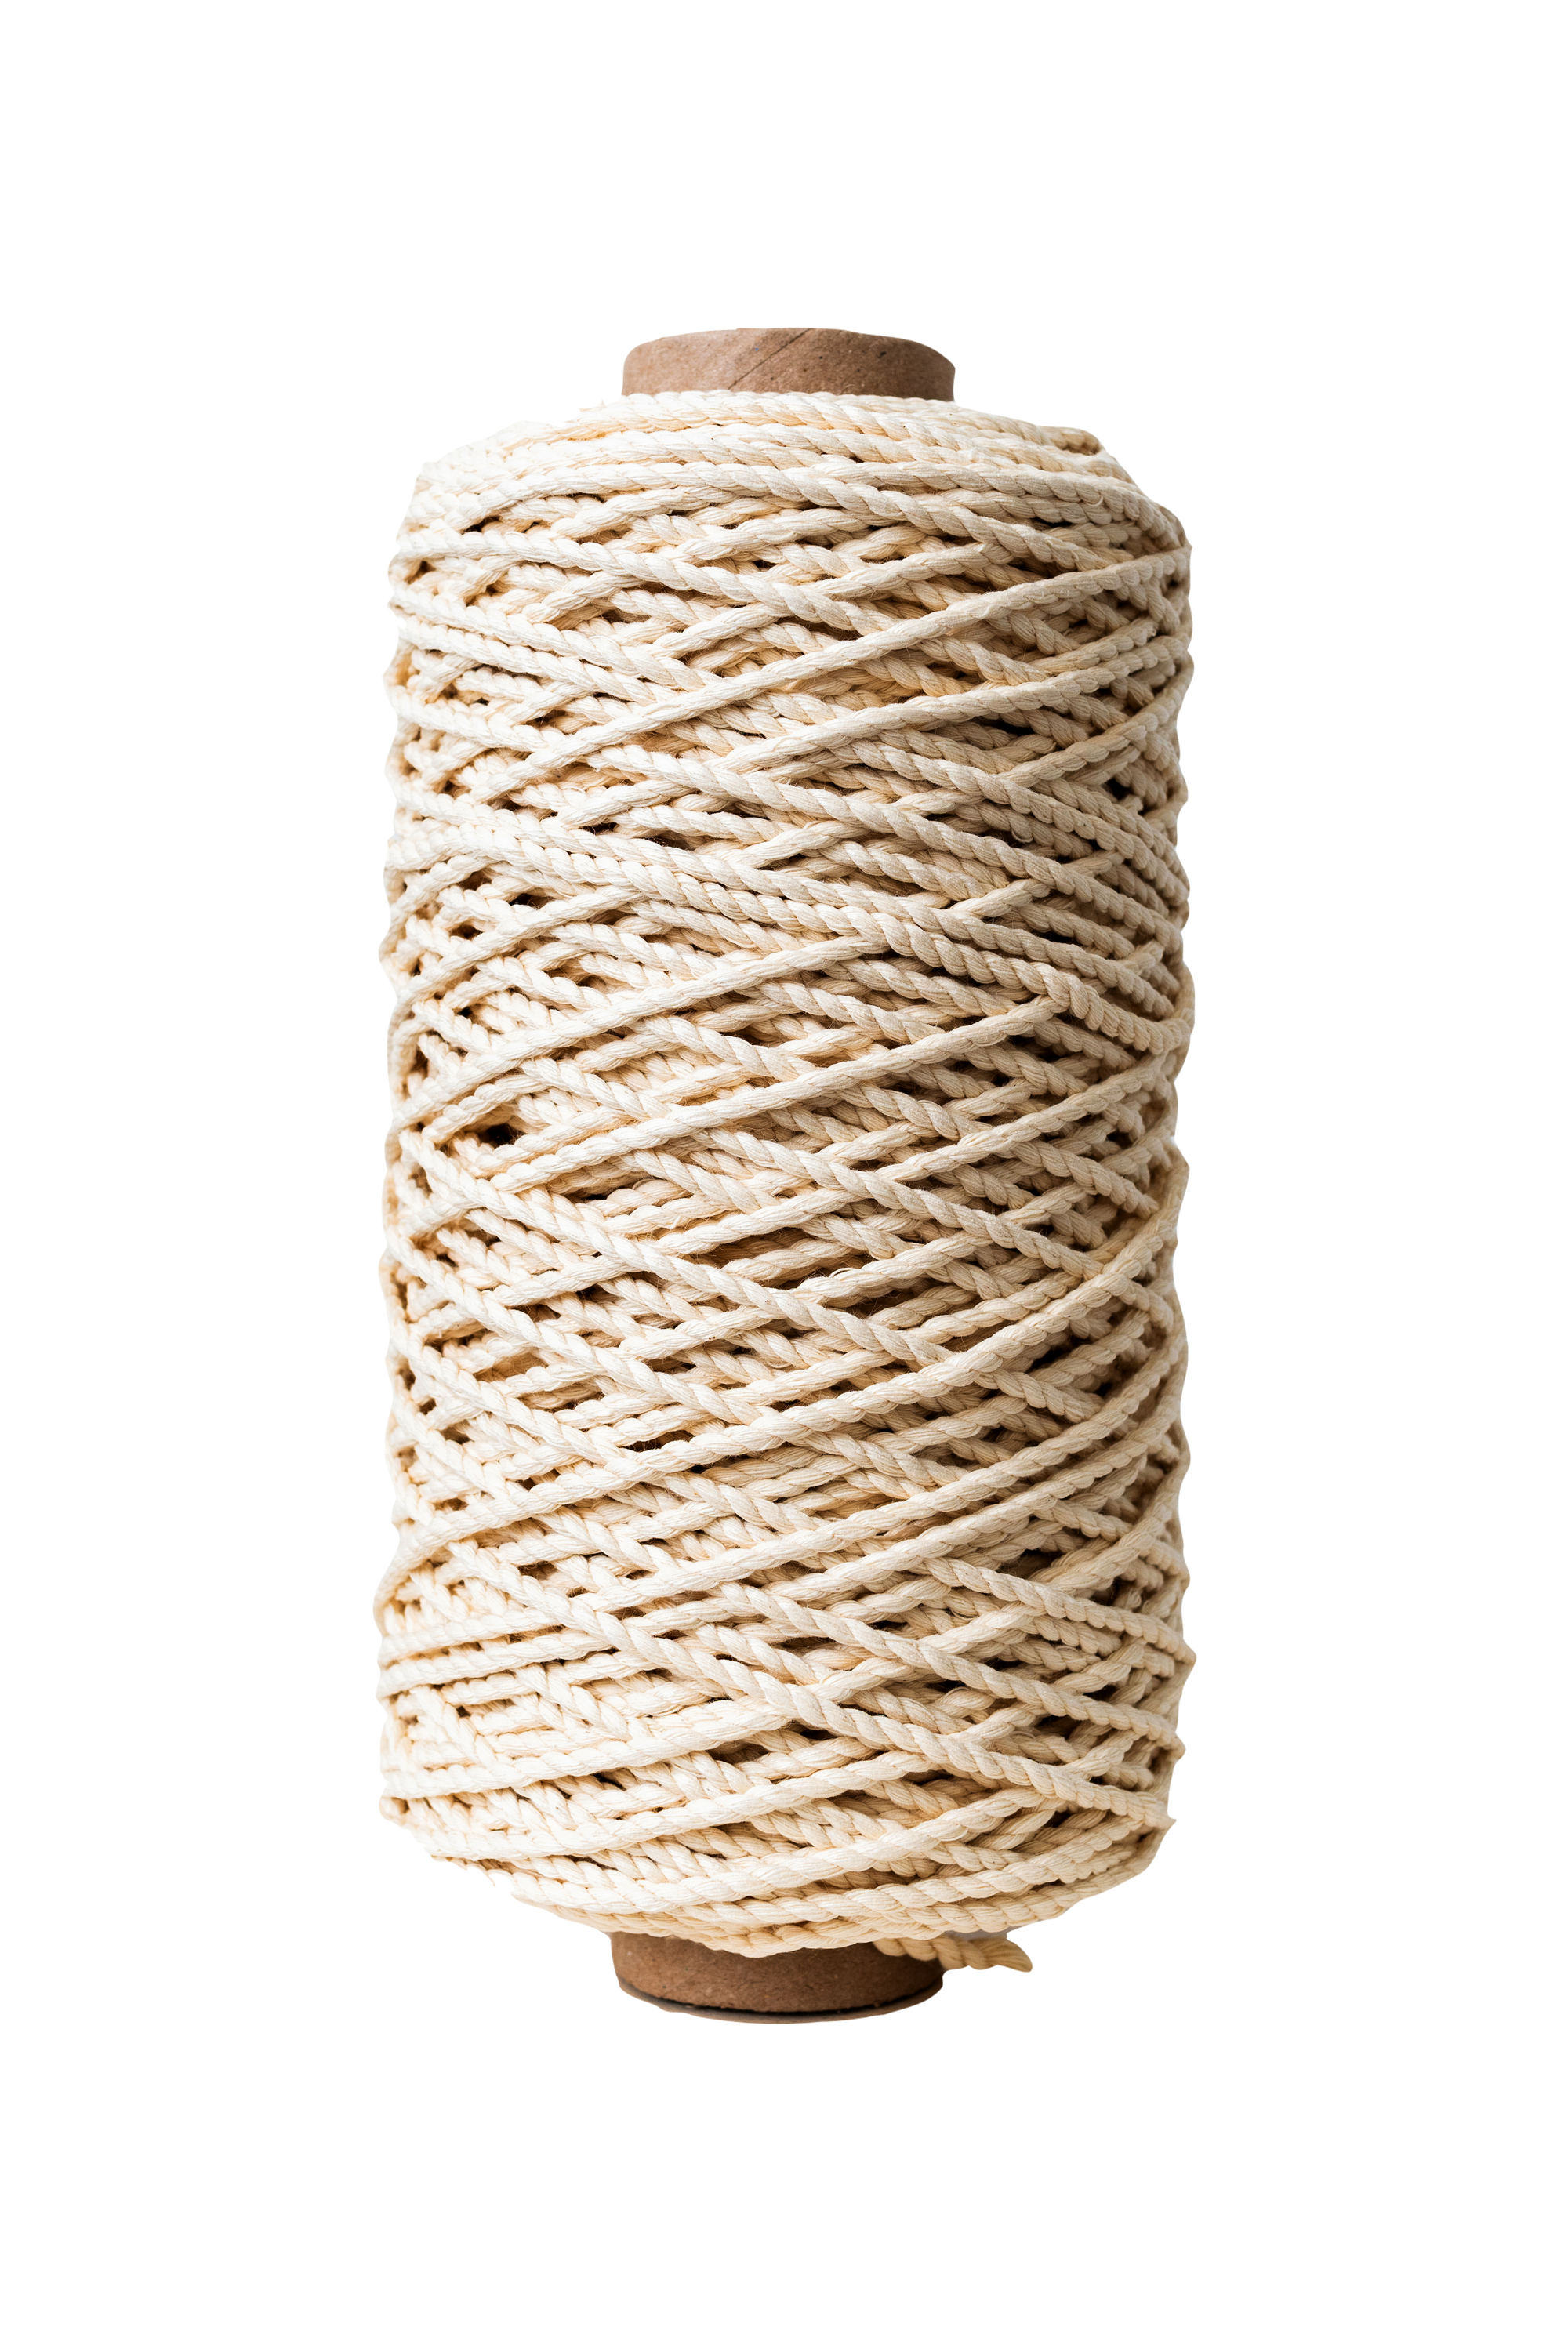
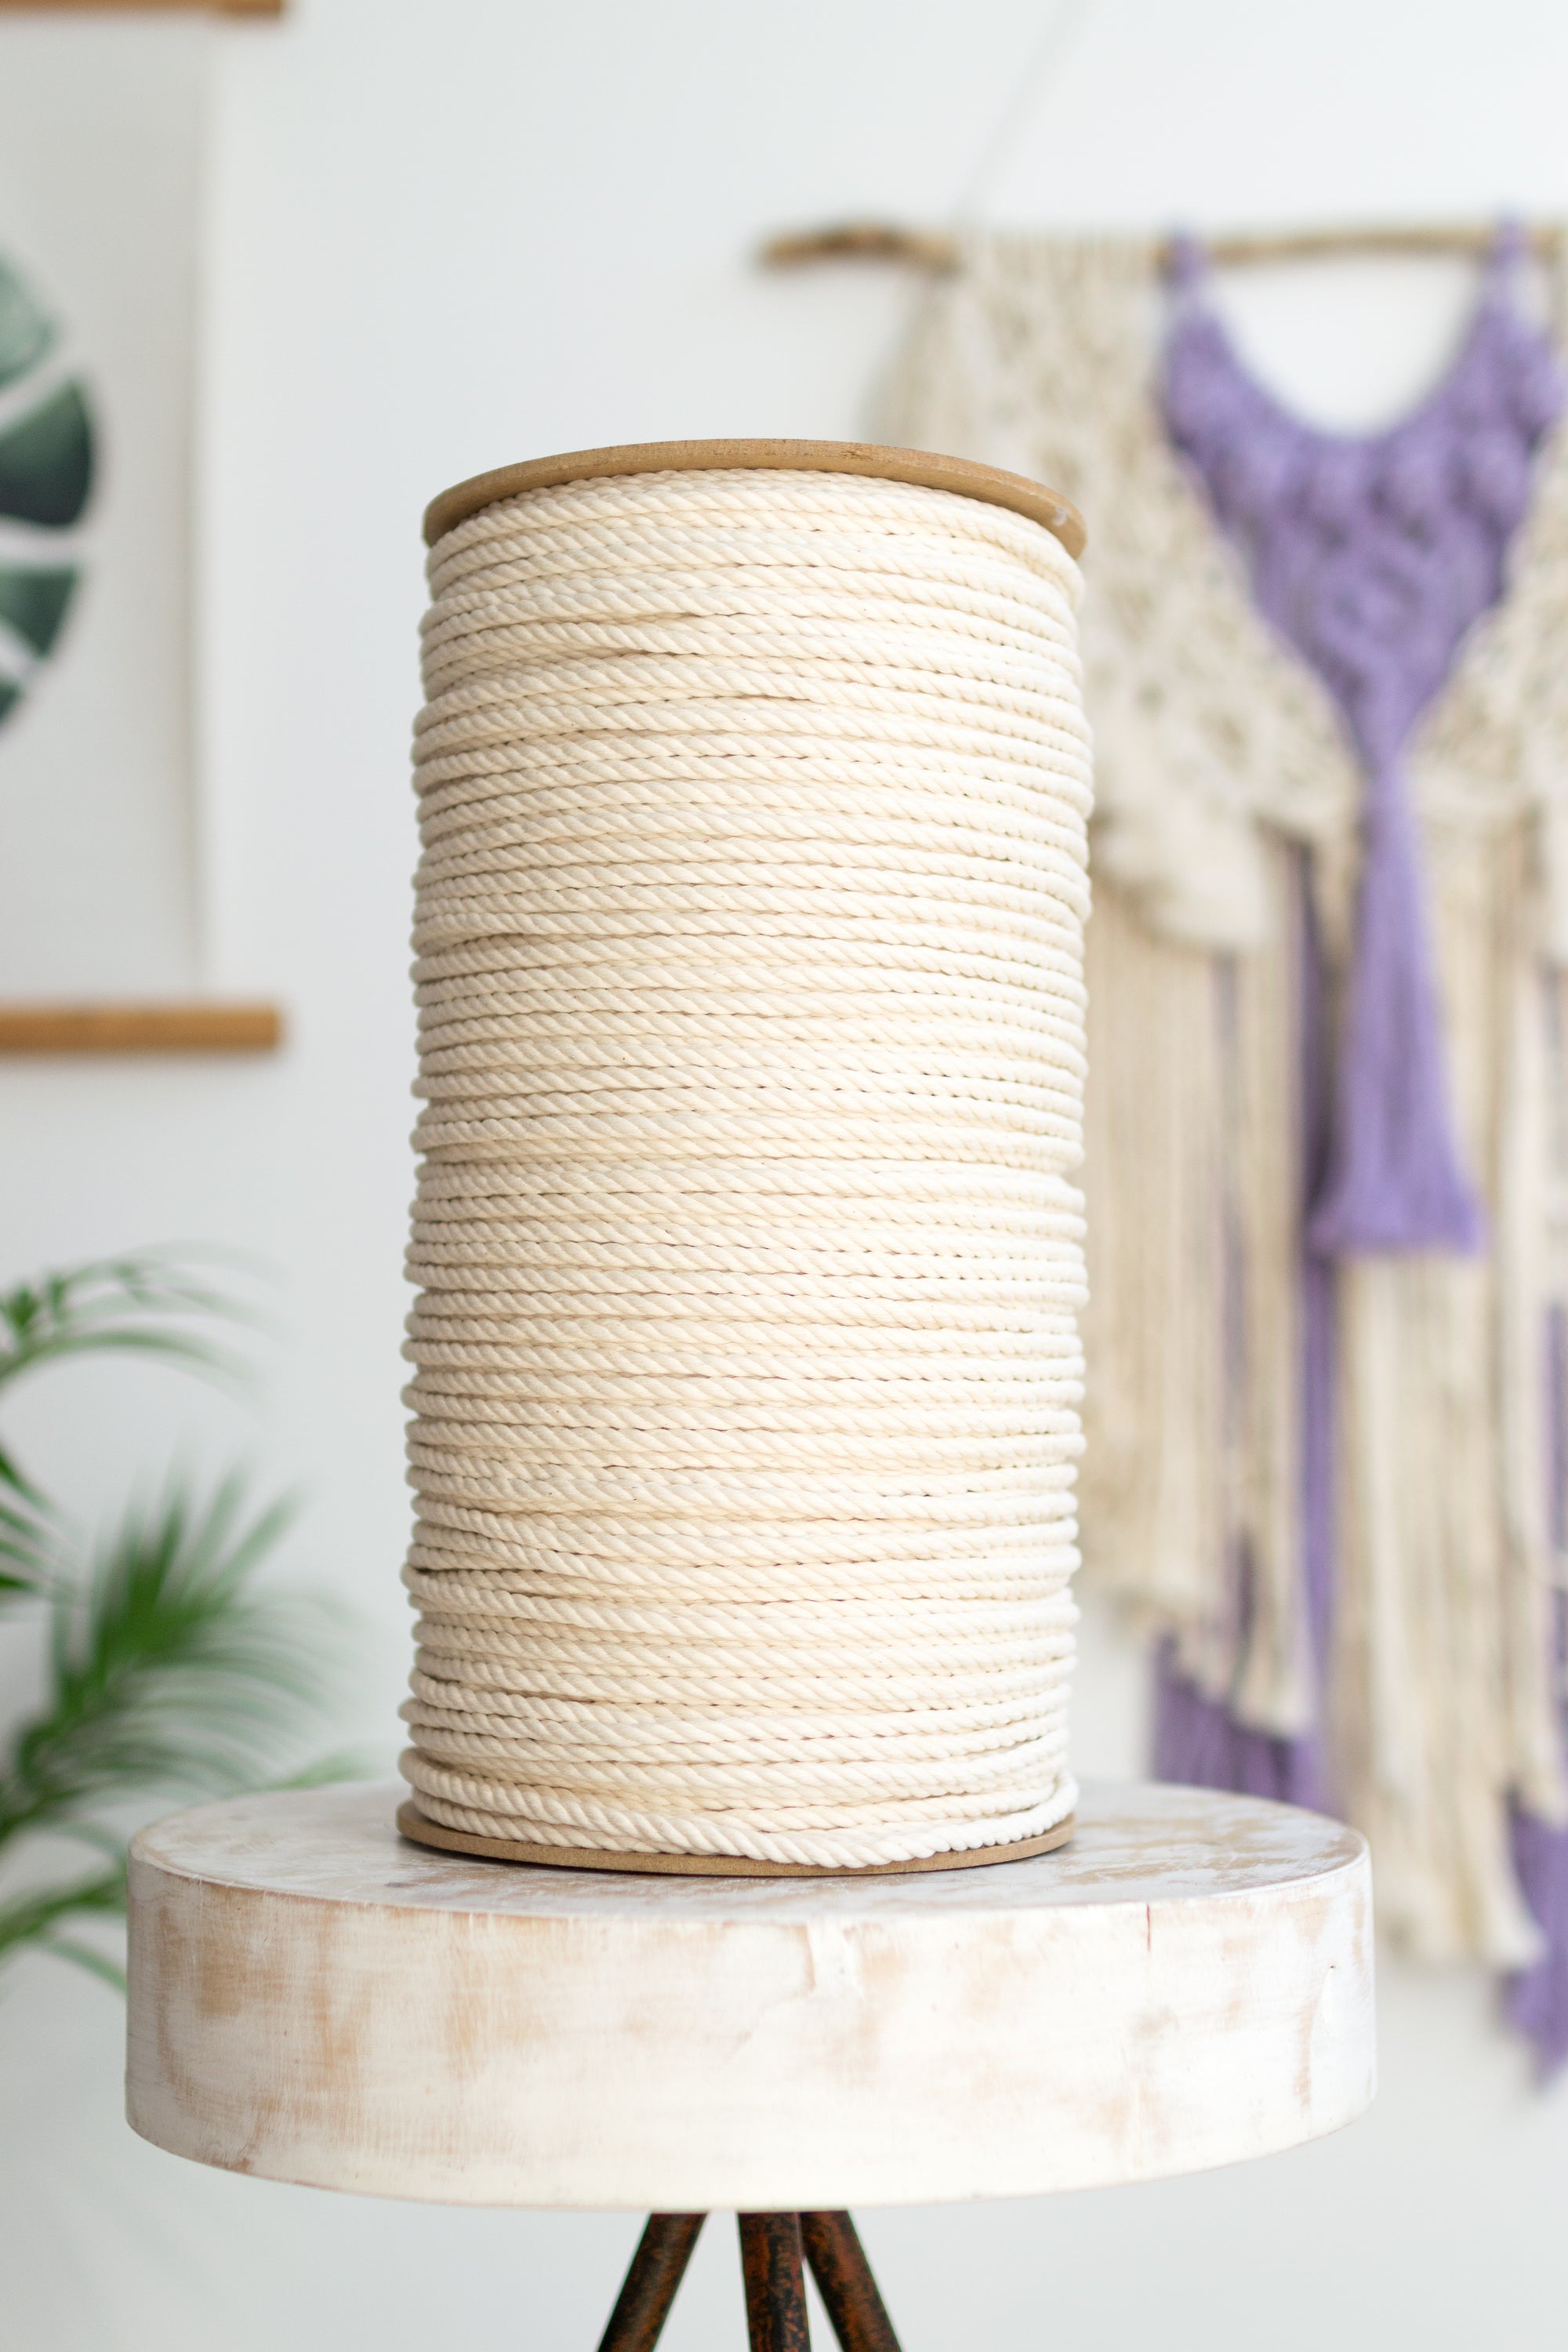
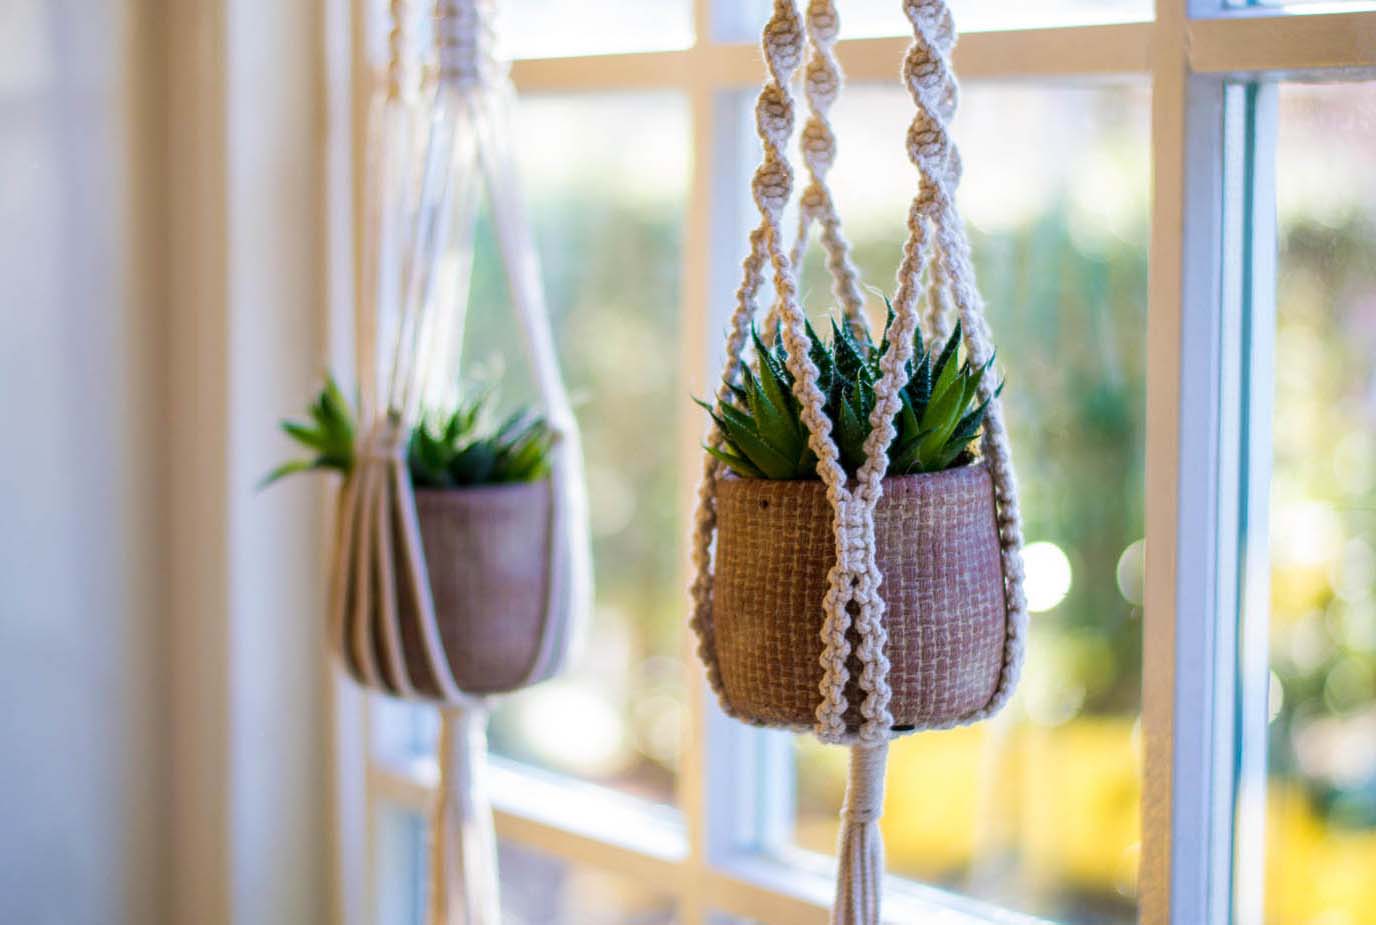
Craft and home stores have a variety of cotton, acrylic, nylon and twine cords with a rope-like twist that are suitable for macrame. Personally I prefer to work with cotton rope of atleast 3mm in diameter. Cotton rope comes in 2 types. Braided and twisted cotton rope. Braided cotton rope are 6 strands (or more) braided into a single rope. 3-strand rope (sometimes called 3-ply) where the strands are twisted around each other. I've seen it in 4 strands, but conventional rope tends to be 3-strand. I love it because it is easy to work with, is extremely strong and durable, and unravels at the ends to make a really lovely fringe. The rope I use can be bought here.
Keep it simple
There are so many different knots to use in macrame. A good first knot to learn is a simple square knot. There are 2 ways to do this knot: The square knot and the alternating square knot. This knot is the very basis of most of the macrame out there these days, and a wonderfully easy beginner knot to try.
Keep your tension even
This one requires practice. The strength with which you tighten the knots affects the consistency of their size. Practice over and over until you find a rhythm and see that your knots are consistent. You'll need to find a balance between knotting to loose and have you work look shoddy and knotting to tight.
Save your leftover rope
While you’re learning you will may have a few try, and try agains. And getting the length of the rope JUST right can be your biggest obstacle. The length of the rope required for a project will differ depending on the type of knots used, the pattern, the tension of your work and the dimension of the rope. You never want to little rope since it can be complicated to add extra to your piece. We always suggest you err on at least 10% more than you think you will need, just to be safe. There are lots of small project to do with your leftover rope. You can try macrame leaves, a key-chain or bookmark. You can also add the scraps as fringes to other work. The options are endless.
Get involved and have fun
The best way to do anything is to find the right support. The same goes for learning macrame. Join a community of fellow macrame enthusiast. You'll find answers to your questions, be inspired and share knowledge. Expressing your creativity through macrame is one of the best parts of the journey. Let your creativity free and create something that comes from your heart.
Section 4: Macrame patterns
Every month I will release a new free pattern for you to enjoy.
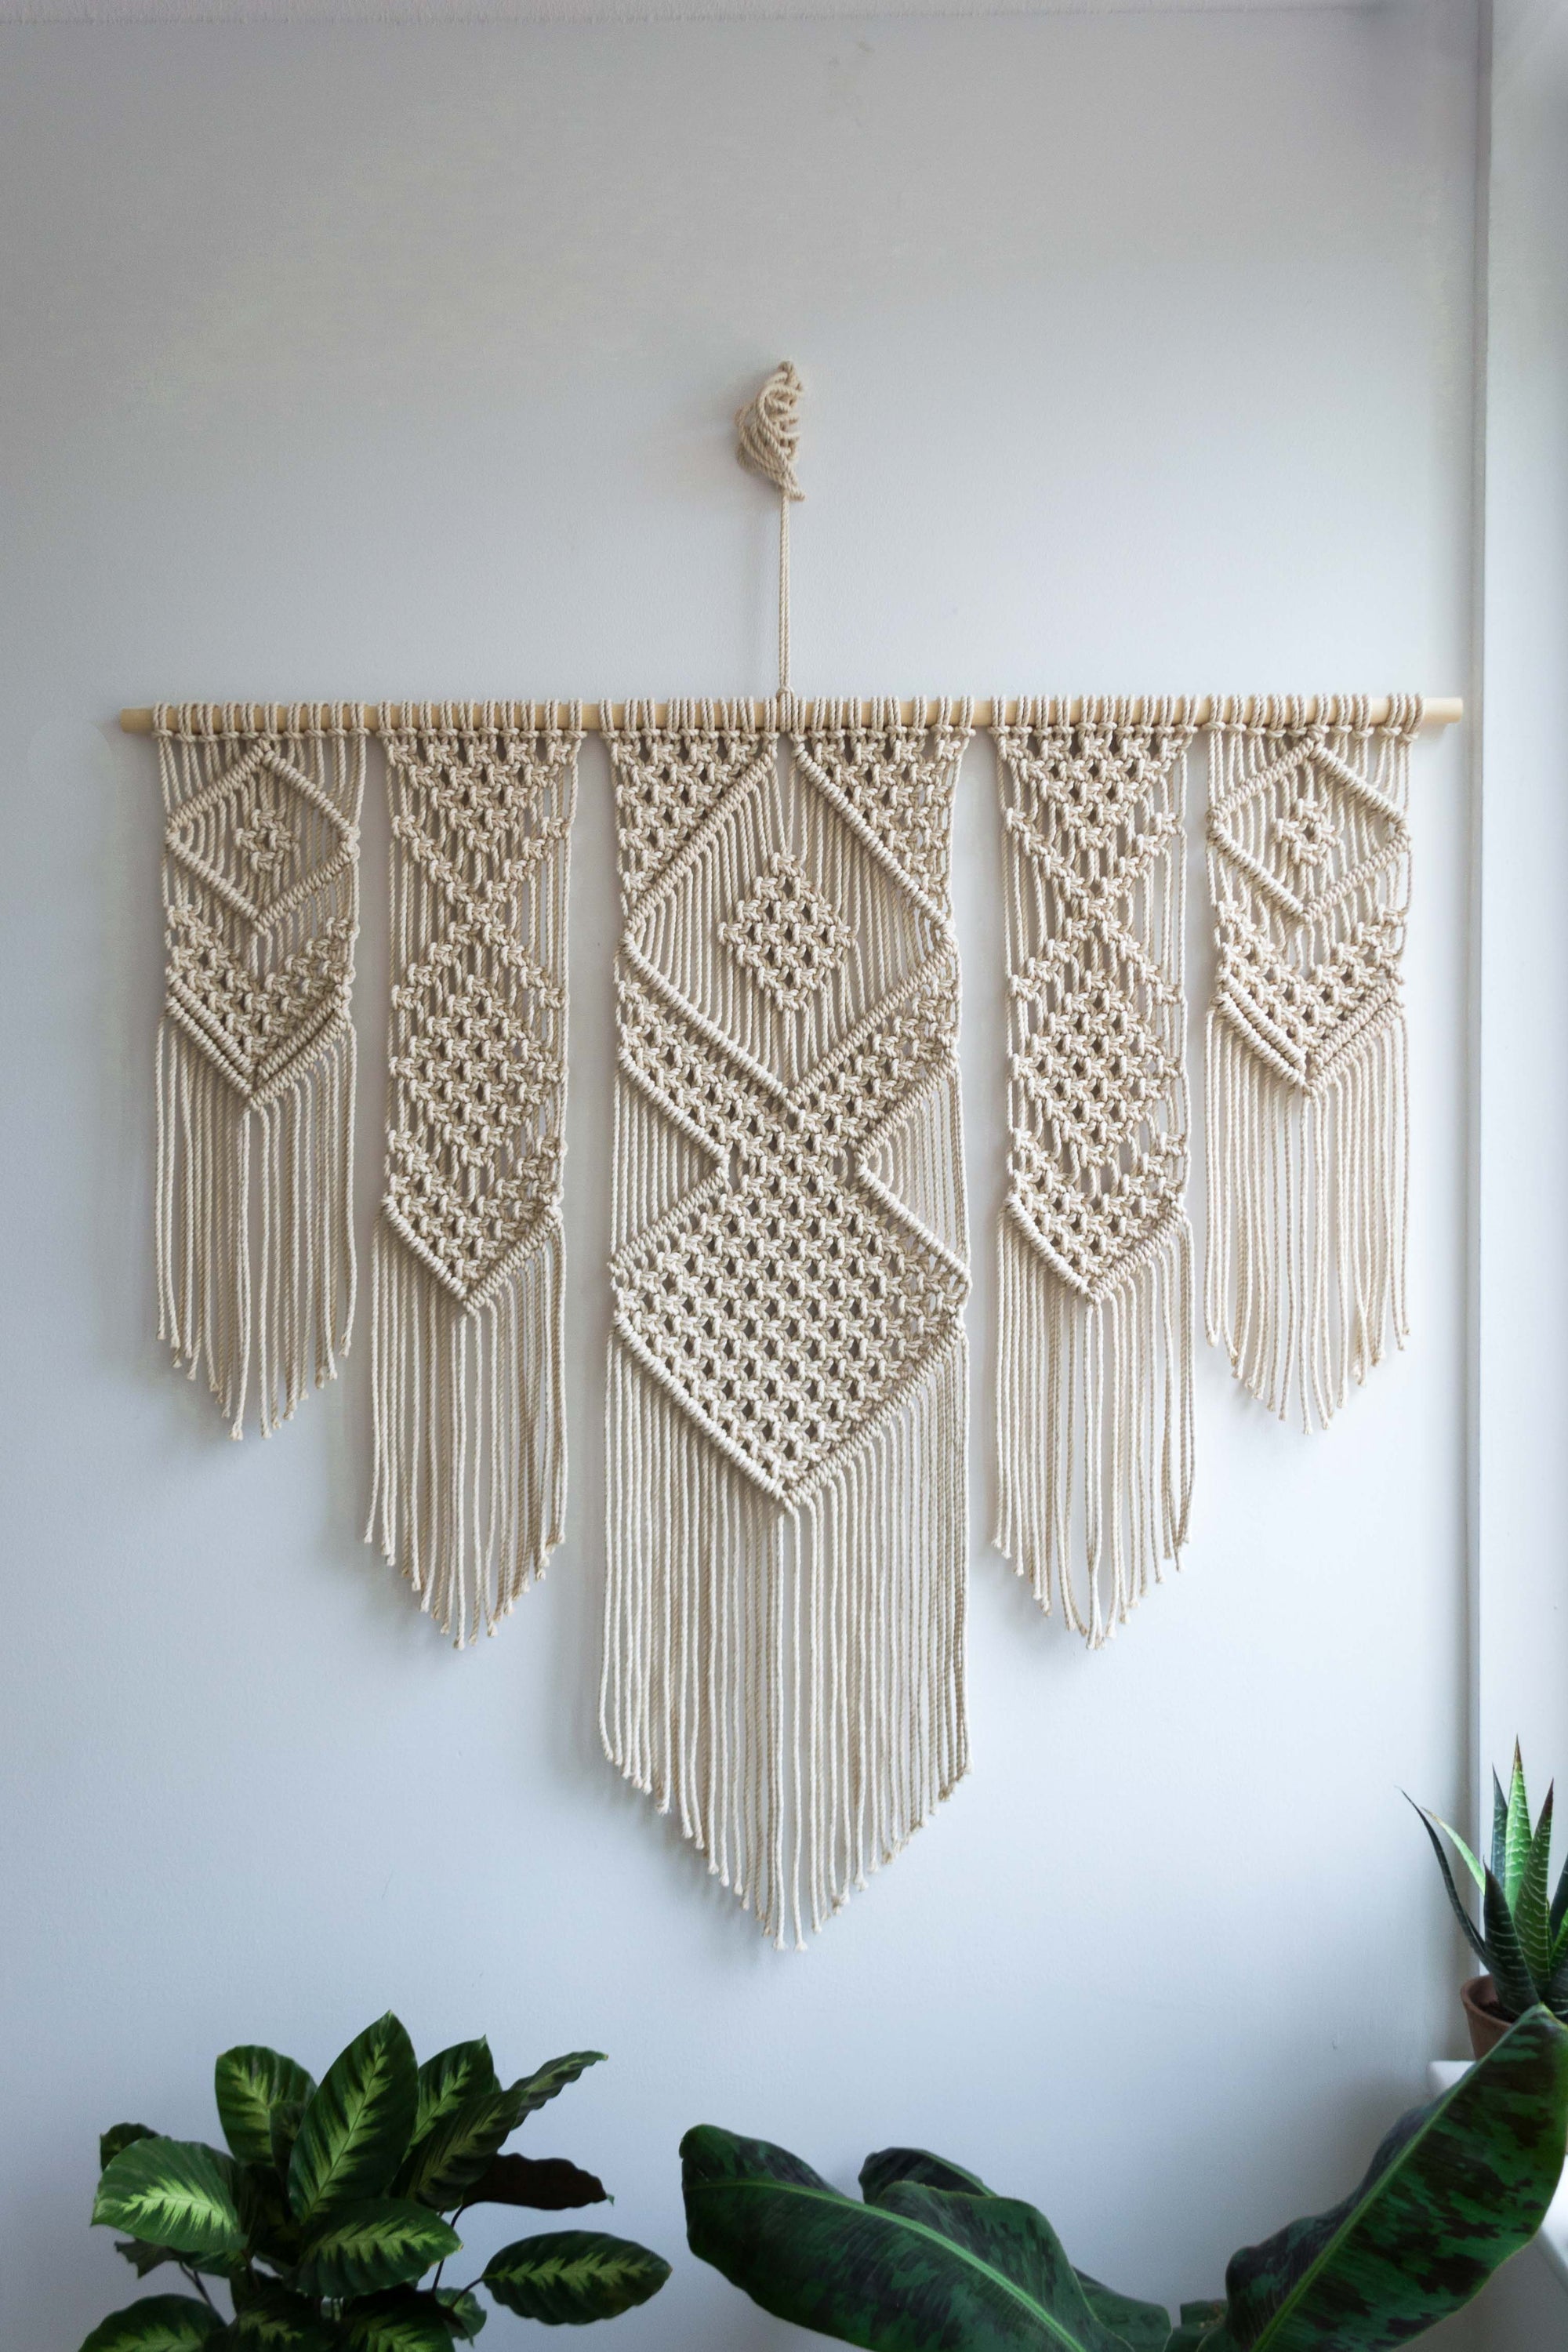
Macrame Wall Hanging Pattern 'Rosie'
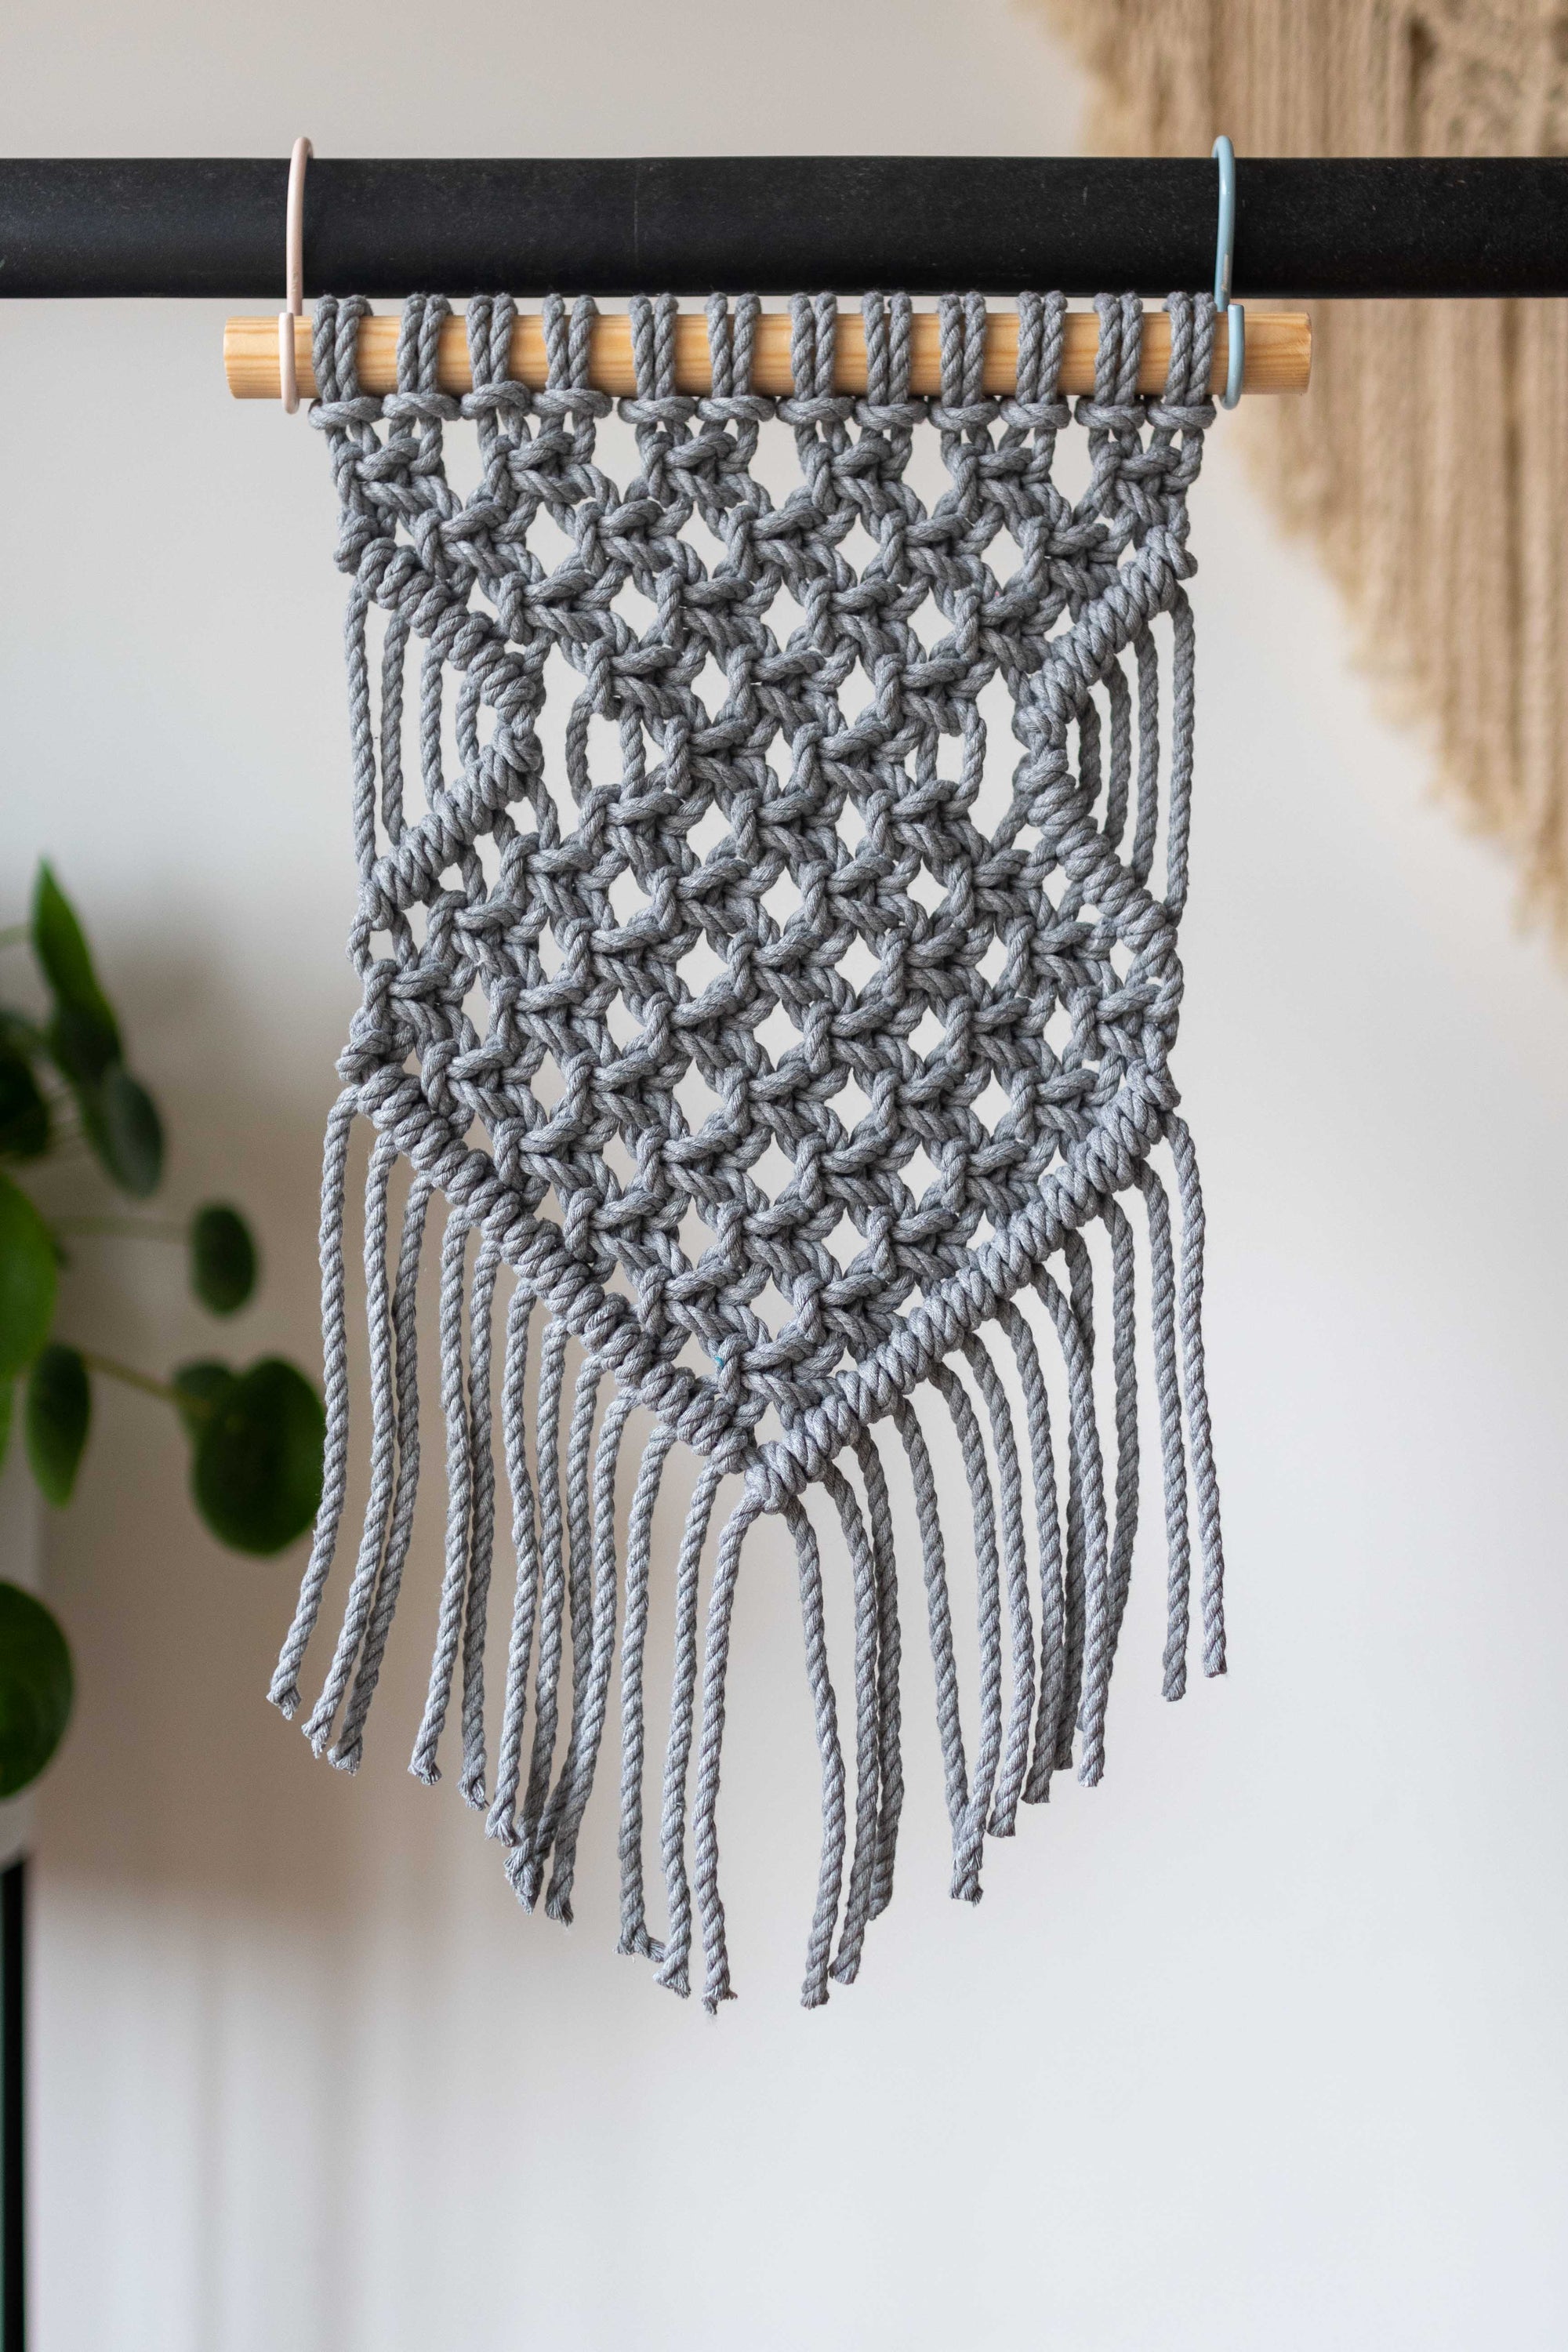
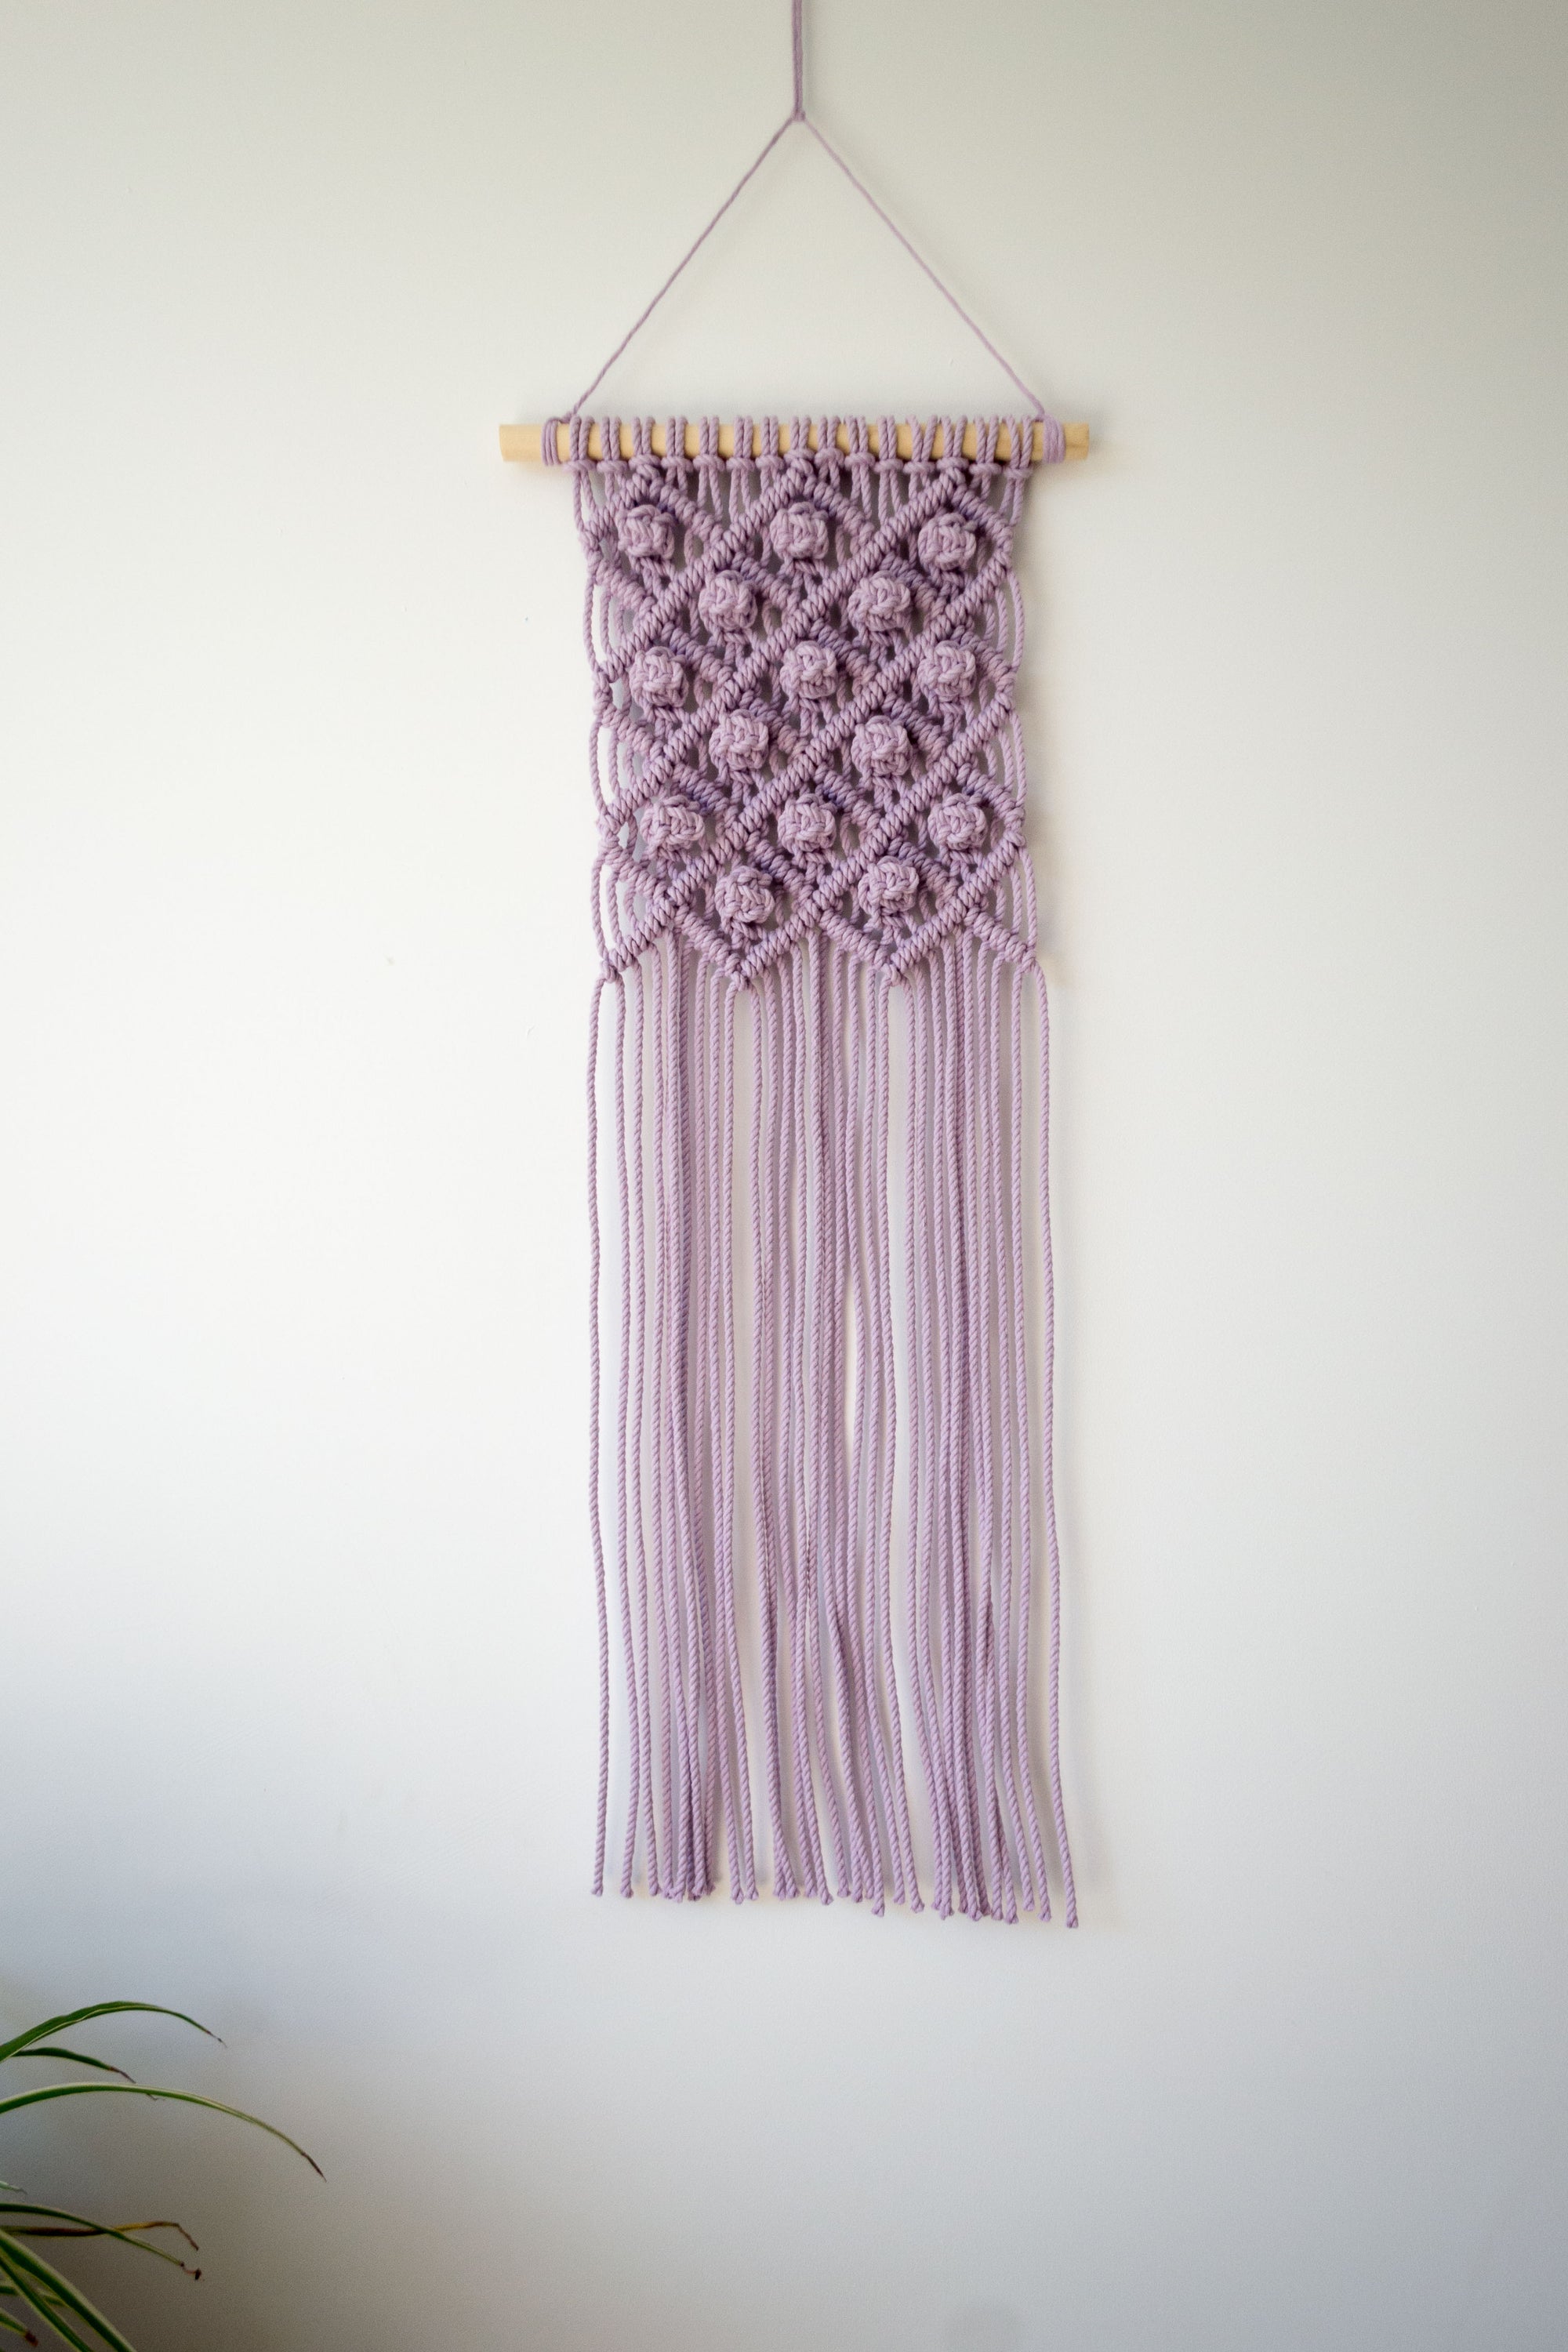
Macrame Wall Hanging Pattern 'Diamonds'
Macrame Wall Hanging Pattern 'Luna'
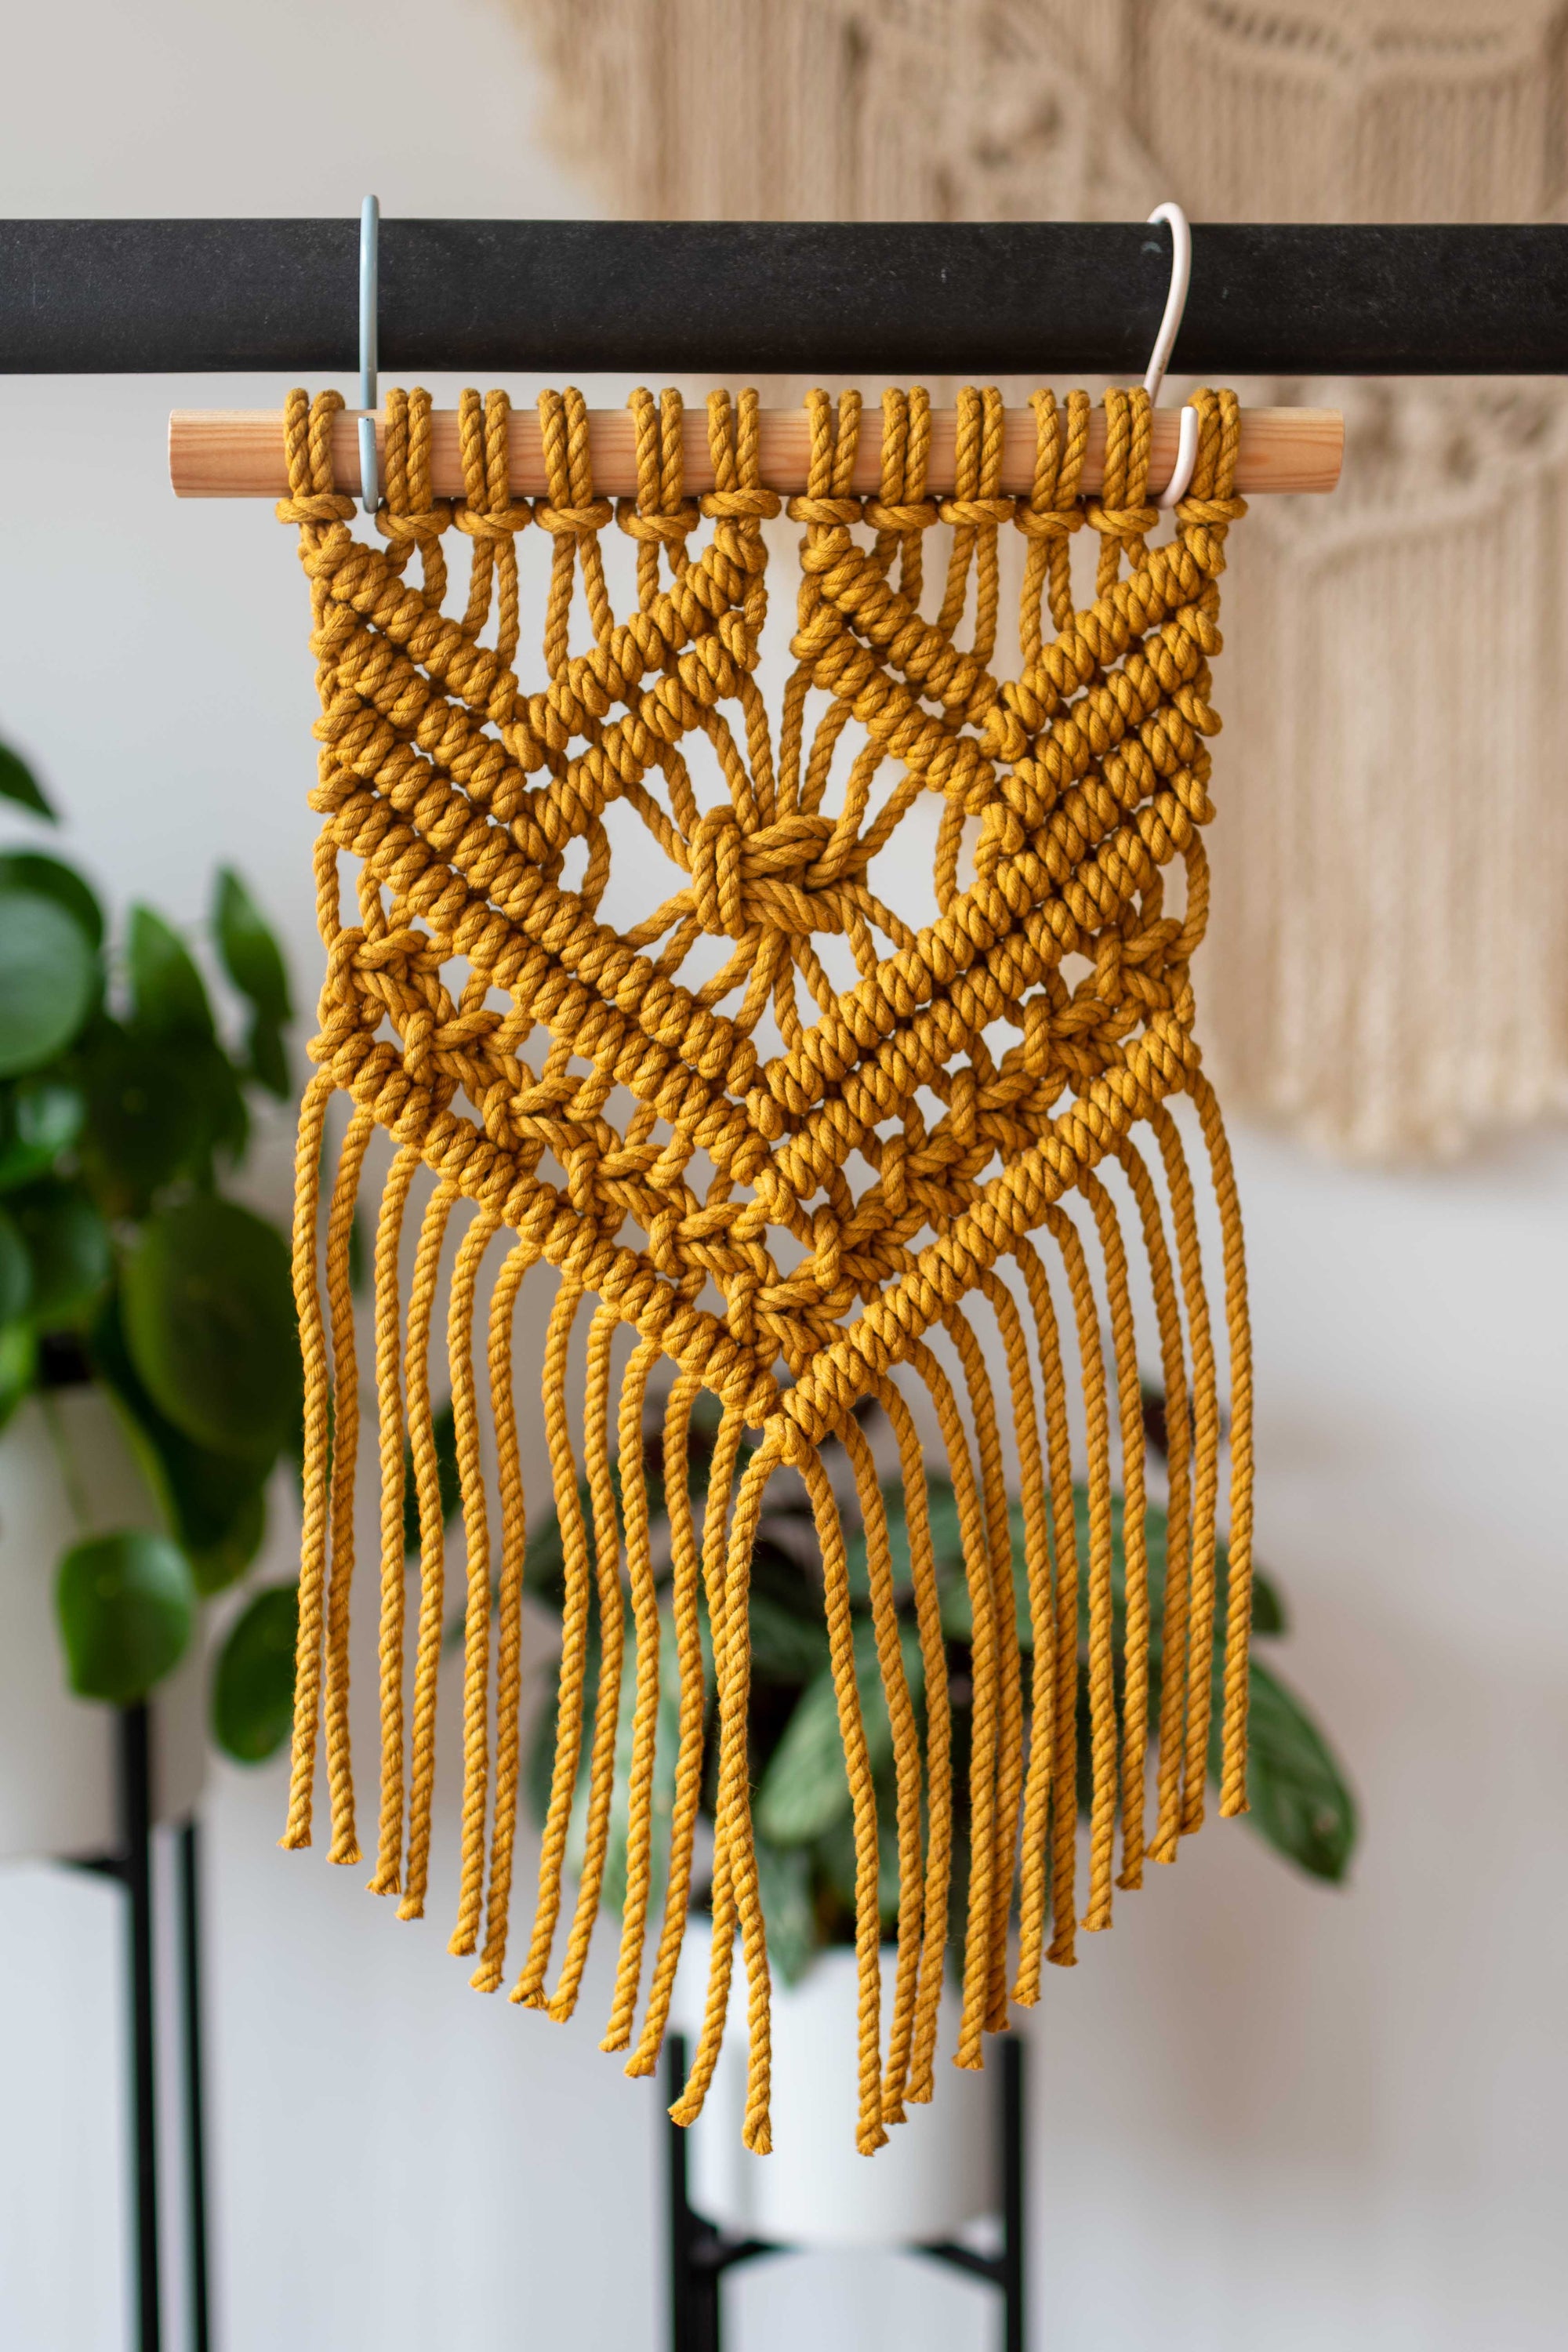
Macrame Wall Hanging Pattern 'Berry'
See the full tutorial here.
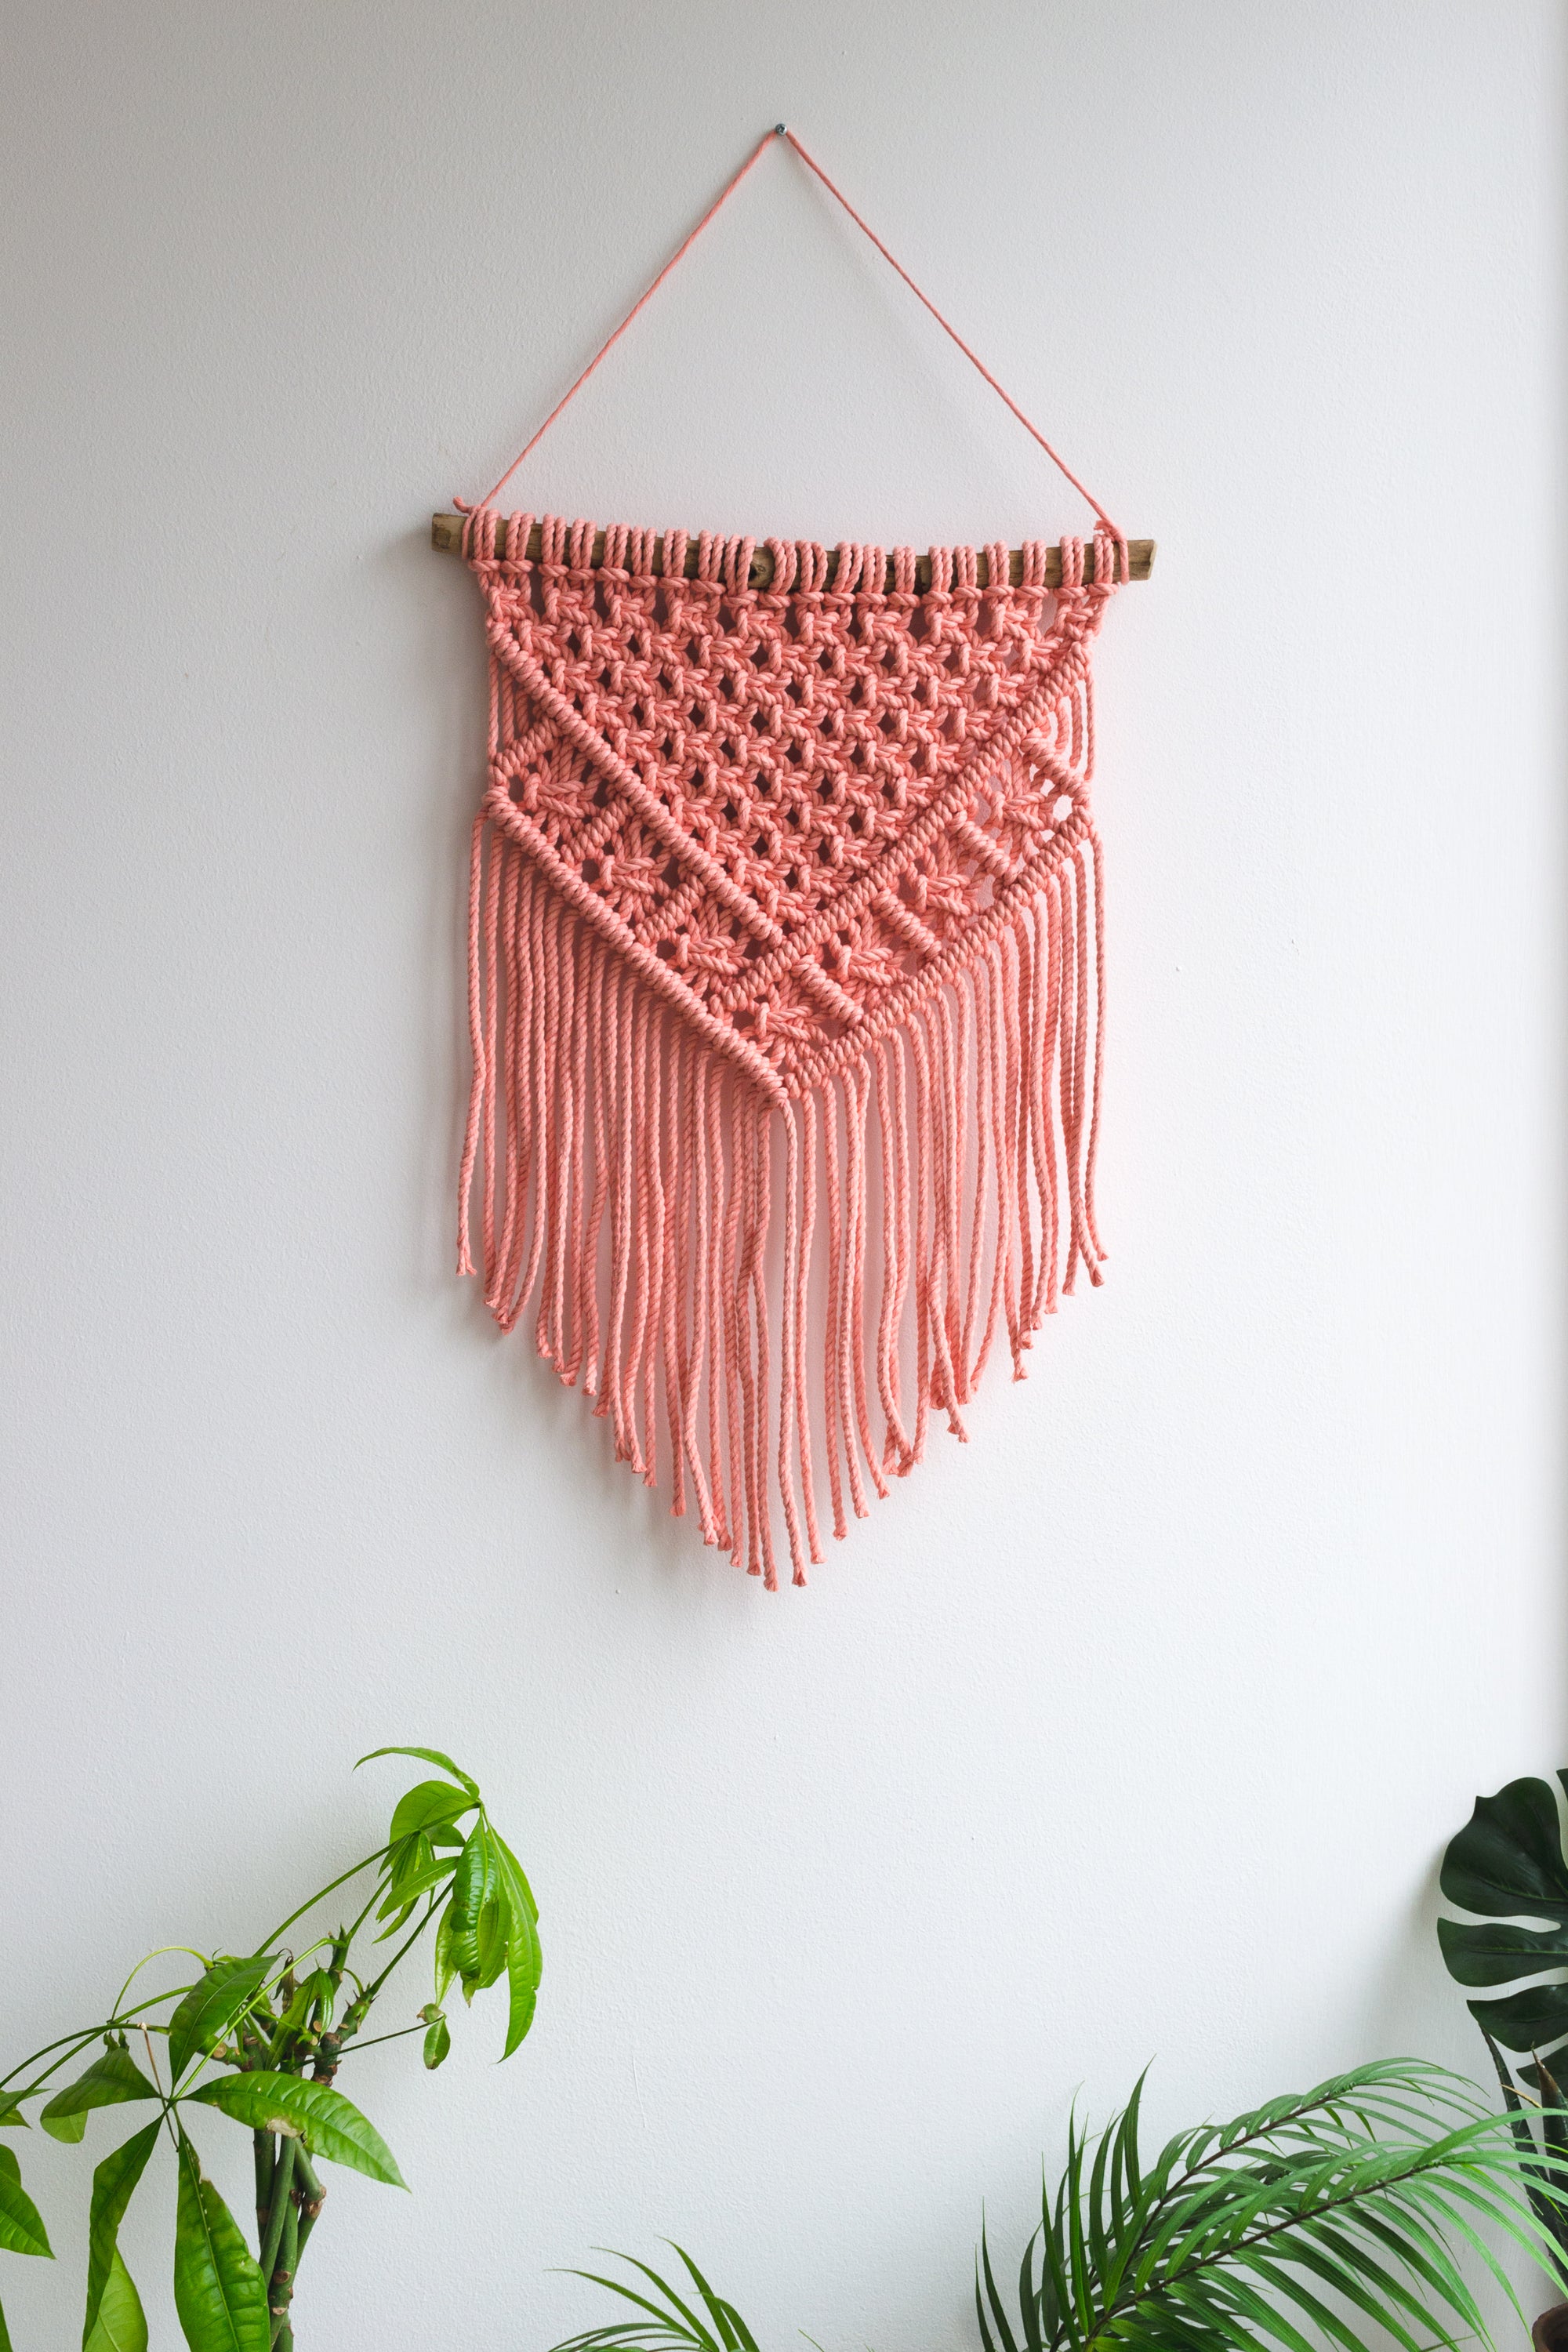
Macrame Wall Hanging Pattern 'IVY'
See the full tutorial here.
Macrame Wall Hanging Pattern 'Almaz'
See the full tutorial here.
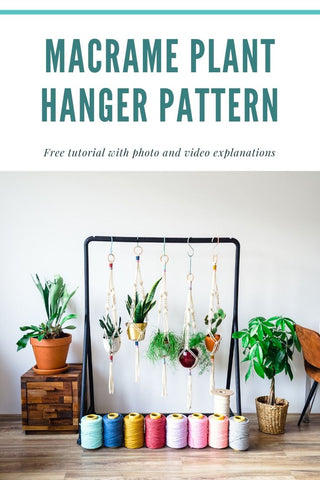
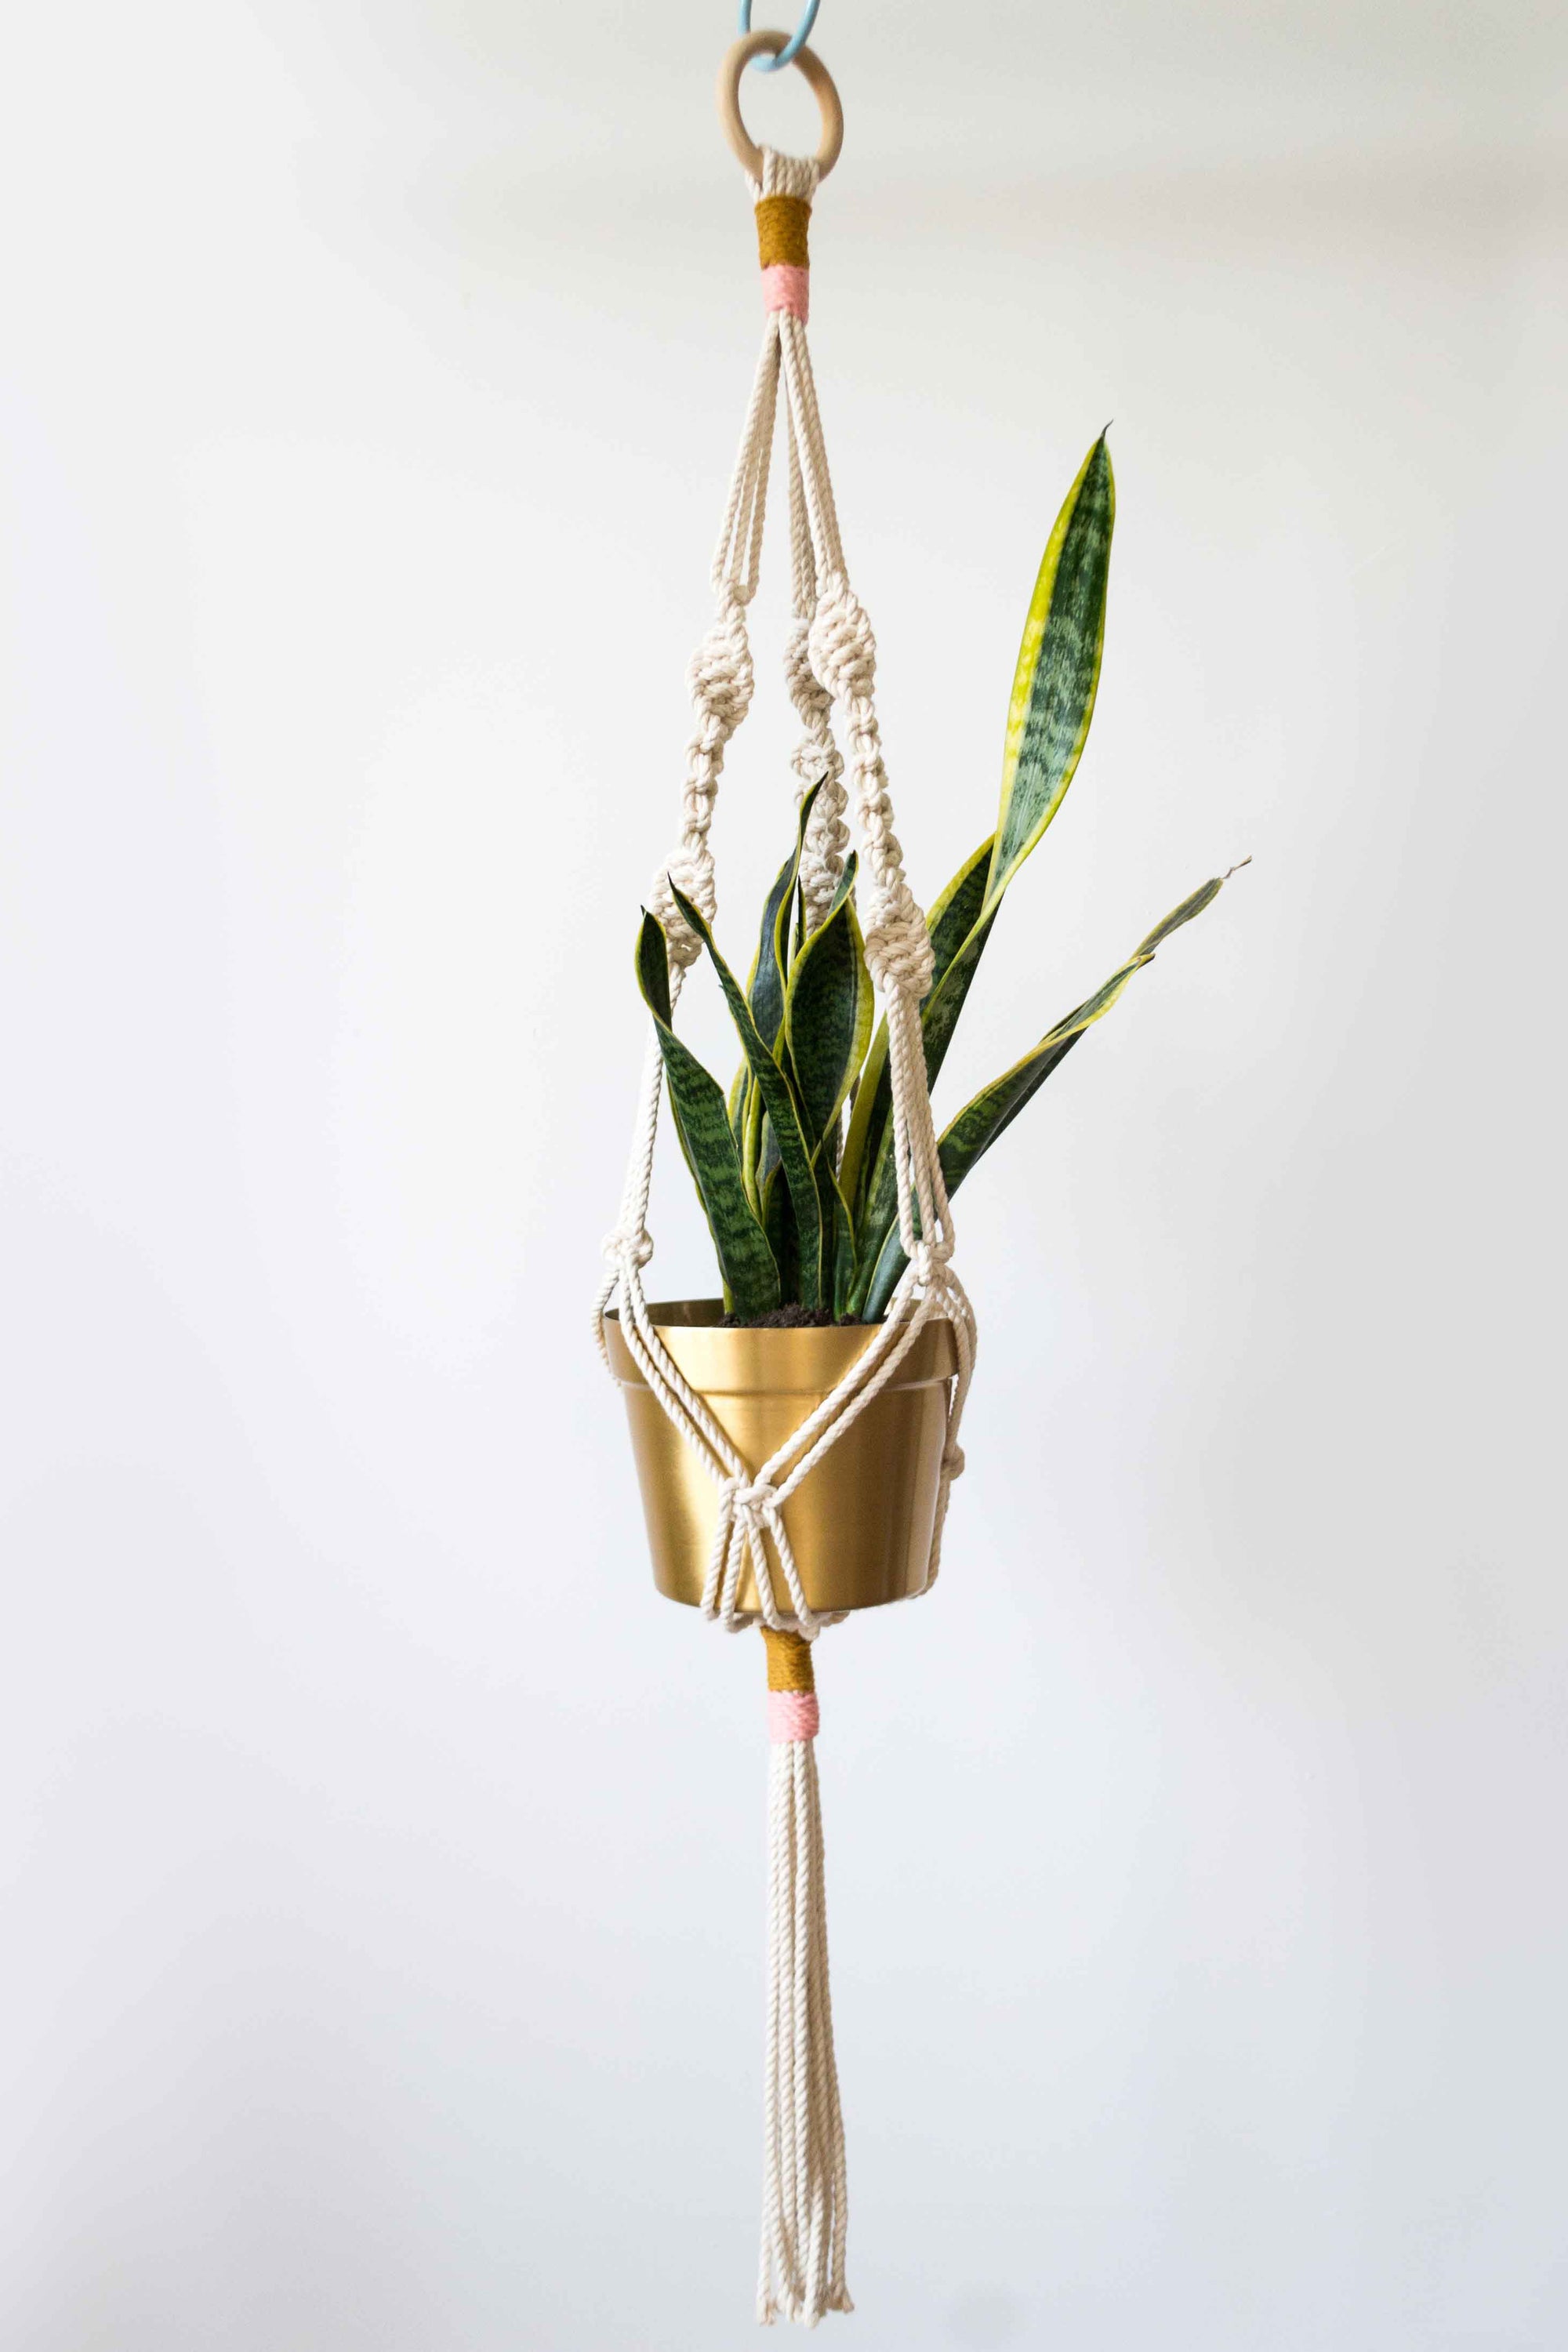
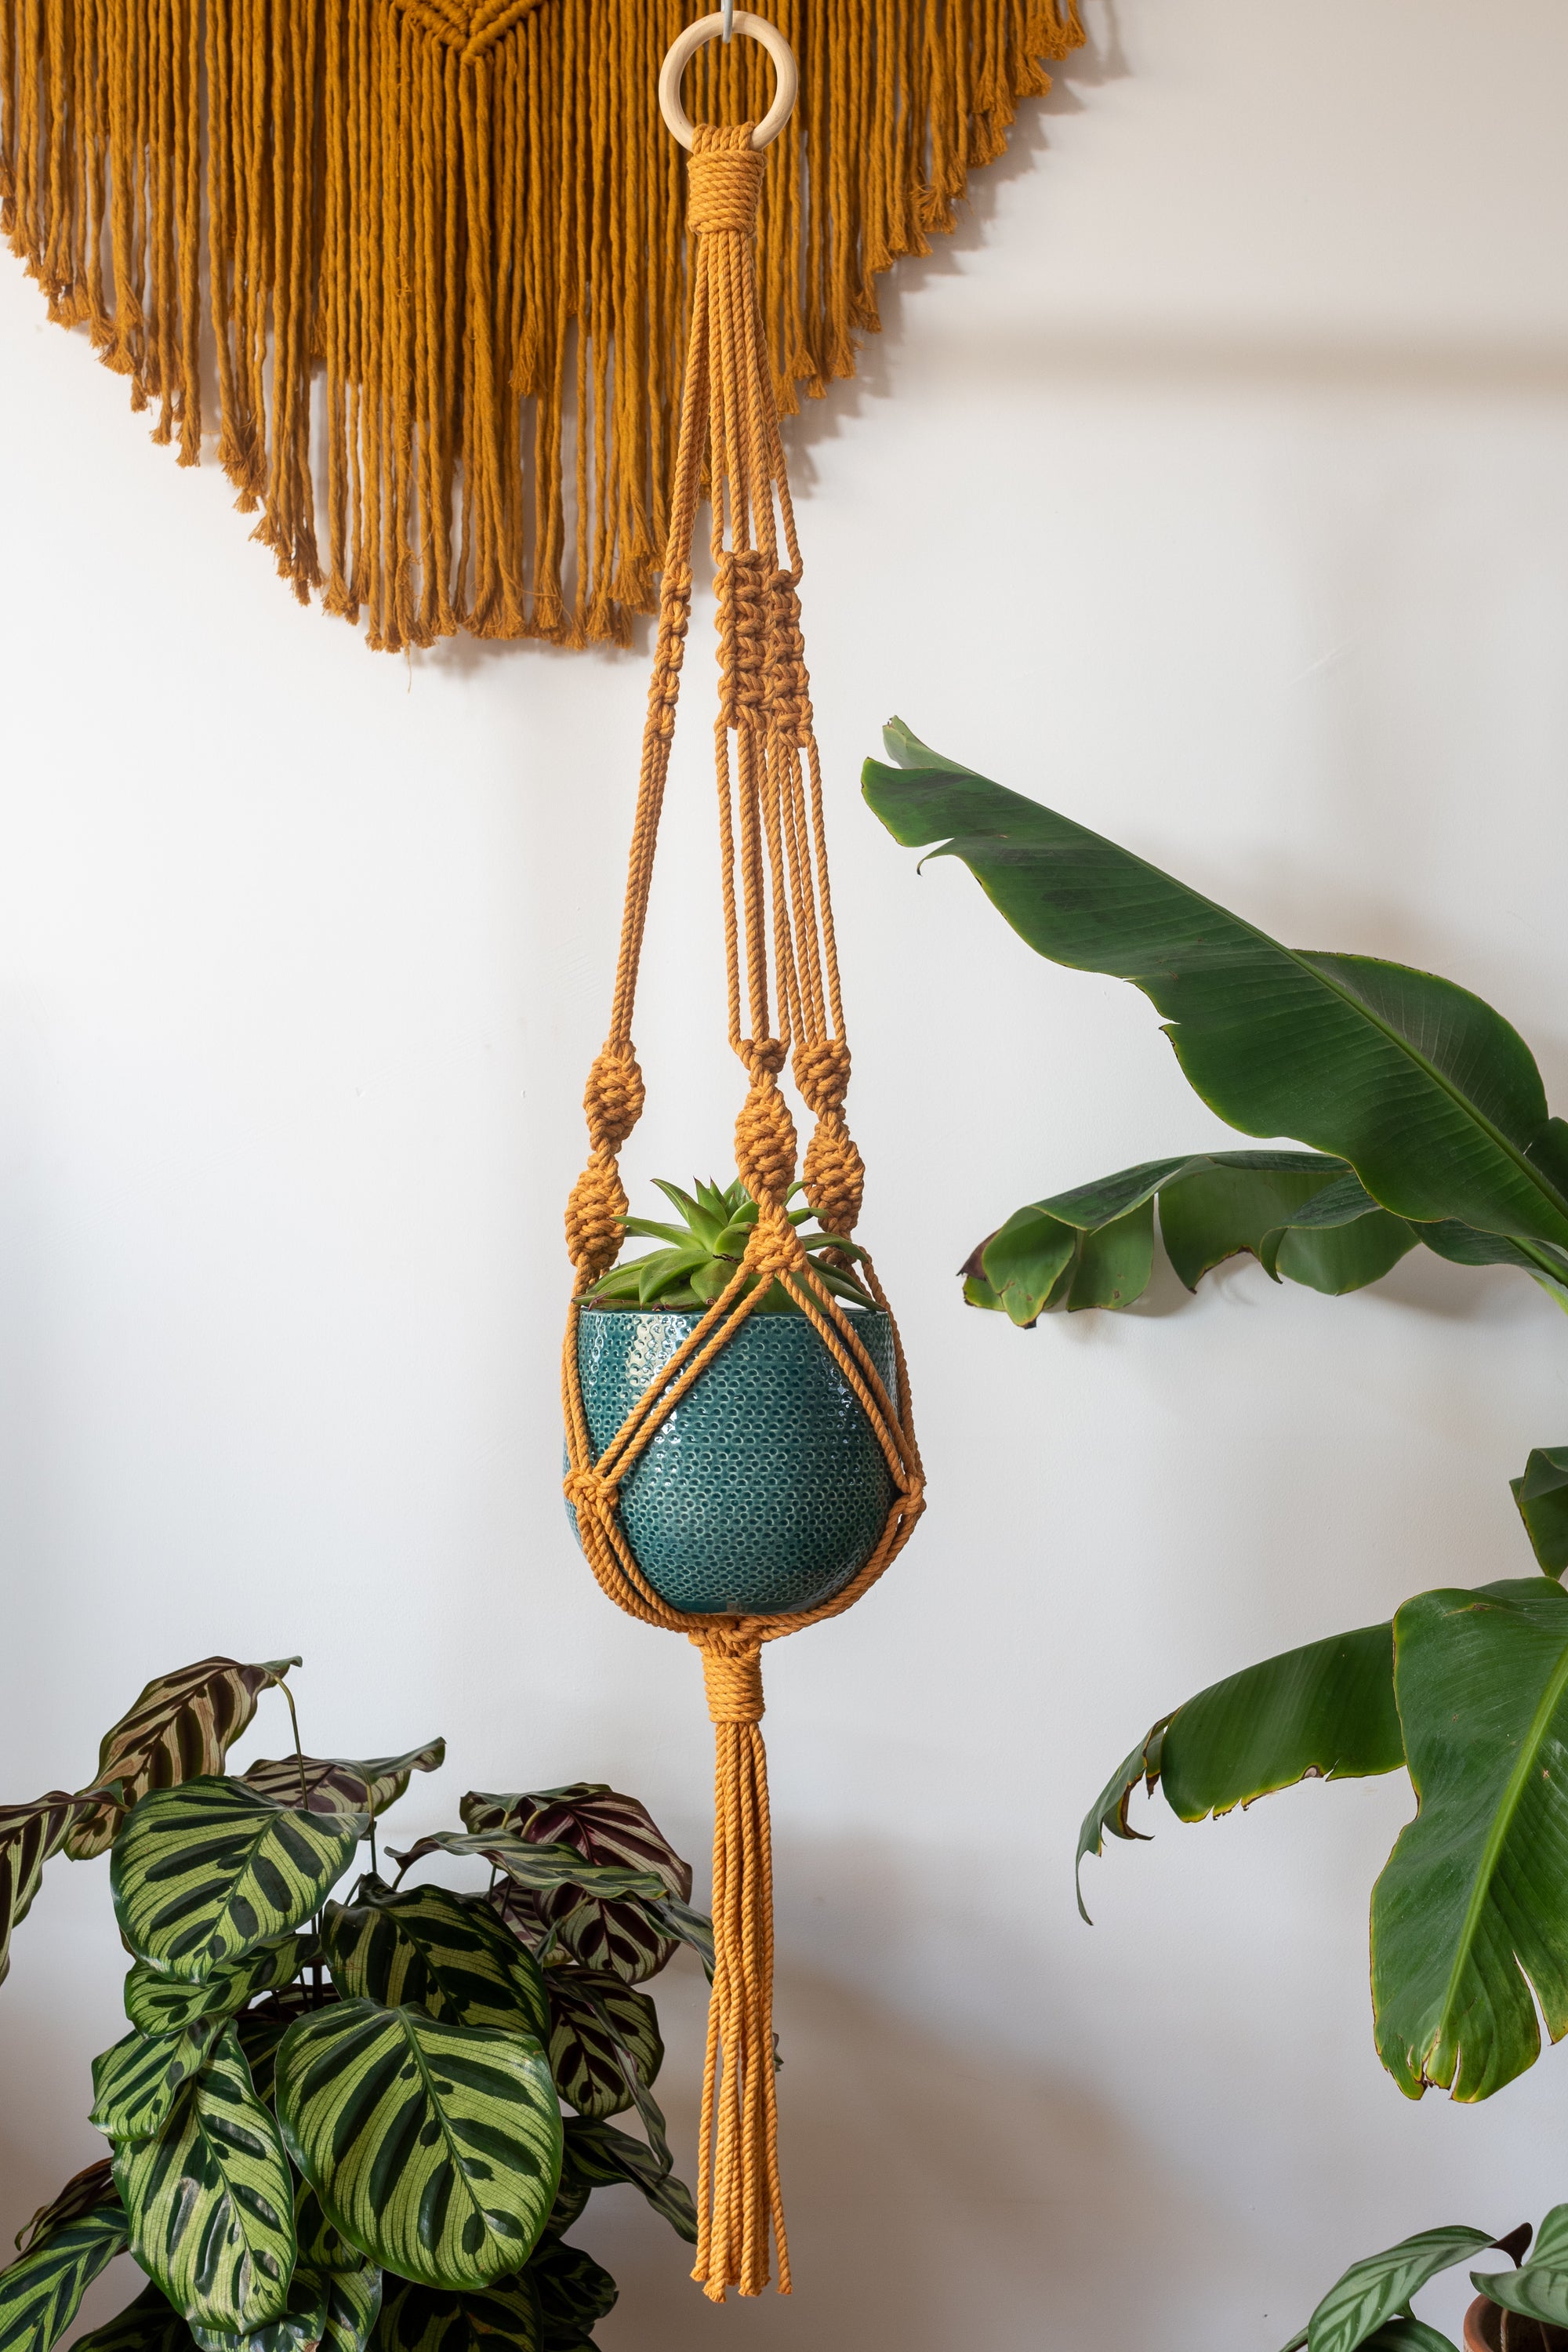
Macrame plant hanger pattern
Click the link here for the macrame plant hanger pattern